Can You Cut Acrylic With a Miter Saw: 4 Steps [DIY]
Acrylic is known for its versatility and aesthetic appeal, making it a popular choice for various applications such as signage, home decor, and DIY projects.
When you want to tackle a project involving acrylic materials, you might wonder, “Can you cut acrylic with a miter saw?”
It is possible to cut acrylic using a miter saw, but the process requires a combination of the right tools, techniques, and precautions to ensure successful outcomes.
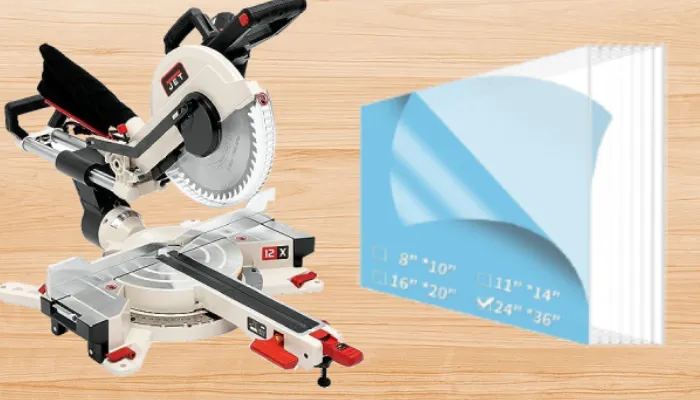
A fine-toothed blade designed specifically for cutting acrylic or plastic is required for cutting acrylic with a miter saw. The blade’s teeth should have a triple-chip design and a positive rake angle to prevent chipping and melting.
We will discuss how to cut acrylic with a miter saw step-by-step so that you can successfully cut acrylic with a miter saw.
How Can You Cut Acrylic With a Miter Saw: Step-By-Step Instructions
If you want to cut acrylic with a miter saw, you need to follow a few key steps. Among them are:
- Step 1: Select the right blade and take safety precautions
- Step 2: Mark the cut line on the acrylic
- Step 3: Set up and adjust the miter saw
- Step 4: Make the cut
Let’s go over each step in detail so that you can easily cut acrylic with a miter saw.
Step 1: Select the Right Blade and Take Safety Precautions
Before proceeding, make sure you have the appropriate safety equipment and a suitable blade for cutting acrylic with a miter saw.
Use a fine-toothed blade specifically designed for cutting plastic or acrylic to ensure clean and precise cuts.
A carbide-tipped blade with a triple-chip tooth design is highly recommended for the best results. These blades minimize chipping and melting, ensuring smooth edges on your acrylic pieces.
It is crucial to wear the proper personal protective equipment, including safety goggles and a dust mask, to protect yourself from plastic dust and debris.
Moreover, work in a well-ventilated area to prevent inhaling fumes or dust produced during cutting.
Step 2: Mark the Cut Line on the Acrylic
Once you have selected the correct blade and taken safety precautions, it is time to mark the cut line on the acrylic.
To ensure accuracy, measure and mark the desired cut line on the acrylic sheet using a pencil or marker. Consider applying painter’s tape along the line for smoother results. This step is crucial in achieving a precise and clean cut.
Use a ruler or measuring tape to measure the distance from the edge of the acrylic sheet and make a small mark. Then, connect these marks to create a straight line representing the cut you want.
If you need clarification on the accuracy of your line, you can use a straight edge or a T-square to guide your marking.
Applying painter’s tape along the cut line can help prevent chipping and provide a neater cut surface. Ensure the tape is firmly adhered to the acrylic before proceeding to the next step.
Step 3: Set Up and Adjust the Miter Saw
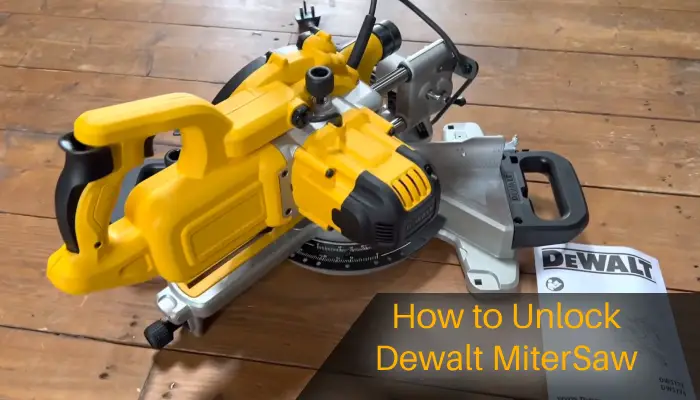
Now that you have selected the right blade, it’s time to install it on your miter saw. First, ensure that the miter saw is unplugged or powered off. Most miter saws have a blade-changing mechanism that requires a blade wrench or a special tool provided with the saw.
Insert the blade wrench into the arbor bolt, which holds the current blade in place. Rotate the wrench counterclockwise to loosen and remove the bolt.
Carefully remove the old blade, taking note of its orientation for proper replacement. Place the new fine-toothed blade onto the arbor, aligning the center hole with the arbor shaft. Slide the blade onto the arbor as far as it will go.
Then, secure the blade in place by tightening the arbor bolt with the blade wrench, turning it clockwise. Ensure the blade is snug but not overly tight.
After that, set the miter saw to the desired angle for the cut, if necessary, and adjust the depth of the cut to ensure that the blade will penetrate the acrylic sheet without cutting too deeply.
Step 4: Make the Cut
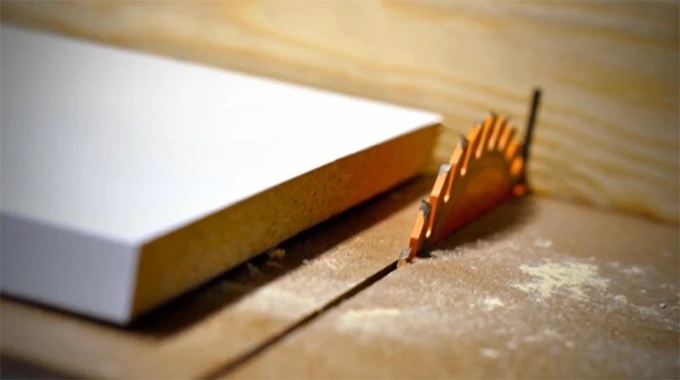
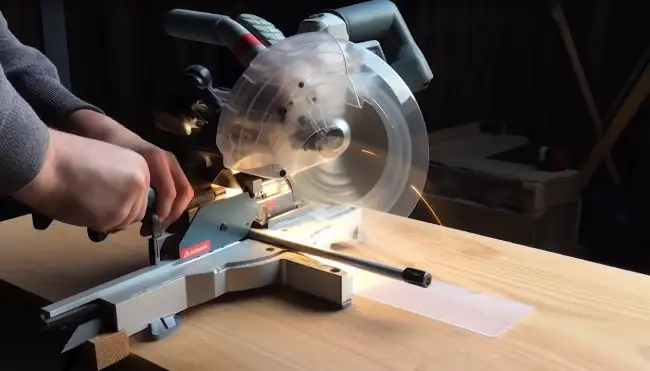
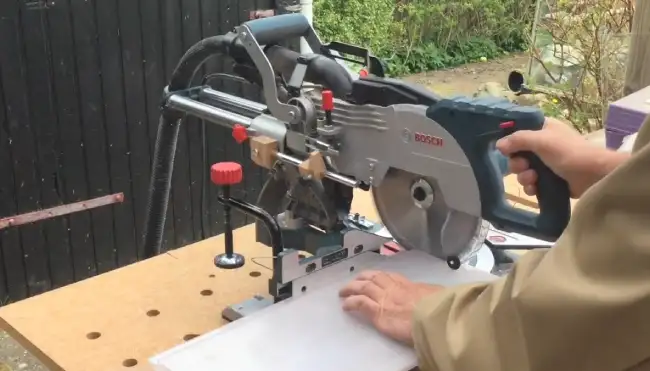
It is now time to make the cut. Position the acrylic sheet on the miter saw’s table, ensuring that it is properly supported and stable.
Align the marked cut line with the blade’s path. Start the miter saw and slowly lower the blade onto the acrylic sheet.
Apply gentle and even pressure to the material. Feeding the acrylic sheet into the blade at a controlled and steady pace is crucial to prevent chipping and melting.
Avoid forcing the material through the blade and keep a smooth, continuous motion to guide the acrylic sheet through the blade.
Consistency in speed will help minimize heat buildup. Remember, safety should always be your top priority when cutting acrylic with a miter saw.
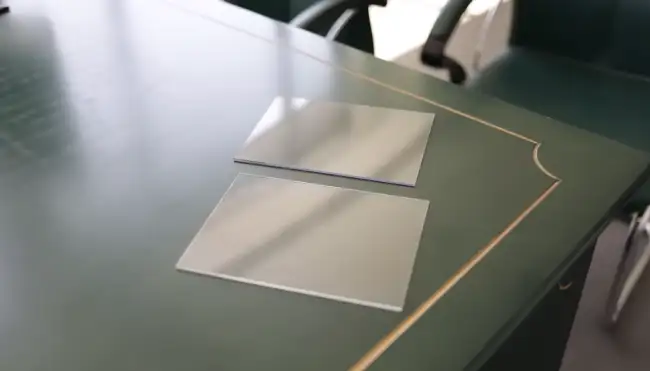
When done correctly, you’ll be left with a precise, smooth cut that is perfect for any DIY project.
Additional Points to Remember When Cutting Acrylic With a Miter Saw
When cutting acrylic with a miter saw, there are several additional points to remember. They’re:
1. Cooling Breaks
You need to take breaks while cutting acrylic with a miter saw to allow the blade and acrylic to cool down and prevent melting or warping. Here are four reasons why cooling breaks are crucial:
- Avoid Melting: Acrylic can melt when exposed to excessive heat, causing the material to become deformed or even ruined. Taking breaks allows the blade and acrylic to cool down, minimizing the risk of melting.
- Prevent Warping: When acrylic gets too hot, it can warp and lose its shape. By giving it time to cool down, you can ensure that the material maintains its intended form and does not become distorted.
- Extend Blade Life: Continuous cutting without breaks can generate significant heat, which can wear down the blade faster. Taking cooling breaks allows the blade to cool down, extending its lifespan and saving you money on replacements.
- Improve Cutting Precision: Heat buildup during prolonged cutting sessions can affect the accuracy of your cuts. By taking cooling breaks, you give the blade and acrylic time to cool, enabling you to maintain precise cuts throughout your project.
2. Zero Clearance Throat Plate
Use a zero-clearance throat plate when cutting small acrylic pieces on your miter saw to prevent chipping or misalignment.
A zero-clearance throat plate is a specialized attachment that sits flush with the surface of the saw’s table, providing support and stability during the cutting process.
It eliminates the gap around the blade, preventing the acrylic material from falling into it and reducing the risk of chipping or misalignment.
The zero-clearance throat plate creates a smooth and level surface for the acrylic to rest on, ensuring clean and precise cuts.
Without this attachment, the small acrylic pieces may be prone to getting caught in the gap, resulting in uneven edges or even damage to the material.
Using a zero-clearance throat plate is essential for achieving professional-looking cuts when working with small acrylic pieces on your miter saw.
3. Backer Board
Using a backer board behind the acrylic sheet provides support and minimizes the risk of chipping during the cut. This simple technique can greatly improve the quality of your cuts when using a miter saw.
Here are four reasons why using a backer board is beneficial:
- Prevents chipping: The backer board acts as a barrier, absorbing the impact of the blade as it exits the acrylic sheet. This helps to prevent any chipping or splintering that may occur.
- Provides stability: The backer board offers a stable surface for the acrylic sheet to rest against, ensuring that it remains in place during the cut. This reduces the chances of the sheet shifting or vibrating, leading to a more accurate cut.
- Supports the material: Acrylic sheets can be flexible and prone to bending, especially when subjected to the force of a miter saw blade. The backer board provides support, keeping the sheet flat and preventing any warping or distortion.
- Easy to make: Creating a backer board is a simple process. You can use a piece of plywood or MDF board that is the same size as your acrylic sheet. Simply clamp it securely behind the sheet, and you’re ready to make your cuts.
4. Hold-Down Clamps
Hold-down clamps are essential to ensure accurate and safe cuts on acrylic with a miter saw. These clamps securely grip the acrylic sheet, preventing movement during cutting.
By securely clamping the acrylic sheet to the miter saw table, you can have peace of mind knowing that the sheet won’t shift or slip, resulting in precise and accurate cuts. This is particularly important when working with acrylic, as its smooth and slippery surface can easily cause the sheet to move if not properly secured.
Additionally, hold-down clamps provide an added level of safety by reducing the risk of kickbacks and potential injuries.
5. Testing and Scrap Material
Before making the final cut, practicing on a scrap acrylic sheet is important. This allows you to refine your technique and ensure proper blade alignment. Here are four reasons why testing on scrap material is essential:
- Technique refinement: By practicing on a scrap sheet, you can experiment with different cutting angles, speeds, and pressures. This helps you find the optimal technique that produces the best results.
- Blade alignment: Testing on scrap acrylic helps ensure that the blade is aligned correctly. This is crucial to avoid misaligned cuts on your final piece and prevent damage to both the material and the saw.
- Material compatibility: Different types of acrylic may require slight adjustments in cutting technique. Testing on scrap material allows you to determine the ideal settings for the specific acrylic you are working with.
- Confidence building: Practicing on scrap material allows you to gain confidence in your cutting abilities and familiarize yourself with the miter saw’s operation. This will help you feel more comfortable and prepared when making the final cut on your intended piece.
6. Avoid Vibrations
Vibrations can negatively impact the quality of your cuts by causing rough edges or chipping. To minimize this issue, you can take a simple yet effective step.
Place a piece of scrap wood on top of the acrylic sheet before making your cut. This additional layer will help absorb some of the vibrations produced by the miter saw, keeping the material steady and reducing the chances of rough cuts or chipping.
7. Avoid Rushing
Take your time and avoid rushing through the cut. Cutting acrylic requires precision and attention to detail to ensure a smooth and clean result. Here are four important reasons why you should avoid rushing when cutting acrylic with a miter saw:
- Prevents chipping: Rushing through the cut increases the risk of chipping the acrylic material. Taking your time allows for a controlled and steady cut, reducing the chances of damaging the edges.
- Ensures accuracy: Rushing can lead to inaccurate cuts, resulting in misaligned pieces or uneven edges. You can ensure that each cut is precise and meets your desired measurements by taking your time.
- Enhances safety: Cutting acrylic requires caution, and rushing can compromise your safety. Taking your time allows you to maintain control over the saw and reduces the risk of accidents or injuries.
Is it necessary to score acrylic before cutting with a miter saw?
Scoring acrylic before cutting with a miter saw is not typically necessary. When using a miter saw, just choose the appropriate blade designed for cutting plastics.
This type of blade usually has a high tooth count and alternate bevel teeth to prevent chipping and melting of the acrylic.
Proper technique and setup are crucial: securing the acrylic sheet tightly, using a slower cutting speed, and supporting the material properly during the cut.
Scoring might be relevant for some complex cuts or delicate acrylic types, but scoring is usually unnecessary for basic miter cuts with the right blade and care.
Can acrylic shatter during cutting with a miter saw?
Acrylic can shatter during cutting with a miter saw. The high-speed rotation of the miter saw blade generates heat and friction, which can cause the acrylic to melt or soften. This can lead to the acrylic binding to the blade or experiencing excessive stress, resulting in cracking or shattering.
To minimize the risk of shattering, it’s important to use a fine-toothed blade with a low tooth count, maintain a slow cutting speed, and support the acrylic properly to prevent it from vibrating or flexing during the cutting process.
Also, masking tape on the cut line can help reduce chipping and cracking. Safety precautions, such as wearing safety goggles and using proper ventilation, should always be taken when cutting acrylic with power tools.
Can you cut curved or intricate shapes in acrylic using a miter saw?
Using a miter saw, you cannot cut curved or intricate shapes in acrylic. Miter saws are designed for making straight cuts at various angles, typically for woodworking and construction materials. Acrylic is a brittle and sensitive material that can crack, chip, or shatter if not cut properly.
To cut curved or intricate shapes in acrylic, it’s recommended to use tools like a jigsaw, scroll saw, laser cutter, or CNC router specifically designed for precision cutting such materials. These tools allow for greater control and accuracy when working with acrylic and other delicate materials.
Cut Acrylic With a Miter Saw and Unleash Your Creativity
It is obvious that cutting acrylic with a miter saw is possible, opening up a realm of creative possibilities for your projects.
You can confidently tackle acrylic cutting projects by selecting the appropriate fine-toothed blade, taking safety precautions, and setting up your miter saw accurately.
Be sure to mark your cut line, secure the acrylic sheet, and proceed with a steady, controlled feed rate. Utilizing tools like a zero-clearance throat plate, backer board, and hold-down clamps can further enhance the quality of your cuts. Whether crafting intricate designs or making precise angles, getting good at cutting acrylic with a miter saw empowers you to achieve professional results.