Can You Cut 45 Degree Angles With a Circular Saw: Easy 4 Steps
Achieving precise and accurate cuts is a fundamental skill in woodworking, and one challenge that often arises is cutting materials at a 45-degree angle. You will get different results in different saws, but can circular saws cut 45-degree angles?
Based on my research, I can tell you that cutting 45-degree angles with a circular saw is possible. It’s quick and easy with the right technique and equipment, and with appropriate steps, you can get perfect results every time.
Here, I’ll explain how easily you can achieve 45° angled cuts using a circular saw. Get ready to elevate your woodworking skill with the precision and accuracy of 45-degree angles.
How Can You Cut 45 Degree Angles With a Circular Saw: Steps to Follow
According to my findings, you should follow four key steps to cut 45-degree angles with a circular saw.
- Preparation and marking
- Setting up the circular saw
- Making the 45-degree cut:
- Confirm alignment
- Start the circular saw
- Press against the speed square
- Maintain a controlled pace
- Complete the cut
- Finishing touches
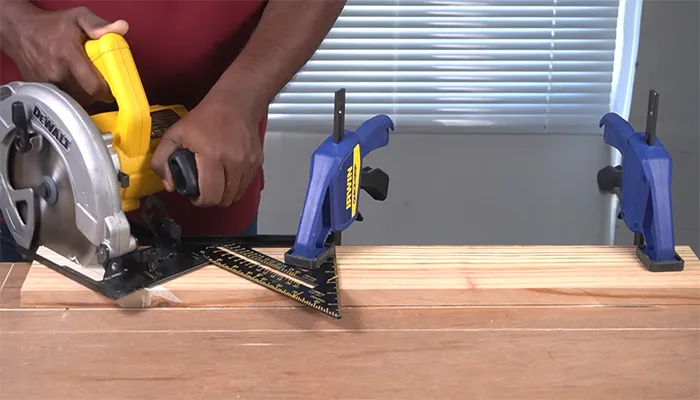
Step 1. Preparation and Marking
I recommend preparing the workpiece and securing it firmly in place using clamps. This ensures stability and prevents any movement during the cutting process.
Mark a clear and precise 45-degree angle on the material using a miter or speed square. By using a miter or speed square as a guide, you can ensure accurate alignment for the upcoming cut. Take the time to measure and mark the angle accurately to achieve a precise cut.
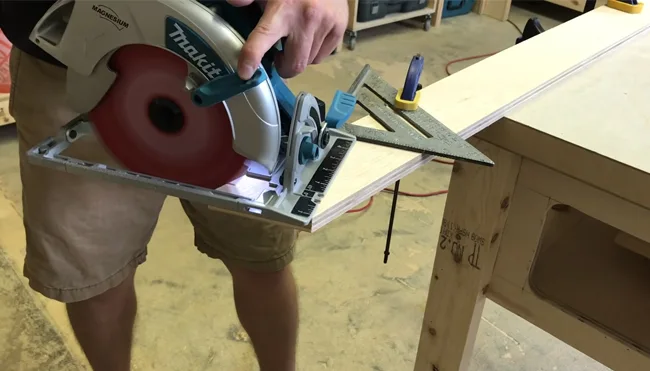
Step 2. Setting Up the Circular Saw
Next, select a circular saw blade with a sharp edge if the angle is specifically cut for doors. Then, measure the offset from the circular saw blade to the base plate edge. This measurement is important for accurate cutting. Once you’ve determined the offset, clamp the speed square at this point to serve as a guide for the saw.
If your circular saw has an adjustable blade angle feature, set it to 45 degrees. However, if your saw lacks this feature, you can create a 45-degree triangle section hollow base to provide guidance.
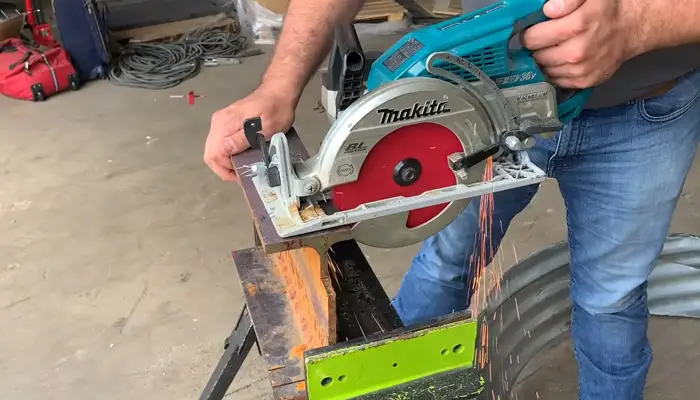
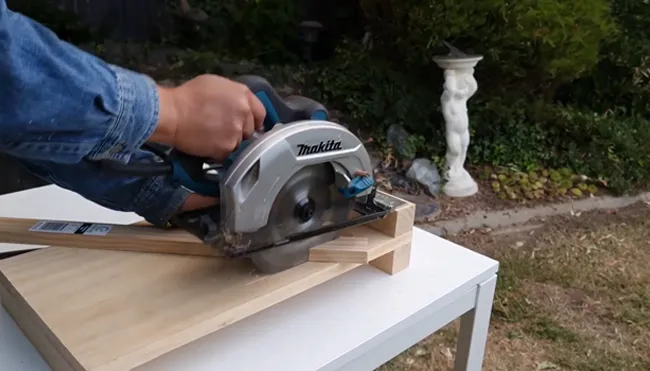
Step 3. Making the 45-Degree Cut
Now that your workpiece and saw are ready, you can start cutting.
i) Confirm Alignment
I strongly advise confirming alignment by precisely aligning the circular saw blade with the marked 45-degree line on the material to ensure accurate cuts. This step is crucial for achieving precise and clean 45-degree angles.
Start by positioning the saw blade just above the marked line and adjust the angle of the blade until it aligns perfectly with the line. Take your time to make small adjustments until the alignment is spot on. I believe double-checking and confirming alignment will prevent errors and ensure a successful cut.
ii) Start the Circular Saw
Engage the power button on the circular saw and allow the blade to reach full speed before you initiate the cut. This ensures that the blade operates at its maximum efficiency, reducing the risk of any potential accidents or blade jams.
Hold the saw firmly with both hands as the blade spins, maintaining a steady grip on the handles. This stability is crucial for maintaining control and accuracy throughout the cutting process.
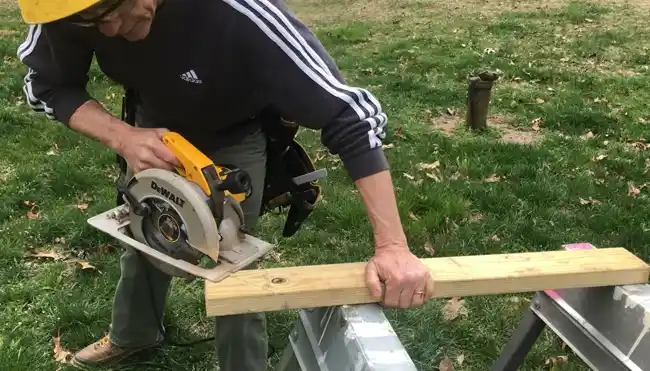
iii) Press Against the Speed Square
Firmly press the saw shoe against the speed square to maintain the 45-degree angle. This ensures that the saw follows the guide and prevents any deviation from the intended angle.
iv) Maintain a Controlled Pace
To maintain a controlled pace while cutting 45-degree angles with a circular saw, it’s important to focus on controlling the speed of the saw. You can ensure the blade cuts smoothly through the wood by applying consistent pressure and maintaining a steady hand.
Avoid rushing the cut, as excessive speed can compromise accuracy and result in a jagged or uneven finish. Take your time, maintain a steady rhythm, and let the saw do the work for a clean and precise cut.
v) Complete the Cut
To complete the cut, staying focused and maintaining a steady hand is crucial. As you approach the end of the material, guide the saw along the marked line without any sudden movements. Apply consistent pressure against the speed square to ensure a smooth and precise cut.
Step 4. Finishing Touches
After completing the cut, addressing any irregularities is important to achieve a professional look. For the finishing, I advise using a rasp or sandpaper to refine the edge and achieve a smooth finish. You can also use an angle grinder with safety precautions for a sophisticated look.
Using a rasp or sandpaper will allow you to carefully remove any rough edges or burrs that may be present. Start by gently running the rasp or sandpaper along the cut edge, applying even pressure, and moving smoothly and consistently. This helps smooth out imperfections and create a clean, polished finish.
How do I measure a 45 degree angle cut without a speed square?
Without a miter or speed square, I found a practical method to measure and achieve a 45-degree angle cut that involves creating a makeshift guide.
Begin by measuring back the board’s width from one corner and marking a spot at that distance. Subsequently, draw a straight line from this marked spot to the opposite corner of the board. This line will naturally form a 45-degree angle, providing a reliable guide for your circular saw.
With this improvised guide in place, cut along the drawn line using your circular saw. It will ensure accuracy in achieving the desired 45-degree angle without requiring specialized measuring tools.
How do I prevent splinters while making 45-degree cuts?
I recommend masking tape along the intended cut line to prevent splinters while making 45-degree cuts with a circular saw.
The masking tape is a barrier, preventing the wood fibers from splintering or tearing as the saw blade cuts through. This technique is simple yet effective in minimizing wood tear-out and ensuring a cleaner edge on the finished cut.
Using a Circular Saw to Cut 45-Degree Angles
Using a circular saw to cut 45-degree angles opens up possibilities for woodworkers seeking precision and versatility in their projects. By following the outlined steps, from meticulous preparation and accurate marking to the controlled execution of the cut, you can elevate the quality of your work.
I believe that when used with skill and attention to detail, the circular saw is a reliable ally in achieving seamless and accurate 45-degree angles. This provides both efficiency and accuracy for woodworking enthusiasts and professionals alike.
So, don’t be intimidated by the complexity of these cuts. With a little practice and attention to detail, you’ll soon be a master of 45-degree angles with your trusty circular saw.