Can Pressure Treated Wood Be Painted? The Right Way
You can paint pressure treated wood, but first you’ve got to let it dry fully—usually until it hits about 19% moisture. Clean the surface well, sand lightly, and use a water-based exterior primer made for this wood type.
Choose high-quality latex paint for flexibility and durability. Seal the ends and fasteners for best results. Following these prep and painting steps helps prevent peeling and makes certain lasting coverage. Keep going to discover the best products and detailed techniques.
Key Takeaways
- Pressure-treated wood can be painted only after it dries to about 19% moisture content for proper paint adhesion.
- Use the water-drop test to ensure wood dryness before painting; drops should absorb within one minute.
- Clean, sand, and prime the wood with a water-based exterior primer designed for pressure-treated lumber.
- Apply high-quality water-based latex or acrylic paint for flexibility and UV resistance on pressure-treated wood.
- Wait several weeks after treatment for moisture and chemical leaching to subside, reducing peeling and staining risks.
Understanding the Drying Process for Pressure Treated Wood

Although pressure-treated wood arrives ready for use, you can’t paint or stain it immediately because its high moisture content, ranging from 35% to 75%, prevents proper adhesion.
To make certain paint sticks well, the wood needs to dry to about 19% moisture content. You can air dry it by stacking the lumber in a ventilated, shaded spot with supports for airflow. Proper stacking with stickers between boards promotes even airflow and reduces warping risk. Applying finishes like tung oil requires ensuring the wood is fully dry to allow proper curing and polymerization of the protective film.
This process takes weeks or months depending on weather. Alternatively, kiln drying uses controlled heat and airflow to reduce moisture quickly in 24 to 48 hours, sometimes right after treatment (KDAT).
Keep in mind, drying times vary by wood species, thickness, temperature, and humidity. For example, fence boards dry faster than thick posts.
Testing moisture with water drops helps confirm dryness before painting or staining.
Preparing Pressure Treated Wood for Painting
Once your pressure-treated wood has dried to the appropriate moisture level, the next step is to prepare its surface for painting.
Start by thoroughly cleaning the wood with a detergent or trisodium phosphate (TSP) cleaner to remove dirt, mildew, and chemical residues. Since pressure-treated wood often arrives wet from the treatment process, ensuring it is fully dry helps avoid adhesion problems caused by trapped moisture. It is also important to seal porous edges to prevent moisture damage and improve paint durability.
Begin by scrubbing the wood with detergent or TSP cleaner to eliminate dirt, mildew, and chemical residues.
Rinse well with clean water or a low-pressure washer and let it dry 24–48 hours.
Scrub stubborn grime with a stiff nylon brush and treat mildew with a specific cleaner if needed.
Test for residual chemicals using denatured alcohol.
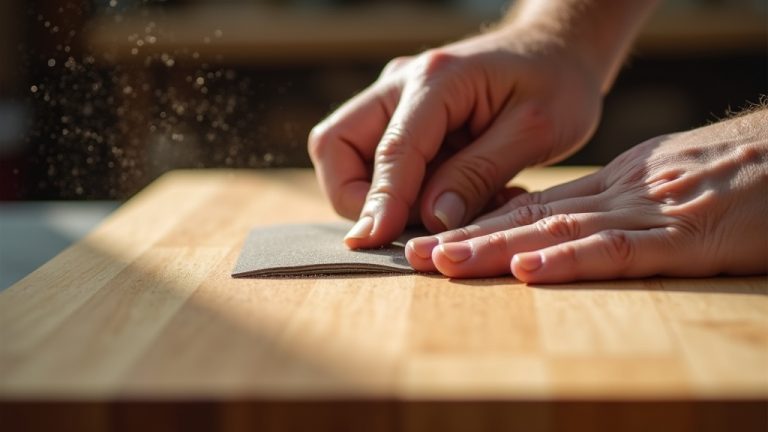
Lightly sand the surface with 80–120 grit sandpaper to smooth raised grain and remove loose fibers.
Address knots by applying a shellac-based sealer and replace any severely damaged boards.
Finally, remove all sanding dust and re-clean before priming to ensure proper adhesion and long-lasting finish on the pressure-treated wood.
Choosing the Right Paint and Primer
Selecting the right paint and primer is vital for guaranteeing durable, long-lasting protection on pressure-treated wood.
Choose a high-quality water-based exterior latex or acrylic paint, as these offer flexibility and UV resistance.
Avoid oil-based paints since they poorly adhere and react with retained moisture.
Opt for satin or semi-gloss finishes for durability and easy cleaning.
Use an exterior primer labeled for pressure-treated wood, preferably water-based, with stain-blocking properties to control tannin bleed.
A tinted primer matching your topcoat color reduces coats needed.
Always apply primer on clean, dry wood and allow full curing before painting. It is important to wait approximately two to four months after treatment for the wood to dry properly, as surface moisture and seeping chemicals can cause paint rejection.
Buy primer and paint from the same manufacturer to guarantee compatibility.
Multiple thin coats improve flexibility and prevent cracking.
Focus on sealing end grains and fastener heads where moisture penetration is highest for best results. Regular maintenance of painted surfaces will help preserve the finish and extend the lifespan of the coating.
Step-by-Step Painting Guidelines
Before you start painting pressure-treated wood, you need to make certain the surface is completely dry and clean. Wait 4–12 weeks for drying, or use the water-droplet test to check readiness. Drops should absorb within a minute.
Pressure-treated wood, especially when freshly treated, often requires extended drying time to allow preservatives to settle properly in the lumber drying period. To prevent surface cracks during this process, it is important to ensure controlled drying environments to avoid rapid moisture loss.
Ensure pressure-treated wood is fully dry and clean before painting; use the water-droplet test to confirm readiness.
Clean thoroughly with a mild detergent or oxygen bleach, rinse well, and let it dry 24–48 hours. Lightly sand raised grain or rough spots with medium-fine grit sandpaper, and seal cut ends with primer to prevent moisture absorption.
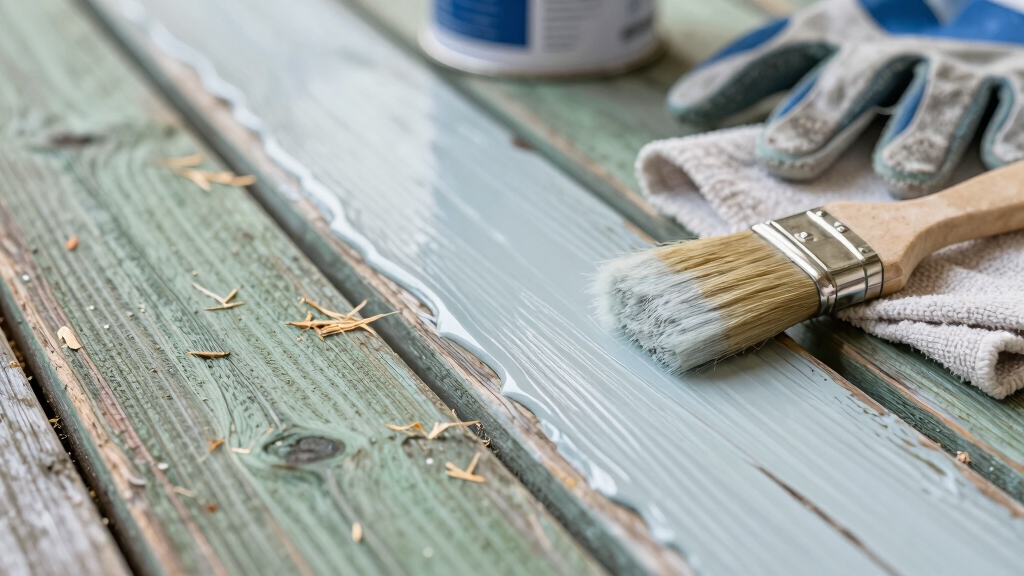
Apply an exterior primer designed for pressure-treated wood in thin, even coats. Work with the grain and maintain a wet edge to avoid lap marks. Don’t forget extra primer on end grain and fasteners.
Let primer cure fully before applying your topcoat to guarantee lasting adhesion and protection.
Common Challenges and Maintenance Tips
Even with proper surface preparation and priming, you’ll face common challenges when painting pressure-treated wood, especially related to moisture and chemical interactions. Pressure-treated wood is infused with chemical preservatives that protect against rot and pests but can affect paint adhesion.
Moisture can cause peeling and blistering if the wood isn’t fully dry. Chemicals may leach through paint, causing stains. Regular maintenance is essential to prolong paint life and wood integrity. Selecting the right waterproof sealants and applying them properly helps protect the wood and paint layers from moisture damage.
| Challenge | Cause | Solution |
|---|---|---|
| Moisture retention | Freshly treated wood | Wait weeks; perform water-drop test |
| Chemical leaching | Preservatives reacting | Wash wood after drying; use exterior latex paint |
| Surface roughness | Treatment texture | Sand thoroughly; apply two primer coats |
Inspect regularly and touch up early. Repaint every few years for best results.
Frequently Asked Questions
How Does Pressure Treatment Affect Wood’s Natural Color Over Time?
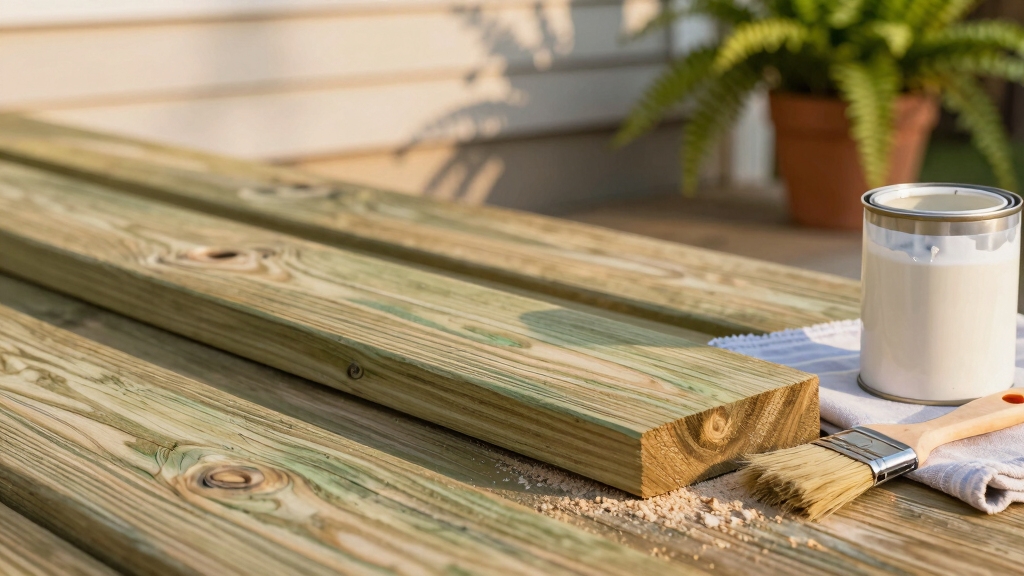
Pressure treatment changes wood’s natural color by adding copper-based chemicals that give it a greenish or brownish tint at first.
Over time, sunlight and moisture cause this color to fade, shifting from green to warm brown, then eventually to a silver-gray patina.
You’ll notice this fading happens faster in direct sunlight and slower in shaded or ground-contact areas.
Expect color variation across boards, especially early on, before natural weathering evens things out.
Can Pressure Treated Wood Be Stained Instead of Painted?
You can absolutely stain pressure-treated wood—it’s like giving your wood a breathable jacket instead of a suffocating coat.
Just wait until it’s dry, which could take weeks unless it’s kiln-dried.
Use oil-based stains with UV protection for best results, and test dryness by seeing if water soaks in.
Staining lets the wood age naturally without peeling, making it perfect if you prefer a more natural look over paint’s opaque coverage.
Is It Safe to Burn Scrap Pressure Treated Wood?
No, you shouldn’t burn scrap pressure treated wood.
Burning releases toxic chemicals like arsenic, chromium, and copper, which can cause serious health issues like respiratory problems and increased cancer risk.
The ash is even more hazardous and can contaminate soil and groundwater.
Instead, contact your local waste authority for safe disposal options.
Always avoid burning treated wood to protect your health, neighbors, and the environment.
What Are the Environmental Impacts of Pressure Treated Wood?
You should know pressure-treated wood releases harmful chemicals like arsenic, chromium, and copper into soil and water, sometimes exceeding safety limits.
For example, vegetable gardens near treated beds can see a ten-fold increase in arsenic.
These metals leach more in acidic or sunny conditions, impacting aquatic life and soil health.
Also, disposing of treated wood improperly risks contaminating groundwater.
How Do I Identify Pressure Treated Wood on a Job Site?
You identify pressure treated wood by looking for stamps or tags marked PT, CCA, or similar on board ends.
Check for a greenish or brownish tint, small incisions, or a slightly oily feel.
Inspect cut ends for darker penetration zones. If markings are missing, ask your supplier and keep documentation.
For certainty, use XRF testing or chemical kits on-site.
Always verify both ends and leftover cutoffs, as stamps often appear there.
The Smart Way to Paint Pressure Treated Wood Successfully
Now that you know how to properly dry, prepare, and paint pressure treated wood, you’re ready to tackle the job without breaking a sweat. Remember, patience is key; rushing can lead to peeling or uneven finishes.
By choosing the right primer and paint, and following each step carefully, you’ll give your wood a durable, fresh look that stands the test of time. With this approach, you’ll hit the nail on the head every time.