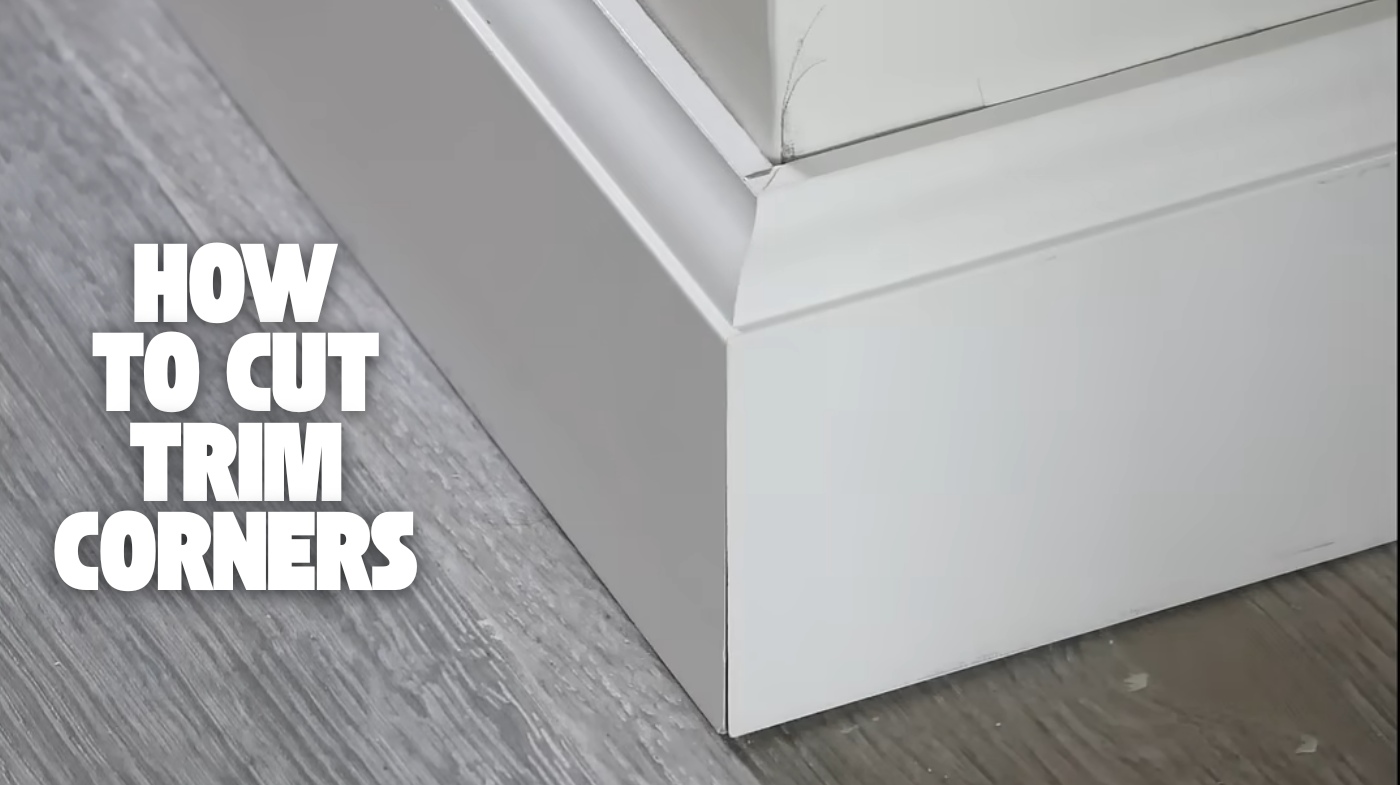
How to Cut Trim Corners? Step-by-Step Guide for Perfect Fits
To cut trim corners accurately, first measure the exact corner angle using an angle finder or protractor and mark your trim accordingly. Use a miter saw set to half the corner angle for clean miter cuts or a coping saw for tight inside corners.
Always hold the trim firmly against the fence and dry fit pieces before final placement. Sharp blades and careful adjustments help accommodate wall imperfections. Keep following for detailed methods to master these essential cutting techniques.
Key Takeaways
- Measure the exact corner angle with an angle finder or protractor before cutting to ensure accurate miter settings.
- Use a compound miter saw set to half the corner angle for precise outside or inside miter cuts.
- For inside corners, cope one piece by cutting a 45° miter and tracing its profile onto the adjoining trim for a tight fit.
- Hold trim firmly against the saw fence and dry fit pieces before final installation to adjust for wall irregularities.
- Use sanding, filing, or caulking to refine joints and fill small gaps for a professional finish.
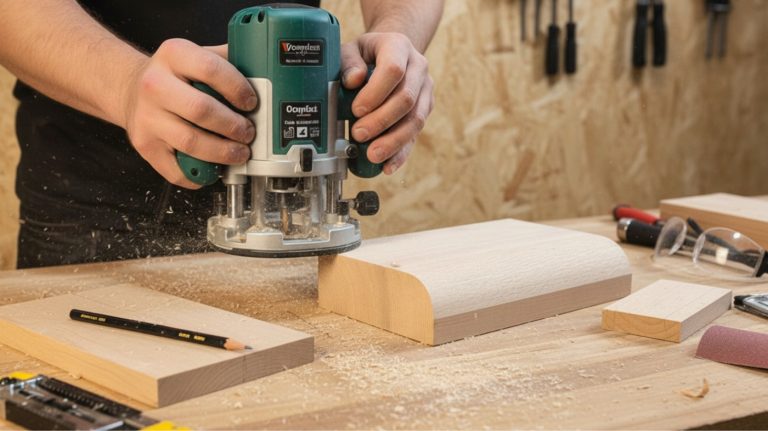
Essential Tools for Cutting Trim Corners
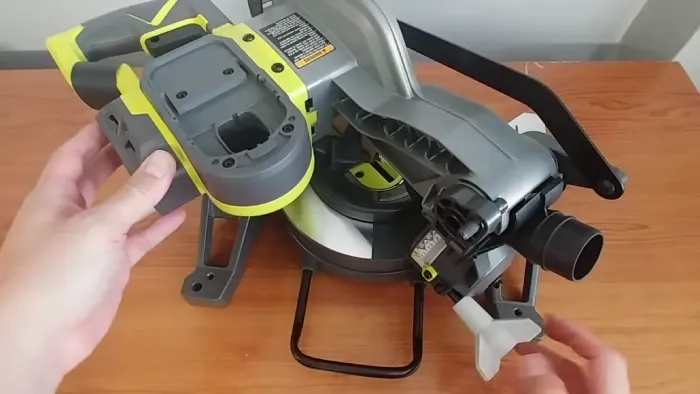
When cutting trim corners, having the right tools is essential for achieving clean, precise joints. A compound miter saw is your primary tool, allowing you to set exact angles for inside, outside, and bullnose corners. Sliding compound miter saws handle larger baseboards and complex cuts efficiently.
Confirm the blade and angle settings are accurate for seamless joints. Using a saw with an adjustable bevel capability can further enhance the accuracy of angled cuts.
For smaller projects or where power tools aren’t available, a miter box with a hand saw lets you make consistent 45° and 90° cuts, relying on steady control and precise marking. The miter box features slots for various angles such as 90°, 45°, and 22 1/2°, which help guide accurate cuts. Coping saws assist in creating tight inside corner joints by profiling molding edges, requiring skillful handling.
Scroll saws, jigsaws, circular saws, and table saws complement these tools for specialized cuts and larger trim sections, with circular saws benefiting from adjustable bevels to accommodate various trim angles.
Measuring and Identifying Corner Angles
Start by selecting the right tool for measuring your trim corner angles. Angle finders and speed squares offer quick, accurate readings.
Next, identify if the corner is inside or outside, since this affects how you’ll calculate and cut the trim. Ensuring proper blade alignment during cutting is essential to maintain accuracy and avoid errors.
Accurate angle measurement and corner type recognition are critical for precise miter cuts and clean joints. To achieve the most precise cuts, always use an angle finder to determine the exact wall or corner angle before setting your saw.
Tools for Angle Measurement
Although measuring corner angles can seem straightforward, selecting the right tools is essential for accuracy and efficiency in trim work. Start with basic manual tools like speed squares, bevel gauges, and traditional protractors to measure standard angles such as 45° and 90°. Protractors are ideal for quick measurements of standard angles. Regularly calibrating your measuring tools ensures ongoing accuracy and helps prevent costly mistakes.
Manual angle finders with pivoting arms let you replicate angles quickly on-site. For higher precision, digital angle gauges provide accurate LCD readings and features like self-leveling and relative angle checking, simplifying complex cuts.
Brands like General Tools, Bosch, and Klein offer reliable digital options, some with magnetic bases for stability. Specialty aluminum bevel gauges and magnetic angle locators offer durability and hands-free operation, perfect for complex or heavy-duty applications.
Always lock and transfer your measurements carefully to ensure tight, gap-free trim corners every time. Additionally, understanding how to properly square a miter saw significantly improves the precision of your angle cuts.
Identifying Corner Types
Because accurate trim cutting depends on understanding the exact corner type, you need to identify whether you’re dealing with inside, outside, bullnose, or non-standard angles before measuring.
Inside corners form concave junctions; outside corners are convex. Bullnose corners require special consideration due to their rounded profile. Non-standard angles like 45° or 135° appear in custom layouts. Proper identification prevents self-loosening of joints during installation.
Use tools such as a framing square, protractor, or digital angle finder to measure precisely. The 3-4-5 triangle method helps verify 90° angles, while diagonal measurements detect squareness by comparing lengths. Maintaining squareness from the start is crucial to prevent compounding errors in later cuts.
For complex angles, double-check with multiple methods and mark clearly. Document each corner’s angle and type, accounting for trim thickness variations. This systematic identification guarantees precise miter cuts and seamless trim installation.
Preparing Baseboards for Inside Trim Corners
Start by accurately measuring the wall lengths and transferring those measurements to your baseboards, marking both the butt cut and coping lines.
Use a protractor or digital angle finder to confirm corner angles, adjusting your cuts accordingly. Applying a miter saw lubricant can improve the precision and ease of angled cuts.
Then, select the appropriate cutting method—miter saw for precise angles and coping saw for shaping—to guarantee a tight, professional fit at inside corners.
Coping baseboards involves cutting the corners of baseboards for a seamless fit, which helps to hide gaps that can occur with traditional miter cuts and allows for better alignment with uneven walls. This technique improves the appearance of baseboard installations.
Measuring and Marking
When preparing baseboards for inside trim corners, you’ll first cut one piece with a butt joint that fits squarely and flush against the wall.
Measure the wall length accurately by using a speed square to guide your tape from one corner to the other, recording the full distance including the square’s length.
Add the thickness of any existing trim to your measurements. Lay the baseboard flat on the saw table to mark cuts precisely, using a sharp pencil for crisp lines. It’s important to ensure proper blade tension while cutting to prevent blade breakage and maintain accuracy.
Hook the tape on the long point of a 45° miter cut for exact measurements. Mark the front face of the baseboard for returns, factoring in thickness for opposing cuts.
Record all dimensions directly on the stock to guarantee accuracy during cutting and fitting, and be sure to add 10% to your total measurements to account for waste.
Choosing Cutting Methods
After measuring and marking your baseboards accurately, deciding how to cut the inside trim corners becomes your next focus. You can choose between the miter cut or coping methods, each with specific advantages.
- Miter Cut: Set your miter saw angle slightly under 45 degrees (around 44°) to compensate for uneven walls and drywall mud buildup, ensuring a snug fit. Use a digital angle finder to measure actual corner angles for precision. If you don’t have a miter saw, you can convert a circular saw to perform angled cuts with some modifications.
- Coping Method: Cut the profile of one piece to fit over the adjoining face. This method handles irregular angles better but demands more skill and time. This approach is especially effective for typical inside corners, which are often imperfect and inward-facing at about 90°, making coping a preferred technique.
- Fit Improvement: Employ test cuts and shaving techniques, like the “Popsicle Stick Trick,” to refine miter joints without coping.
Choose based on wall conditions, skill level, and desired finish quality.
Step-by-Step Guide to Miter Cutting Trim Corners
Although miter cutting trim corners requires careful measurement and setup, following a precise step-by-step process guarantees clean, tight joints.
First, measure the trim length, factoring in the angled cut length. Using a hardened circular saw blade can improve cut precision and blade longevity.
Begin by measuring the trim length, including the additional length needed for the angled cut.
Set your miter saw to 45 degrees, adjusting bevel and miter angles as needed for the specific corner type and trim profile. When cutting larger crown molding, be sure to adjust bevel to 33.9° and set your miter accordingly for an accurate fit.
Position the trim with its backside flat against the fence, ensuring alignment. Cut the first piece at 45 degrees, then flip the trim, setting the saw to the complementary 45-degree angle for the mating piece.
Always test fit both pieces to confirm a perfect 90-degree corner. If the wall corner isn’t square, slightly adjust your angles. Secure the trim firmly during cutting to maintain accuracy and avoid gaps.
Techniques for Coping Inside Trim Corners
Mastering coping techniques for inside trim corners guarantees tight, durable joints that outperform traditional miter cuts, especially on uneven or non-square walls. First, cut one molding piece square with a 45-degree miter to expose the profile.
Next, trace this profile onto the adjoining piece’s end, guiding your coping saw to cut precisely along the contour with a slight back-cut angle. This back cut allows the molding profile to slide perfectly over the adjoining piece for a flawless joint.
Finally, remove waste material at sharp turns and refine the edge with sandpaper or files for a snug fit. Regular blade maintenance and ensuring your saw blade is sharp will help achieve clean and accurate coping cuts.
Key steps to guarantee success:
- Use a fine-tooth coping saw set for push-stroke cutting to follow curves cleanly.
- Always install the square-cut molding first, then cope the mating piece.
- Make final fit adjustments carefully to eliminate gaps and accommodate wood movement.
This technique achieves seamless joints that remain tight despite wall or wood imperfections.
Adjusting Cuts for Non-Standard Angles and Wall Imperfections
When working with non-standard angles or imperfect walls, you’ll need to measure the exact corner angle using a sliding bevel or digital angle finder to guarantee precise cuts. Take measurements near the baseboard height to capture wall irregularities accurately. Using an angle finder or digital T-bevel can make this process easier and more accurate.
Calculate the miter angle by dividing the corner angle by two, or for obtuse corners, subtract from 180° first. Set your miter saw to this exact angle rather than defaulting to 45°.
Dry fit cut pieces and adjust bevel or miter settings incrementally if gaps appear. For uneven surfaces, incorporate relief cuts or scribe molding edges to match contours. Use sanding, filling, or caulking to address unavoidable gaps.
Tips for Achieving Tight, Professional-Looking Corners
To achieve tight, professional-looking corners, you need to focus on precise measurements and careful cutting techniques. First, measure the actual corner angle using an angle finder—never assume it’s 90 degrees. Then divide that angle by two to set your miter saw accurately.
Second, hold the trim firmly against the saw fence and base, ensuring consistent positioning during cuts to avoid gaps. Third, perform a dry fit before final installation; slight angle tweaks plus or minus 0.5° can eliminate small gaps caused by irregular walls.
For inside corners, consider coping one piece to fit snugly over the other, compensating for imperfections. Mark all angles and cuts clearly to reproduce consistent results.
These steps guarantee tight joints and a clean, professional finish every time. Additionally, using a dust collection system with a high capture rate can help maintain clear visibility and a cleaner workspace during cutting.
Common Mistakes to Avoid When Cutting Trim Corners
Although cutting trim corners seems straightforward, overlooking common mistakes can compromise fit and finish. First, never assume walls form perfect 90-degree angles; always measure with a digital angle finder or T-bevel to capture true angles, especially since drywall mud alters corners.
Avoid relying solely on factory miter presets without adjustments. It is helpful to use a sliding bevel to accurately measure and divide the wall angle before marking cuts.
Accurate angle measurement is key—never trust factory presets or assume perfect corners when cutting trim.
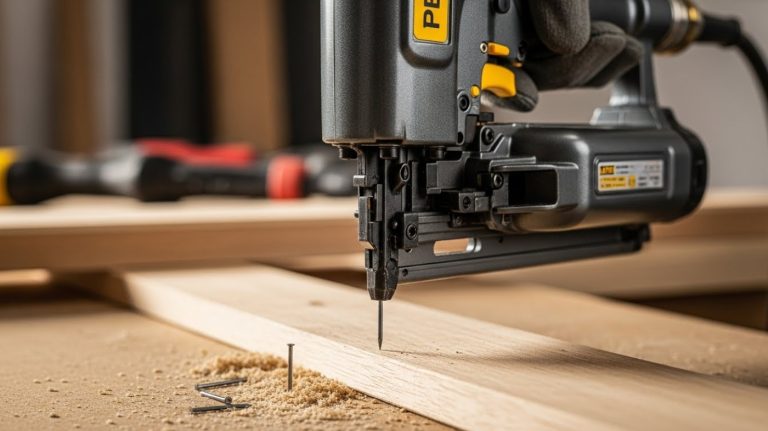
Next, apply steady, moderate pressure when cutting—excessive force causes chipping and uneven edges. Secure the baseboard firmly to prevent movement and start cuts only when the saw reaches full speed.
Measure directly against walls, allowing slight clearance for fit, and round measurements to the nearest 1/16 inch. Ultimately, prep surfaces by cleaning drywall compound and accounting for bevels or rounded edges to ensure tight, flush joints. Ignoring these will waste material and degrade your project’s quality.
Frequently Asked Questions
Can I Use a Hand Saw Instead of a Miter Saw for Cutting Trim Corners?
Yes, you can use a hand saw to cut trim corners, especially if you pair it with a manual miter box for better accuracy.
While it requires more skill and time compared to a miter saw, it’s practical for small projects or occasional use.
Just guarantee you practice proper technique and maintain steady control to achieve clean, precise cuts.
For frequent or complex angles, a miter saw is more efficient.
How Do I Paint Trim After Cutting and Installing Corners?
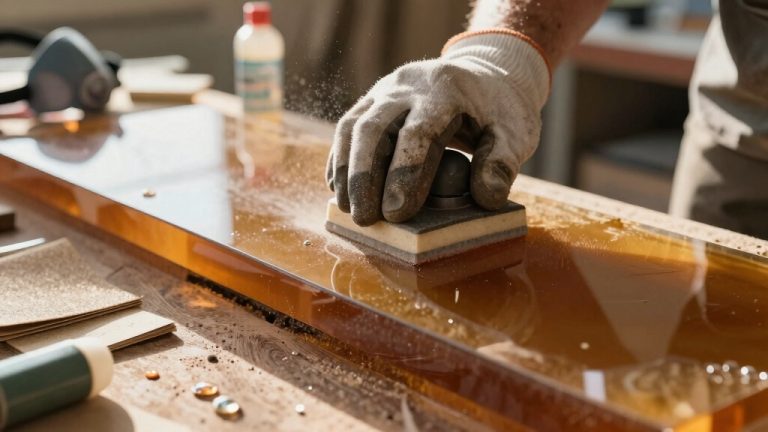
After cutting and installing corners, clean and sand the trim to guarantee smoothness and paint adhesion.
Apply caulk to gaps, then let it dry.
When painting, start about 1/4 inch from the edge, working carefully toward corners with a high-quality angled brush or mini roller.
Load paint lightly, and use steady strokes for even coverage.
Remove painter’s tape immediately after the final coat while the paint is still wet to avoid peeling.
What Type of Wood Is Best for Baseboards and Trim?
Imagine you’re upgrading your living room trim on a budget but want durability. Pine baseboards work best for you; they’re affordable at about $0.85 per linear foot, easy to cut, and accept paint or stain well.
For high-traffic or upscale areas, consider oak for its strength and classic look, though it’s pricier.
MDF suits painted finishes but avoid moisture-prone spots.
Choose based on location, wear, and finish to balance cost and performance.
How Do I Remove Old Trim Without Damaging Walls?
To remove old trim without damaging walls, start by scoring all caulk seams with a sharp utility knife to prevent drywall paper tearing.
Insert a putty knife behind the trim to protect the wall, then gently pry using a trim-pulling tool or pry bar, placing a thin wood block between the tool and wall.
Work incrementally from an outside corner, tapping lightly with a hammer to loosen nails.
Remove nails from trim backs to preserve surfaces and avoid excessive force.
Can Trim Corners Be Cut for Exterior Use or Only Interior?
About 60% of trim failures outdoors stem from using improper materials. You can cut trim corners for both exterior and interior use, but you must choose weather-resistant materials like PVC or treated wood for exteriors.
Cutting techniques remain similar—miter cuts at 45º—but you need to sand and seal cut edges to prevent moisture damage.
Use corrosion-resistant fasteners and exterior-grade sealants to guarantee durability and protect against the elements.
Master Your Trim Corners: Next Steps to a Polished Finish
Cutting trim corners is like fitting puzzle pieces together; you need precise measurements, sharp tools, and steady hands. By mastering miter cuts and coping techniques, you’ll guarantee seamless joints that enhance any room’s look.
Remember to adjust for imperfect angles and avoid common pitfalls to keep your work professional and tight. With practice and attention to detail, your trim corners will fit perfectly, giving your space a polished, finished appearance every time.