Best Way to Stain a Fence: Expert Tips for Lasting Results
To stain your fence effectively, start by thoroughly cleaning and drying it, removing any dirt, mold, and old residue. Sand the surface to open wood pores for better stain absorption. Choose an oil-based or water-based stain suited to your wood and climate, applying it evenly with a brush or sprayer during mild, dry weather. Reapply based on the stain type’s durability.
Following these steps guarantees long-lasting protection and finish. Explore best practices to maximize your fence’s lifespan and appearance.
Key Takeaways
- Thoroughly clean and dry the fence, removing dirt, mold, and old residues for optimal stain adhesion.
- Choose the right stain type (oil-based, water-based, or hybrid) and opacity level based on wood species and condition.
- Sand rough spots and repair damaged boards or hardware before staining to ensure a smooth, durable finish.
- Apply stain in moderate temperatures, using brushes, rollers, or sprayers with back-brushing for even coverage.
- Re-stain every 1-5 years depending on opacity, and maintain with regular inspections, cleaning, and timely repairs.
Choosing the Ideal Stain for Your Fence
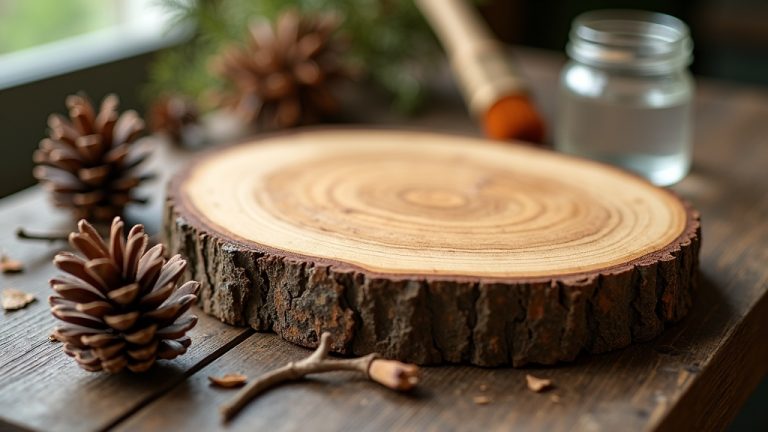
When choosing the ideal stain for your fence, you need to contemplate both the type of stain and its base composition to match your wood’s condition and desired appearance. Transparent stains highlight natural grain and texture, ideal for new or well-maintained wood.
Semi-transparent stains provide subtle tinting and good protection, suitable for fences in good condition. Solid stains offer complete coverage, masking imperfections on weathered or patched fences. Regarding base composition, water-based stains dry quickly, are eco-friendly, and suit decay-resistant woods like cedar.
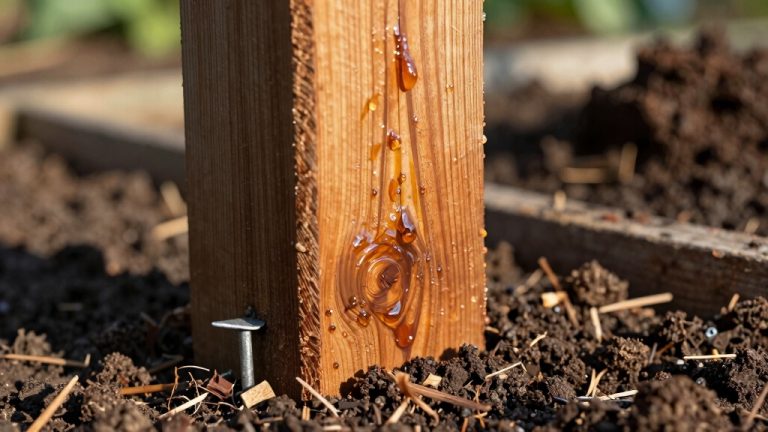
Oil-based stains penetrate deeply, enhancing grain and water resistance but involve higher VOCs and solvent cleanup. Hybrid stains combine durability and easier cleanup with low VOCs. Select stain based on wood type, fence condition, desired look, and environmental factors to ensure optimal longevity and appearance.
Many products tested showed that oil-based stains are preferred for cedar and pine because they offer longer-lasting protection and better penetration than water-based options. Proper surface preparation, similar to cleaning and preparation in welding, is critical to ensure the stain adheres well and lasts longer.
Preparing Your Fence for Staining
Start by thoroughly cleaning your fence to remove dirt, mold, and old residue that can interfere with stain adhesion. It is important to let the fence dry completely before applying the stain to ensure proper absorption and finish quality. Regular cleaning also helps prevent buildup that can affect the surface, similar to the importance of maintaining band saw tires for optimal performance.
Next, sand the surface to smooth rough spots and open the wood pores for better absorption. Finally, inspect and repair any damage like cracks or loose boards to make certain of a stable, even base before staining.
Cleaning the Surface
Although cleaning may seem straightforward, preparing your fence surface properly is essential for stain adhesion and longevity. Start by removing loose dirt, debris, and cobwebs.
Use a bleach and water solution or an oxalic acid-based cleanser to eliminate mold, moss, and mill glaze. For heavily soiled fences, apply sodium metasilicate or commercial 30-second cleaners, allowing at least five minutes dwell time before rinsing thoroughly.
Use low-pressure washing (40–60 psi) with wide spray tips along the wood grain to prevent damage. Rinse all surfaces completely to remove residues. Work in manageable sections to avoid cleaners drying prematurely. Proper prep work enhances the fence’s appearance, making it look like new. For best results, always ensure your tools are properly maintained to avoid uneven application or damage.
After cleaning, allow the fence to dry for 2–6 hours, then inspect for persistent spots and retreat if necessary. Confirm no residual chemicals remain to ensure best stain absorption and finish. Checking for surface smoothness after drying helps guarantee optimal stain penetration.
Sanding and Smoothing
Since proper sanding considerably improves stain penetration and durability, you should carefully prepare your fence surface before applying any stain. Start by sanding with the wood grain using 80-120 grit sandpaper for vertical surfaces, and 60-80 grit for horizontal areas to remove weathered layers. For brand new fences, avoid full sanding and focus instead on spot sanding to smooth out any raised bumps or eased edges.
Avoid overly coarse grit to prevent surface damage. Use sanding blocks or pole sanders for efficiency and hand sand corners for precision. It is important to regularly check the surface during sanding to maintain consistent smoothness. Remove all sanding dust thoroughly with a brush or blower to avoid finish contamination.
Sand only when the wood is dry and in moderate temperatures (40°F-90°F), avoiding extreme weather. Always wear a dust mask and gloves for safety.
Repairing Fence Damage
After sanding your fence to create a smooth, receptive surface, inspect it carefully for any damage that could affect stain performance or fence stability. Look for warped, cracked, or rotting boards, loose nails or screws, mold, mildew, and leaning posts. This inspection helps to preserve structural integrity by addressing issues before staining. Using tools that ensure precise angle adjustments can improve repair accuracy.
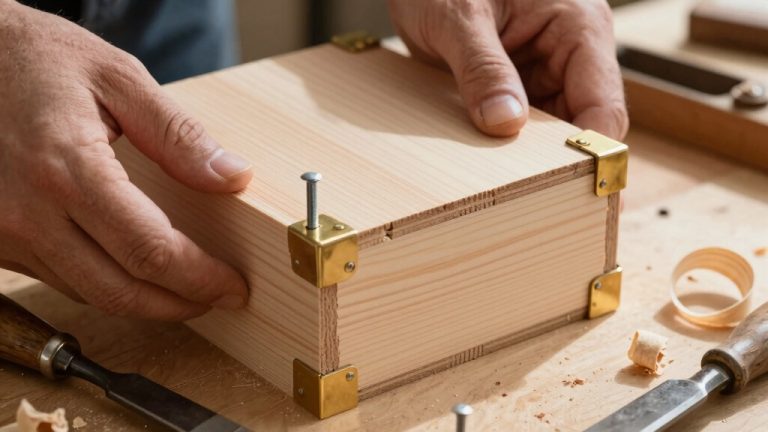
Replace severely damaged boards or posts to maintain structural integrity. Tighten or add fasteners to loose boards. Reset leaning posts by digging, realigning, and securing with concrete or soil.
Cut out rot and fill with wood filler or replace sections as needed. Use galvanized or stainless steel hardware to prevent corrosion. Clean the fence thoroughly with a bleach-water solution and rinse gently at low pressure.
Allow full drying before repairs. After all repairs, apply wood preservative to patched areas, then perform a final rinse and drying before staining.
Techniques for Applying Fence Stain
When applying fence stain, choosing the right technique can considerably impact the finish and durability. Here are four effective methods to consider:
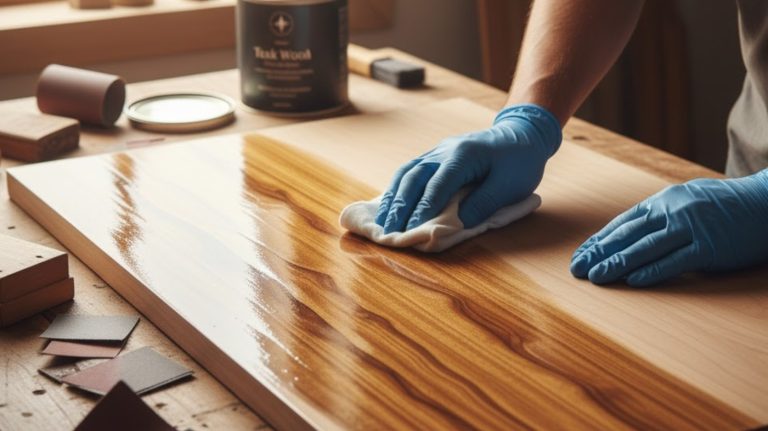
- Brushing: Offers precision and control, ensuring thorough coverage and deep stain penetration. Ideal for detailed areas and back-brushing after spraying.
- Spraying: Speeds up application over large surfaces. Hold the nozzle 6-8 inches away, spray vertically with the grain, and always back-brush to avoid uneven coverage.
- Rolling: Best for flat, wide boards. Provides faster application but less detail control. Use alongside brushing for edges and corners.
- Preparation: Always stain a clean, dry fence in shade and moderate temperatures (40°F–90°F). Protect surroundings with tarps to prevent splatters.
Understanding Different Types of Stains
How do you choose the right stain for your fence project? Start by selecting between water-based, oil-based, or hybrid stains. Water-based stains dry quickly, offer low VOCs, and suit decay-resistant woods like cedar but may fade faster. They are also eco-friendly options that allow for easy cleanup with soap and water.
Oil-based stains penetrate deeply, enhance wood grain, and resist water damage better. They’re ideal for pine and cedar but require solvents and have higher VOCs. Proper application techniques and maintenance practices can extend the life of oil-based stains.
Hybrid stains combine these benefits.
Next, decide on opacity: transparent stains preserve wood grain with minimal UV protection; semi-transparent balance color and protection; solid stains fully cover grain, maximizing UV defense.
Match stain type to wood species—oil stains suit woods with larger pores, water-based for others. Proper preparation ensures adhesion. Choose accordingly for durable, aesthetic results.
Maintaining and Caring for Stained Fences
You should clean your fence annually using mild soap and a gentle pressure washer to remove dirt and prevent mold buildup. Choosing the right tools, such as a saw with appropriate cutting capacity, can help when trimming or repairing fence boards.
Inspect the wood regularly for signs of damage like fading, cracks, or loose hardware, addressing issues promptly. Early repairs prevent costly extensive damage later and help preserve the fence’s integrity. regular inspection
Plan to reapply stain every two to three years, or sooner if you notice wear, to maintain protection and appearance. Using maintenance schedules similar to those recommended for table saws can ensure your fence remains in good condition longer.
Annual Cleaning Routine
Why schedule an annual cleaning routine for your stained fence? Regular cleaning removes mold, dirt, and grime that degrade wood, vinyl, aluminum, or composite fences, preserving their appearance and structural integrity. Follow this four-step routine:
- Use a pressure washer on wood fences with appropriate cleaning solutions, spraying top to bottom slowly to avoid damage. This annual cleaning helps extend the lifespan of wood fences by removing environmental buildup.
- For vinyl, aluminum, or composite fences, wash annually with mild soap and water using a soft cloth or brush; avoid abrasives.
- Treat mold and mildew on wood fences before washing, ensuring thorough removal to prevent staining and decay.
- Clear debris and vegetation around fence bases to prevent moisture buildup, promoting airflow and reducing organic decay risk.
Timely Stain Reapplication
Although staining your fence provides essential protection, it won’t last indefinitely and requires timely reapplication to maintain effectiveness. Transparent stains need reapplication every 1-2 years, semi-transparent every 2-3 years, and solid stains every 3-5 years. Factors like climate, sun exposure, and wood type affect timing.
Watch for fading, peeling, mold, or rough texture as signals to restain. Timely reapplication preserves moisture sealing, prevents UV damage, inhibits fungal growth, and extends fence life. Regular cleaning at least once or twice annually also helps extend stain life by preventing buildup that can degrade the finish.
Before re-staining, clean and dry the fence thoroughly, repair damaged boards, and select a quality stain suited to your wood and exposure.
Apply during dry weather with temperatures above 40°F, following manufacturer guidelines for ideal adhesion and durability. This maintenance keeps your fence functional and visually appealing.
Damage Inspection Tips
When maintaining and caring for stained fences, regular damage inspections are essential to catch issues early and preserve structural integrity. Follow these key steps:
- Check Structural Stability. Push fence sections to find wobbling or leaning posts; ensure footings are firm and aligned. Early detection of post movement prevents larger repairs and maintains safety.
- Inspect Hardware. Examine screws, bolts, hinges, and latches for rust or looseness; tighten or replace as needed.
- Assess Surface Condition. Look for wood rot, cracking, peeling stain, or metal corrosion; use moisture meters and treat affected areas.
- Evaluate Gate Functionality. Open and close gates fully, checking for sagging, loose parts, and smooth operation; lubricate moving components.
Avoiding Common Staining Mistakes
How can you guarantee your fence stain lasts and looks professional? Start by preparing the surface thoroughly: clean off old stains, mildew, and peeling paint, then sand rough spots. Regular inspections help identify any damage early to maintain fence longevity.
Ascertain wood is completely dry and repair any damaged boards before staining. Avoid staining in extreme temperatures or high humidity; check weather forecasts to prevent rain interference.
Apply a richly saturated coat slowly, using a brush after spraying or rolling to work the stain into the grain. Use oil-based stains for better penetration and durability. Test colors on a hidden spot first, and use quality brushes or sprayers.
Finally, maintain your fence by staining all sides, inspecting annually, and reapplying stain every 2-4 years to prevent premature wear and damage.
Frequently Asked Questions
How Long Does It Take for Fence Stain to Fully Cure?
Don’t count your chickens before they hatch—fence stain typically takes 24 to 72 hours to fully cure. Oil-based stains need 24-72 hours, water-based stains dry to touch faster but still require up to 72 hours to cure.
Fast-drying hybrid stains cure quicker, around 24-48 hours.
Keep the fence dry, ventilated, and in ideal temperatures of 50-85°F with moderate humidity for best results. Follow manufacturer instructions closely to avoid issues.
Can I Stain a Fence in Cold or Rainy Weather?
You shouldn’t stain a fence in cold or rainy weather. Temperatures below 50°F slow stain absorption and curing, leading to poor adhesion and uneven coverage.
Rain or high humidity during or after staining washes off the stain or prevents bonding, causing blotches and peeling.
Always wait for dry conditions, check forecasts for 24–48 hours of clear weather, and stain during mild, dry periods to guarantee proper curing and durability.
What Safety Gear Should I Wear When Staining a Fence?
Don’t cut corners when staining a fence. Wear old clothes or a painting suit to avoid permanent stains. Slip on sturdy, closed-toe shoes, long sleeves, and pants to shield your skin. Gloves and a spray sock or hat protect your hands and head.
Use a NIOSH-approved respirator or dust mask for fumes. Safety goggles or a full-face shield guard your eyes. Keep your gear secure and clean for safe, efficient work.
How Do I Remove Stain From Skin or Clothing?
To remove stain from your skin, start by applying coconut or olive oil, massaging for five minutes. Then wash with soap and warm water.
For stubborn stains, use acetone or mineral spirits cautiously, ensuring good ventilation and avoiding flames.
On clothing, treat stains promptly with dish soap or laundry detergent, then launder as usual.
Always wear gloves during removal, and moisturize skin afterward to prevent irritation or dryness.
Is It Necessary to Seal the Fence After Staining?
You might think staining alone is enough, but sealing your fence after staining is essential. It considerably boosts moisture resistance, protecting wood pores and preventing rot or warping.
Sealing also enhances UV defense, preserving color and extending lifespan. For the best results, apply a compatible sealant once the stain is fully dry, ideally in mild weather.
This extra step reduces maintenance and saves money over time. Don’t skip it.
Take the Next Step: Try the Best Way to Stain a Fence Today
Now that you’ve mastered the essentials, your fence won’t just blend in; it’ll stand proud, wearing its stain like a well-earned badge.
By choosing the right stain, preparing thoroughly, and applying with care, you’re setting your fence up for long-lasting protection and beauty.
Remember, maintenance isn’t a chore; it’s a smart investment in preserving your fence’s charm. Avoid shortcuts, and your fence will thank you by staying resilient and vibrant season after season.