How to Make Wipe on Poly: Mixing the Perfect Ratio
You make wipe-on poly by mixing equal parts of oil-based polyurethane and mineral spirits to create a thin, easy-to-spread finish. Use a clean, lint-free cloth to apply thin coats, wiping along the wood grain for even coverage.
Let each coat dry for 2-4 hours, sanding lightly between applications for smoothness. This method enhances wood’s natural beauty while providing durable protection.
Keep going to explore detailed preparation and application techniques to achieve a flawless finish.
Key Takeaways
- Mix equal parts of oil-based polyurethane and mineral spirits to create the wipe-on poly solution.
- Use clean, lint-free cotton or microfiber cloths for applying thin, even coats.
- Stir the mixture thoroughly before each application to maintain consistent finish quality.
- Apply 6-8 thin coats, allowing 2-4 hours drying time and lightly sanding between coats.
- Finish by sanding the last coat with 600 grit sandpaper and buffing for a smooth sheen.
Understanding the Components of Wipe-On Poly
What exactly makes wipe-on poly such a popular finish for woodworkers? It starts with its core: polyurethane, a tough synthetic polymer that shields wood from abrasion, moisture, and chemicals.
The type often used, like Spenlite® L90-20A, delivers a clear, protective coat. You’ll find this base blended with polyester or polyether resins to tweak flexibility and durability.
Solvents like mineral spirits thin the polyurethane, creating a smooth, wipeable liquid that dries evenly and faster than traditional poly. Sometimes, naphtha speeds drying. Many woodworkers prefer oil-based polyurethane mixed with mineral spirits because it ensures proper mixing. This ease of application is similar to how left-handed circular saws offer enhanced control through thoughtful design.
Additives such as UV inhibitors guard against sunlight damage, and plasticizers prevent cracking. Adhesion enhancers help the finish bond tightly to wood. Flatting agents adjust gloss levels. This carefully balanced mix ensures wipe-on poly applies easily and forms a durable, water-resistant film.
Gathering Materials and Tools Needed
Before you begin applying wipe-on poly, gathering the right materials and tools is crucial to guarantee a smooth, even finish and safe working conditions.
Choose either oil-based polyurethane, which you’ll thin 50:50 with mineral spirits for traditional warmth and durability, or a water-based wipe-on poly that comes ready to use, drying faster and emitting less odor. This product is suitable for stained, painted, or bare interior wood surfaces, making it versatile for various projects.
Select oil-based poly thinned with mineral spirits for warmth or ready-to-use water-based poly for quick drying and low odor
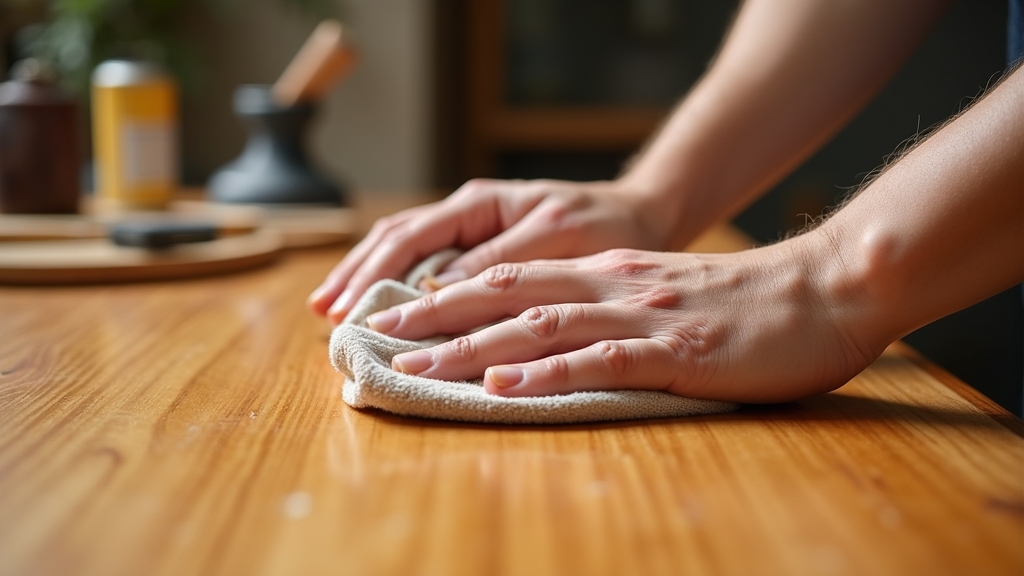
You’ll need clear, lint-free cotton or microfiber cloths for applying thin, uniform coats without streaks or bubbles. Have mineral spirits on hand for thinning (if using oil-based) and cleanup. Using proper safety equipment such as gloves and respirators ensures protection during the application process.
Steel wool (0000 grade) or fine synthetic abrasives help scuff between coats for better adhesion. Protect yourself with gloves and a respirator, and work in a well-ventilated area. Finally, prepare containers for mixing and disposal bins for oily rags to prevent fire hazards.
Preparing Wood Surfaces for Application
Although applying wipe-on polyurethane might seem straightforward, preparing your wood surface meticulously is essential to achieving a flawless, durable finish. Start by guaranteeing your wood is completely dry and free from contaminants like wax, grease, shellac, or mildew. Use appropriate strippers and a 10% bleach solution if needed.
Sand the wood progressively from 120 to 220 grit, always following the grain to avoid visible scratches. After sanding, vacuum up dust and wipe with a microfiber tack cloth—avoid compressed air to prevent dust settling in pores. Proper prep enhances finish quality and adhesion, ensuring the surface is clean and smooth.
Regular cleaning of tools and work surfaces can prevent dust buildup that compromises the finish. If stained, confirm it’s fully dry for at least 24 hours, then lightly sand again. Inspect for defects or residual finishes, correcting as necessary.
Step-by-Step Process to Make Wipe-On Poly
Once you’ve gathered all your materials and tools, you can begin mixing the wipe-on polyurethane to achieve the ideal consistency for application. Choosing the right tools can improve your cutting precision and overall finish quality.
Pour polyurethane into a disposable container, then thin with mineral spirits—typically a 50/50 ratio. Stir thoroughly to keep flattening agents suspended, especially for satin finishes. Avoid over-thinning to maintain durability.
Wipe-on poly typically requires about 6-8 coats for durable protection, with light sanding between coats to ensure proper adhesion and smoothness, which helps achieve a better final finish durable protection.
| Step | Detail |
|---|---|
| Mix Ratio | 50% polyurethane / 50% mineral spirits |
| Application Cloth | Use clean, lint-free cotton or microfiber |
| Sanding Between Coats | 220-320 grit sandpaper or #0000 steel wool |
Remember to transfer only a small amount to avoid contaminating the main can, and mix before each coat to ensure consistency.
Tips for Effective Application and Finishing
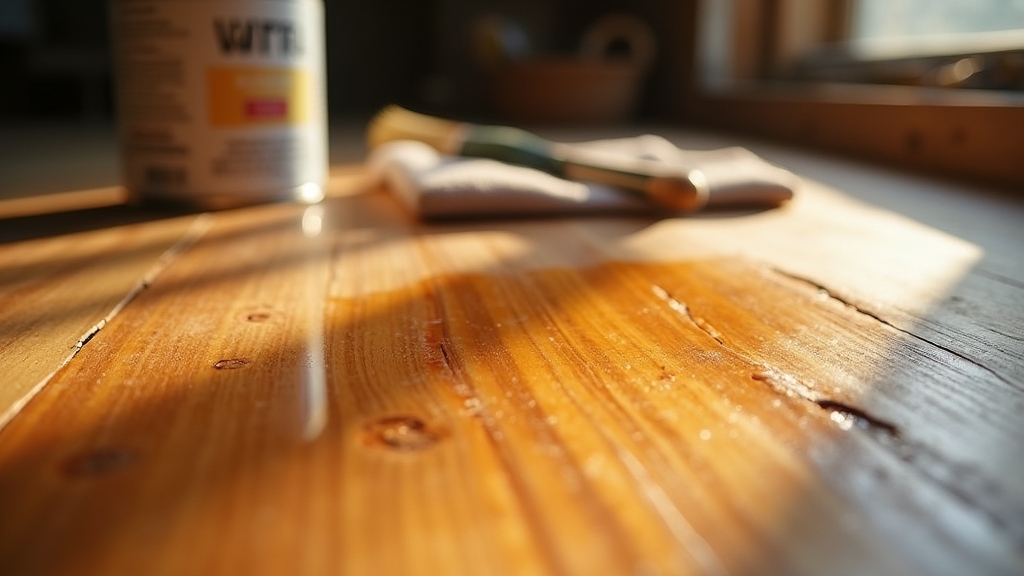
When preparing to apply wipe-on polyurethane, you need to make certain the wood surface is impeccably clean and dry to achieve the best adhesion and finish quality. Use a soft, lint-free cloth to apply thin, even coats, wiping away excess poly to prevent runs and puddles.
Agitate the poly container frequently to keep flattening agents suspended, especially with satin finishes. It is best to work away from you to prevent contact with freshly coated surfaces. Proper cleaning and surface preparation are as crucial in finishing as they are in welding blade ends for durability.
Apply thin coats with a lint-free cloth, wiping excess and stirring often for consistent satin finish.
Lightly sand between coats with 400 grit sandpaper or synthetic abrasive pads to maintain smoothness and promote adhesion. Be sure to remove all dust before the next application. Apply at least four to six coats, allowing 2 to 4 hours drying time between layers for ideal hardness and clarity.
After the final coat, sand with 600 grit or finer for a glassy finish. Then buff or polish to enhance sheen and depth.
Frequently Asked Questions
Can Wipe-On Poly Be Used Outdoors or Only Indoors?
Imagine your outdoor furniture gleaming under sunlight, protected yet natural-looking. You can use wipe-on poly outdoors, but it’s best for light exposure.
Since it forms thin layers, you’ll need at least 5-6 coats, sanding between, to build a sturdy shield against weather. Oil-based versions perform better outside, but with careful application and multiple coats, wipe-on poly offers decent water resistance and durability for patios or sheltered wood surfaces.
How Long Does Wipe-On Poly Take to Fully Cure?
Wipe-on poly typically takes about 24 hours to fully cure under ideal conditions—70-80°F with good airflow. However, depending on factors like temperature, humidity, ventilation, and coat thickness, full curing can stretch to several weeks, especially for oil-based formulas.
Although it feels dry to touch within a few hours, you should wait this extended time before heavy use or food contact to guarantee durability and safety.
Is Wipe-On Poly Food-Safe for Cutting Boards or Countertops?
Wipe-on poly isn’t the best choice for cutting boards because it forms a film that can chip or flake, risking contamination. While some products claim food-safe status after curing, experts recommend avoiding film finishes on surfaces where knives cut.
For countertops, it offers good durability and water resistance, but you should guarantee it’s fully cured and minimize direct food contact. For cutting boards, stick to penetrating finishes like mineral oil for safety.
Can Wipe-On Poly Be Applied Over Existing Finishes?
Yes, you can apply wipe-on poly over existing finishes, but you need to prepare the surface properly. Make sure the old finish is fully dry and sand it lightly with 180-220 grit to dull the gloss.
Remove any wax with mineral spirits and clean thoroughly. Test a small hidden area first to verify compatibility. Applying multiple thin coats and wiping off excess ensures better adhesion and a smooth finish without blistering or peeling.
What Is the Shelf Life of Homemade Wipe-On Poly?
Your homemade wipe-on poly won’t last forever; you can’t expect it to sit around like an ancient artifact! Typically, you should use it within a year after mixing. Exposure to air, heat, and contamination shortens its life, so store it airtight in a cool, dry place.
Watch for thickening, foul smells, or separation; they’re signs it’s gone bad. Proper storage and timely use keep your finish reliable and effective.
Transform Your Wood with a Professional Glow
Now that you know how to make wipe-on poly, you’re ready to transform your wood projects with a smooth, durable finish. Just like painting a clear protective shield, applying wipe-on poly requires patience and care to achieve the best results.
Follow the steps closely, prepare your surfaces well, and apply thin coats evenly. With practice, your wood will glow with a professional-grade finish that’s both beautiful and long-lasting.