How to Cut Quarter Round with a Miter Saw? Easy Technique
To cut quarter round with a miter saw, start by calibrating your saw for accuracy. Measure and mark your cuts, then set the miter saw to 45 degrees for standard corners.
Support the wood against the fence and use a stop block for consistent lengths. Always wear safety gear and keep hands clear of the blade.
For complex angles, adjust both bevel and miter settings. Follow these steps for professional results, and you’ll discover more tips to refine your technique.
Key Takeaways
- Calibrate the miter saw to ensure the blade is square with the table and fence for accurate cuts.
- Use a miter saw set to 45 degrees for standard 90-degree corners; adjust for non-square angles as needed.
- Support quarter round with backer strips to prevent tearout and ensure clean edges during cutting.
- Implement a stop block for consistent cut lengths and measure dimensions carefully before cutting.
- Always wear safety gear and keep hands clear of the blade to prevent accidents while cutting.
Quarter Rounds Overview
When you’re looking to achieve a polished finish in your flooring projects, understanding quarter rounds is essential.
Quarter round is a type of molding designed to cover gaps between floors and baseboards, creating a smooth, finished appearance.
Made from materials like wood, plastic, or composite, it’s compatible with various flooring types. This type of molding is often used to cover gaps between the floor and baseboard, ensuring a seamless transition that enhances the overall aesthetic.
You typically install quarter round at the base of walls alongside hardwood or laminate flooring, as well as around kitchen cabinets. Its perfectly curved edge provides an aesthetic boost, complementing different interior designs.
Available in various sizes, quarter round enhances your baseboards while improving the overall look of the room. Knowing these details will help you make informed choices for your flooring project.
Setting Up the Miter Saw
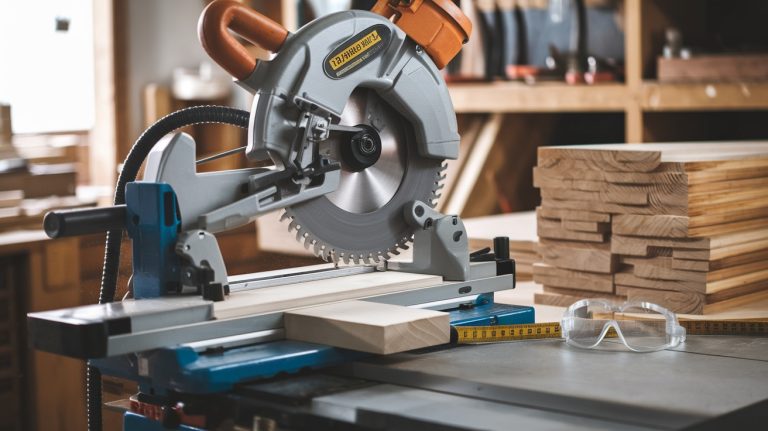
Before you start cutting quarter rounds, setting up your miter saw correctly is essential for achieving precise angles and clean edges.
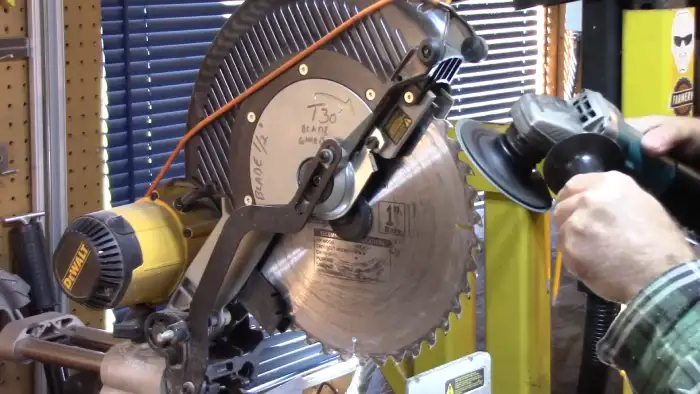
First, calibrate the saw by ensuring the blade is square with the table and fence using a try square. Regular checks of saw settings ensure ongoing accuracy and optimal performance.
Lubricate all moving parts and inspect the fence and table for debris or damage. Always keep the blade guard intact and wear safety goggles and a dust mask.
Calibrate your miter saw, lubricate moving parts, and ensure safety gear is worn for optimal cutting performance.
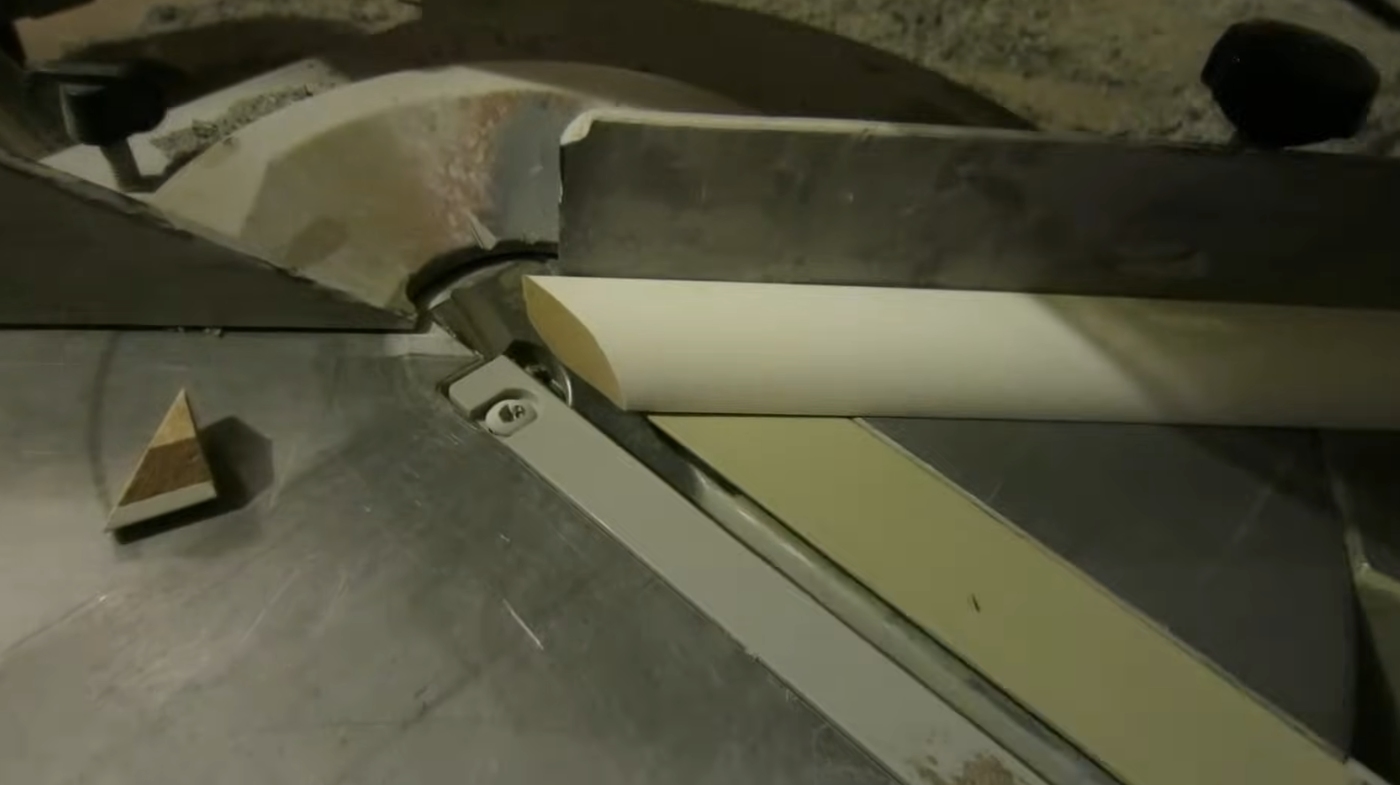
Position the quarter round with its larger edge against the bottom and securely against the fence. For stability, use clamps or a zero-clearance insert, especially for small pieces. Proper 45-degree cuts are needed for achieving a seamless appearance at corners.
Adjust the saw for the wood type and implement a stop block for consistent cut lengths. Regularly check the calibration for accuracy.
Making Cuts
Making clean and accurate cuts is essential for a professional-looking quarter round installation. Start by deciding whether to use miter cuts or coping techniques based on your corner assessment.
For corners near 90°, a 45° miter cut on each end works well. Position the quarter round correctly by visualizing the fence as the wall and the saw base as the ceiling.
Use a miter saw for precise cuts; if you encounter complex angles, a coping saw may be necessary. To prevent tearout, support the wood with backer strips and consider using a sharp blade.
Additionally, it is important to measure all dimensions carefully to ensure precision before making cuts. Always make test cuts to verify accuracy before cutting the actual pieces, and remember to sand edges for a smooth finish. Additionally, coping may be beneficial for irregular corners in existing construction.
Cutting Different Angles
Accurate cuts are essential for achieving a seamless fit in quarter round installations, especially when dealing with various corner angles.
For standard 90-degree corners, set your miter saw to 45 degrees for precise cuts. If you encounter non-square corners, adjust the angle slightly to accommodate the deviation.
Always double-check your angle setting before cutting, ensuring the saw is configured for either a left or right cut based on the quarter round’s position.
When working with a 45-degree angle cut, you will need to adjust the saw to 22.5 degrees for accurate results. Additionally, using proper safety equipment during cutting will help prevent injuries and ensure a smooth workflow.
For more complex angles, you may need to employ compound miter cuts by adjusting both the bevel and miter settings. Proper alignment with the saw’s fence and base will further enhance fit quality, allowing the quarter round to sit snugly against the wall and floor.
Safety and Maintenance
Achieving precise cuts in quarter round installations requires a commitment to safety and maintenance practices. Always wear eye and ear protection, and avoid gloves and loose clothing. Keep your hands at least 6 inches from the blade, and firmly secure materials to prevent kickback. Regular maintenance is essential:
| Maintenance Task | Frequency | Importance |
|---|---|---|
| Inspect guards | Before each use | Prevents obstructions |
| Clean lower guard | After each cut | Maintains visibility |
| Check blade tightness | Weekly | Guarantees peak performance |
| Tighten screws and bolts | Monthly | Reduces vibration |
Additionally, be aware that flying sawdust and debris can pose risks, so working with proper equipment is crucial.
Troubleshooting Common Issues
When cutting quarter round, misaligned blade issues can lead to inconsistent cut lengths and even saw jams. To guarantee precision, regularly check your blade alignment and adjust it as needed.
If you encounter a jam, stop the saw immediately, assess the situation, and clear any obstructions before resuming work.
Additionally, be cautious of kickback during 45-degree cuts, as it can pose safety risks and affect your cutting accuracy.
Misaligned Blade Issues
Misaligned blades can greatly compromise the quality of your quarter round cuts, leading to frustrating results. To ensure precision, regularly check your miter saw’s alignment.
- Visual Inspection: Look for irregular cuts or splintering that indicate misalignment.
- Use of Squares: Employ combination squares to verify the blade’s perpendicularity to the table surface. Regularly verifying blade alignment can significantly enhance cutting accuracy.
- Maintenance: Clean the miter saw and check for dust build-up that might affect alignment. Regularly maintaining blade condition will help ensure optimal performance.
If you notice any issues, adjust the fence and bevel settings according to the manufacturer’s guidelines. Performing test cuts on scrap material can save time and materials before you cut your final pieces.
Inconsistent Cut Lengths
Inconsistent cut lengths can create significant challenges during quarter round installation, especially if you don’t maintain uniform cutting techniques.
To tackle this, make certain you’re using consistent angles—like 45°—across all cuts. Remember that the quarter round profile can impact fit, so always orient it the same way.
Measure corners accurately, as any deviation from 90° can lead to varied lengths. Incorporate a 90° jig with stops to standardize cut lengths.
Additionally, adjusting the fence can help ensure your cuts are precise and consistent. Proper alignment of the miter gauge is crucial for effective use to enhance accuracy.
Regularly calibrate your saw to the jig for accurate results, and perform test cuts to verify length and fit. Finally, maintain your saw and tools to minimize variability.
Saw Jams Troubleshooting
Although saw jams can be frustrating, understanding their causes and solutions can help you troubleshoot effectively. Here are some common issues to watch for:
- Incorrect Maintenance: Dust accumulation can jam the saw, so keep it clean. Regular cleaning ensures optimal performance and prevents buildup that can hinder saw function.
- Blade Dullness: A dull blade creates resistance, increasing jam risks.
- Misaligned Parts: Make certain all components are securely aligned to prevent sticking. To mitigate this, ensure to perform regular cleaning and lubrication of the saw to maintain its functionality.
To resolve jams, check for unusual noises, difficult movement, or visible debris. Regularly clean your miter saw, lubricate moving parts, and sharpen or replace the blade as needed.
Frequently Asked Questions
What Type of Wood Is Best for Quarter Round Molding?
When choosing the best wood for quarter round molding, consider your project’s needs. White pine is a great budget-friendly choice and paints well.
Red oak offers durability and matches oak baseboards beautifully. If moisture’s a concern, opt for PVC, ideal for bathrooms and kitchens.
Poplar is versatile and easy to work with, while hemlock provides stability and affordability. Your selection should align with aesthetics, functionality, and environmental conditions.
How Do I Finish Quarter Round After Cutting?
After cutting your quarter round, start by applying adhesive caulk or wood glue to secure it in place. Fill any gaps with caulk for a seamless look.
Use wood putty to fill nail holes, then sand the area for a smooth finish. If you’re painting or staining, make certain the surface is clean and dry. Finally, check for any imperfections and touch them up as needed, guaranteeing a polished appearance.
Can I Use a Hand Saw Instead of a Miter Saw?
You can definitely use a hand saw instead of a miter saw for cutting quarter round, but it takes practice. Picture yourself carefully aligning the material, the saw gliding through with each stroke.
While you won’t get the same precision as with a miter saw, using a miter box can enhance accuracy. It’s more manual work, requiring patience and skill, but it’s a cost-effective and portable alternative that can yield satisfying results.
How Do I Join Two Quarter Round Pieces Together?
To join two quarter round pieces, you’ll typically use a miter joint or a splice joint. For a miter joint, cut each piece at a 45-degree angle, ensuring the rounded edges face outward.
For a splice joint, cut two opposite 45-degree angles on each piece. Secure them with finish nails and apply wood glue for added strength. Finally, sand any rough edges and fill gaps with putty for a clean finish.
What Tools Do I Need Besides a Miter Saw?
When it comes to getting the job done right, you need the right tools in your toolbox. Besides a miter saw, grab a utility knife for small trims, a miter box to make precise angled cuts manually, and molding miter snips for quick adjustments.
An angle finder will help you mark angles accurately, while a speed square guarantees your lines are precise. Don’t forget clamps and support blocks to hold everything steady during the cutting process.
Practice Quarter Round Cuts with Effective Techniques for a Professional Finish
In summary, cutting quarter round with a miter saw isn’t as intimidating as it may seem. With the right setup and techniques, you can achieve precise angles that give your project a professional finish.
Remember, just like a craftsman in the age of steam engines, your attention to detail will set your work apart. So, stay safe, maintain your tools, and don’t hesitate to troubleshoot any issues that arise. Happy cutting.

