How to Cope Baseboard with Miter Saw? Easy Pro Technique
To cope baseboard with a miter saw, start by setting the miter gauge to 0 degrees and adjusting the bevel angle. Make a square cut on one piece and a beveled cut on the other, positioning it against the saw’s fence.
Use a coping saw to refine the edges, ensuring a tight fit. Measure twice for accuracy and label your cuts. This method gives you seamless joints in irregular corners, and there’s more to mastering this technique if you want expert results.
Key Takeaways
- Use a compound miter saw to make precise bevel cuts for coping baseboards at a 45-degree angle.
- Secure the workpiece against the saw’s fence and set the miter gauge to 0 degrees for accurate cuts.
- Test the bevel angle on a scrap piece to ensure accuracy before cutting the actual baseboard.
- Coping baseboards involves using a coping saw to shape the profile, allowing for a tighter fit at irregular corners.
- Measure twice, label each piece, and sand edges after cutting for a smooth, professional finish.
Understanding Cope Cutting
Cope cutting is an essential technique for achieving seamless joints in molding, especially in areas where walls may not align perfectly.
This method involves making a square cut on one piece of molding and a beveled cut on the other, typically at a 45-degree angle. You’ll use a miter saw for initial cuts and a coping saw or jigsaw for the precise shaping that follows.
Unlike miter cuts, cope cuts can accommodate irregular corners, providing a tighter fit. While it requires some practice and skill, mastering cope cutting enhances your carpentry capabilities.
The joints created aren’t only stronger but also offer a clean, aesthetic finish, making it a preferred choice for baseboards and crown molding in renovations. Additionally, using a fine-tooth blade can help ensure cleaner cuts during the process.
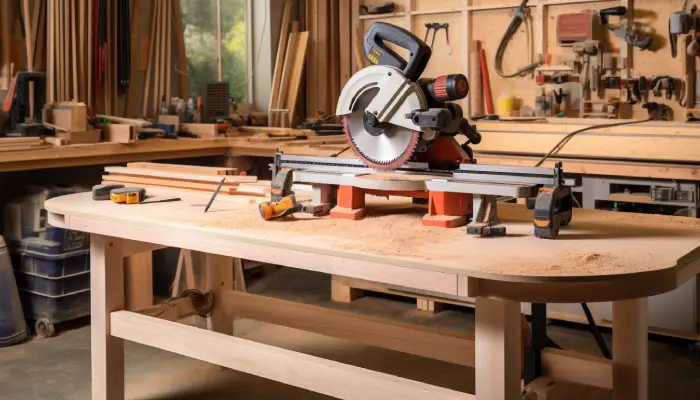
Preparing for the Project
Before you start cutting baseboard, make certain you have accurate measurements and the right tools ready. You’ll need a miter saw, coping saw, and other essentials organized within easy reach to streamline your workflow.
Keeping blade tension and sharpness is crucial to ensure clean cuts and efficient coping as you work. Additionally, prioritizing safety is vital to prevent accidents and ensure a smooth project flow. Proper setup not only guarantees precision but also enhances safety throughout the project.
Accurate Measurements Needed
Accurate measurements are essential for a successful baseboard installation project. Start by evaluating your walls for irregularities and identifying corner types, as this will inform your coping or mitering needs.
Use a tape measure to take precise measurements along each wall, and consider creating a cutlist to organize these dimensions. Sketching wall layouts aids in assigning measurements to specific boards.
When measuring corners, bend the tape measure for accuracy, and don’t forget to account for profile thickness. Always measure twice to guarantee precision before cutting. Utilizing software like Excel can simplify calculations, especially with fractions.
Finally, label each cut piece to maintain organization during installation. Additionally, keep in mind that accurate angles are crucial for achieving flush corners, which enhances the overall aesthetic of the installation.
Tool Setup Essentials
To guarantee a smooth baseboard installation, setting up your tools properly is essential. Here’s what you need to focus on:
- Miter Saw Choice: Use a compound miter saw for both miter and bevel cuts.
- Safety Equipment: Always wear safety goggles and keep your hands clear of the blade.
- Blade Selection: Opt for a high tooth count blade (80+ teeth) for cleaner cuts.
- Work Surface Preparation: Ascertain your work area is stable, clear, and at a comfortable height. Accurate cut list is crucial to ensure all pieces fit together seamlessly.
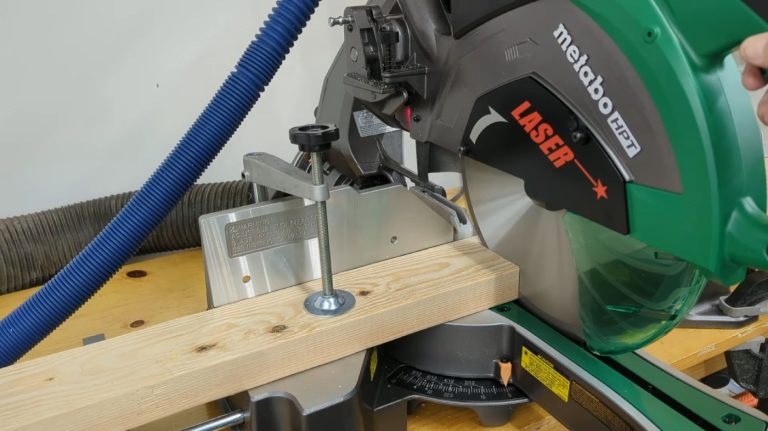
- Proper Support: Utilize clamps or a miter saw stand to support long or large baseboards.
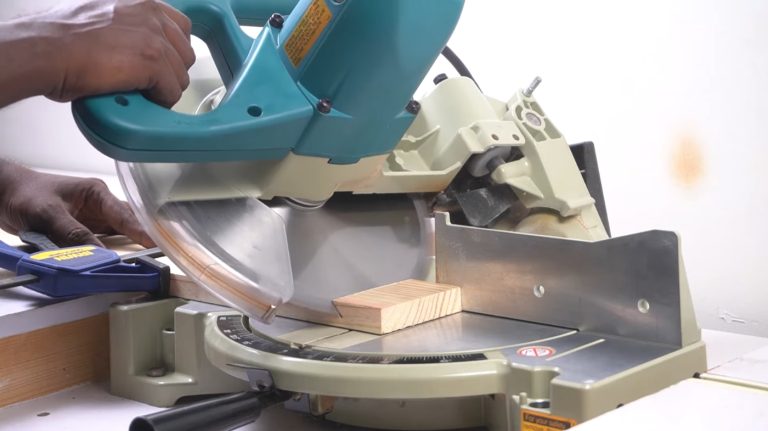
Making Bevel Cuts With a Miter Saw
Making bevel cuts with a miter saw can greatly enhance the quality of your woodworking projects.
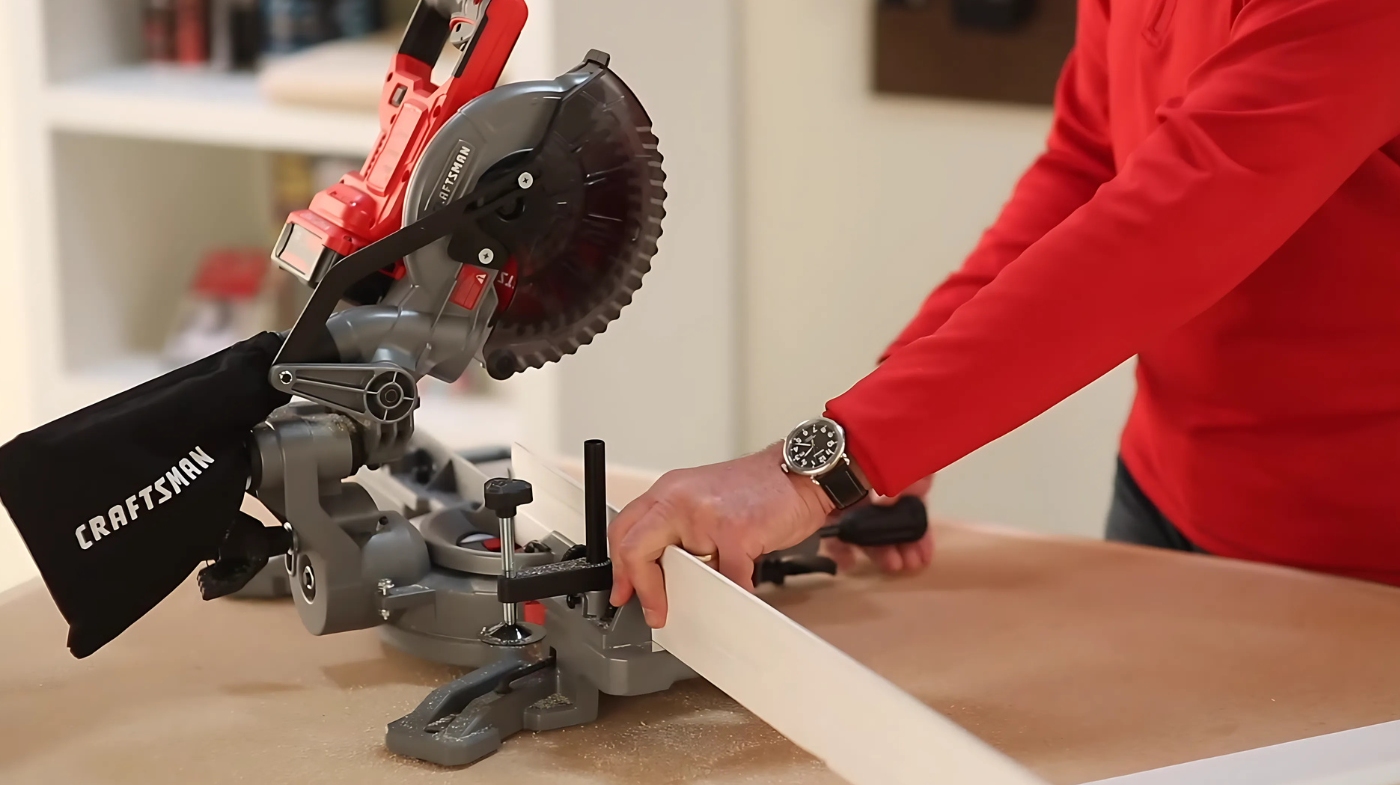
To begin, adjust the bevel angle using the knob at the back of the saw. Securely place your workpiece against the fence to guarantee accuracy, and set the miter gauge to 0 degrees for a standard bevel cut.
Sliding miter saws offer greater cutting capacity compared to compound miter saws, making them ideal for larger projects.
Before cutting, test the angle with a scrap piece and use a bevel gauge for precision if necessary. Once set, slowly lower the saw blade onto the workpiece, maintaining control for a smooth cut. Understanding bevel cuts is essential for achieving the desired results in your projects.
Remember to wear safety glasses and keep loose clothing secured. For added versatility, consider using a dual-bevel miter saw, allowing cuts in both directions without flipping your workpiece.
Coping With a Coping Saw
When coping with a coping saw, selecting the right blade is essential for achieving clean, precise cuts. Focus on mastering your cutting technique by utilizing long, smooth strokes for consistency and control.
This approach not only enhances your accuracy but also minimizes the risk of damaging your workpiece. Additionally, ensure that you regularly inspect blades for optimal performance to maintain the quality of your cuts.
Selecting Appropriate Blade
Selecting the right blade for your coping saw is essential for achieving clean and precise cuts in baseboard profiles.
Here are key factors to evaluate when selecting your blade:
- Blade Material: High-carbon steel blades offer durability for woodworking tasks, and carbide-tipped materials are known for their longevity and resharpening capabilities.
- Blade Thickness: Thinner blades provide flexibility for intricate cuts.
- Tooth Count: A higher tooth count yields smoother cuts, while lower counts allow for faster cutting.
- Teeth Orientation: Blade teeth should face the right direction based on your cutting technique, push or pull.
- Compatibility: Confirm the blade fits securely in your coping saw’s frame. Additionally, selecting a blade suitable for cope cutting can enhance the accuracy and quality of your joints, ensuring a better fit over time.
Precision Cutting Techniques
To achieve precise cuts with a coping saw, understanding and mastering specific techniques is crucial.
First, verify the blade’s teeth face the direction of your cut for efficient slicing. Proper tension is essential; a well-tensioned blade emits a high-pitched sound when plucked. This is especially important because blade tension directly affects cutting accuracy and efficiency.
Utilize the full length of the blade to minimize sawdust buildup and enhance cutting efficiency. For curves, saw actively while adjusting your speed based on the curve’s sharpness.
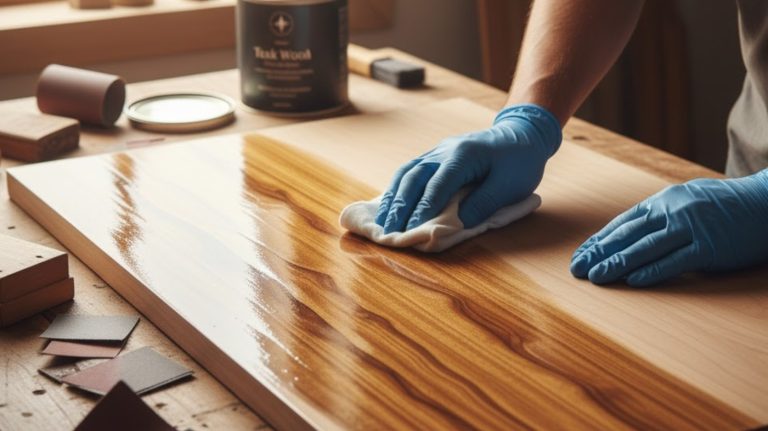
Finishing and Assembling the Joints
As you move towards finishing and assembling the joints, it’s essential to focus on achieving a seamless fit that enhances the overall appearance of your baseboard.
Follow these steps for a flawless finish:
- Sand the joint edges for a smooth, tight fit.
- Use a file to refine any rough areas as needed.
- Apply appropriate adhesives and secure with fasteners to hold the baseboard in place.
- Once assembled, paint or stain to blend with the surrounding area.
- Inspect the joint’s integrity to guarantee no gaps or misalignments exist. Additionally, remember that coping baseboards helps to hide gaps that can occur with traditional miter cuts. Using a coping saw allows for precise cuts along the profile for a professional look.
Alternatives to Cope Cutting Techniques
When tackling baseboard installation, various alternatives to coping techniques can simplify the process. Mitering is a popular choice, especially for simpler profiles, as it involves cutting baseboards at angles.
While it’s quicker, it might not fit well with imperfect walls. Using jigsaws allows for more intricate cuts, making them useful for complex profiles.
Coping offers the advantage of accommodating imperfect angles, which can be beneficial in achieving a more seamless look. Additionally, using a band saw can provide excellent control for detailed designs when working with intricate profiles.
Here’s a quick comparison:
| Method | Benefits |
|---|---|
| Mitering | Faster, easier for beginners |
| Coping | Natural-looking joints, ideal for complex profiles |
| Jigsaws | Versatile for irregular cuts |
Decide based on your project’s complexity and your skill level to achieve the best results.
Frequently Asked Questions
What Types of Baseboard Materials Are Best for Cope Cutting?
When selecting baseboard materials for cope cutting, consider durability, cost-efficiency, and moisture resistance. Hardwoods are strong and long-lasting, while MDF is budget-friendly but can tear.
PVC offers moisture resistance but may crack easily. Plywood is easier to cut, although it can splinter. Finger-jointed pine, while popular, might weaken at the joints. Choose based on your project needs, ensuring you use the right blade and cutting techniques for ideal results.
How Do I Fix Mistakes in Cope Cuts?
To fix mistakes in cope cuts, you’ll want to start by sanding and filing the edges to smooth out any imperfections. If gaps remain, use glue mixed with sawdust to fill them effectively. You can also consider re-cutting the pieces after evaluating where you went wrong.
If small gaps persist, apply caulk for a clean finish. Always learn from these mistakes to improve your technique in future projects.
Can I Cope Cut Without a Coping Saw?
Sure, you can cope cut without a coping saw. Picture yourself battling a wood monster armed only with a miter box and a handsaw—now that’s heroic. Just make precise angled cuts with your handsaw in the miter box.
If you’re feeling adventurous, grab a jigsaw or bandsaw for curves. Sand those edges smooth, fill any gaps, and you’ll have a seamless finish.
How Do I Maintain My Miter Saw for Optimal Performance?
To maintain your miter saw for peak performance, start by regularly cleaning it. Remove debris with compressed air or a vacuum, and wipe parts with a damp cloth.
Lubricate moving parts with WD-40 and apply dry lubricants to pivots. Inspect the blade for wear and verify the angles are calibrated. Establish a maintenance schedule to catch issues early, and store your saw in a dry area when not in use.
What Safety Gear Should I Wear While Cope Cutting?
When you’re about to commence on the precision journey of cope cutting, donning the right safety gear is vital. You’ll want to wear industrial-grade safety glasses to shield your eyes from flying debris and a face shield for extra facial protection.
Earplugs are essential to guard against the saw’s roar. Slip on steel-toed boots and long sleeves to protect your feet and skin, ensuring your workspace remains a fortress of safety as you create.
Finish Strong: Let Your Trim Work Speak for Itself
In wrapping up your baseboard project, remember that mastering cope cutting is like fine-tuning an instrument; it takes practice to create a harmonious fit.
With your miter saw and coping saw, you’ve sculpted joints that flow seamlessly, enhancing your space’s beauty. As you assemble and finish, envision the elegance these details bring to your home.
Embrace these techniques, and your craftsmanship will sing, leaving a lasting impression on every visitor who walks through your door.