Can You Cut PVC With a Table Saw: 7 DIY Steps
PVC, or polyvinyl chloride, is commonly used in plumbing, electrical, and construction projects. It is lightweight, durable, and easy to work with, making it a popular choice among DIY enthusiasts and professionals. But are you wondering if you can use your trusty table saw to cut PVC pipes?
Cutting PVC with a table saw is a simple process that can be done with a dull blade. But using a sharp blade will make the process even smoother and quicker. The sharp blade will cut the PVC aggressively, requiring more force and possibly resulting in jagged edges.
Unlike other cutting tools, using a table saw to cut PVC can save time and effort. But, you must follow certain steps to ensure a successful cut. Today we will explore how to cut PVC using a table saw. So keep reading.
How to Cut PVC With a Table Saw?
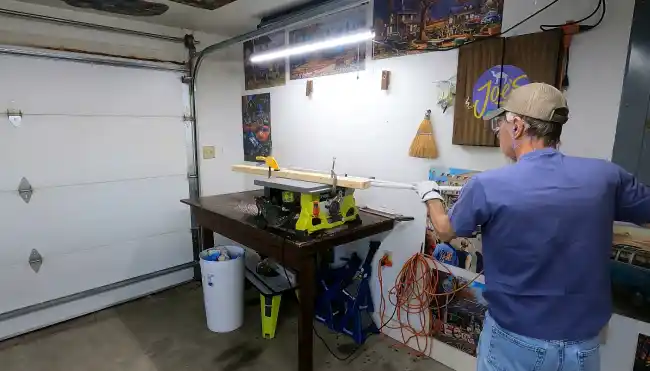
If you want to cut PVC pipe with a table saw, you’ll need to follow a specific process to ensure a safe and accurate cut.
- Step 1: Prepare the Custom-Made Jig
- Step 2: Secure the PVC in the Jig
- Step 3: Set up the Table Saw
- Step 4: Mark the Cut Length on the PVC
- Step 5: Position the Jig and PVC for Cutting
- Step 6: Cut the PVC
- Step 7: Sand the Cut Edge of the PVC
Step 1: Prepare the Custom-Made Jig
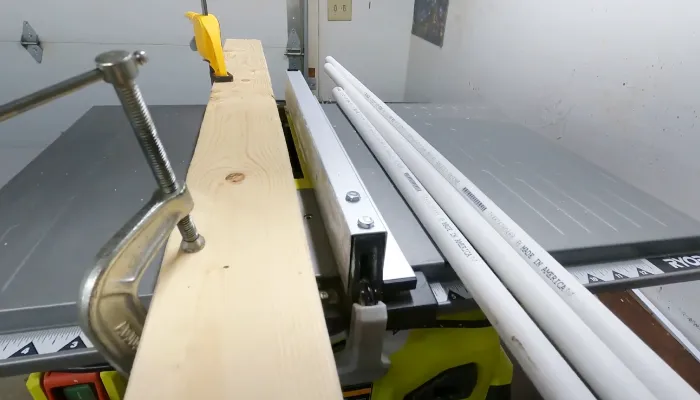
Create a stable platform for the PVC by securely fastening the three pieces of wood together before preparing the custom-made jig. To create the jig, take the three pieces of wood and construct a platform wide enough to accommodate the PVC.
Use a table saw to cut the long wood to the correct size, ensuring each piece is the same length. Once the pieces are cut, screw them together to create a stable support for the PVC. This ensures the PVC fits perfectly between them and does not move while cutting it.
Step 2: Secure the PVC in the Jig
Now it’s time to place the PVC into the jig and feel the satisfaction of seeing it held securely. Make sure to align the pipe properly and snugly hold it in place. Any movement during cutting can result in jagged edges or uneven cuts.
Use screws to secure the PVC tightly to the jig. This will prevent movement as you cut through the PVC with a table saw. Securing the PVC pipe allows you to maintain consistent cuts and achieve the desired shape easily.
Step 3: Set up the Table Saw
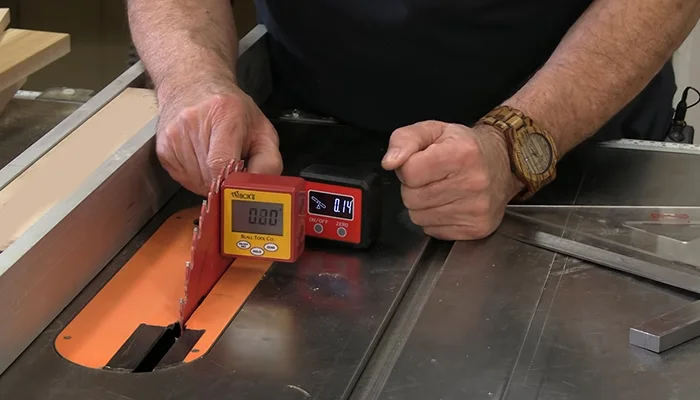
The next step is to set up the saw. To set up your table saw for cutting PVC, start by adjusting the blade’s height according to the cut’s desired depth. This will ensure that your cuts are consistent and precise. If you’re unsure how to adjust the blade height, consult your saw’s manual or look for tutorials online.
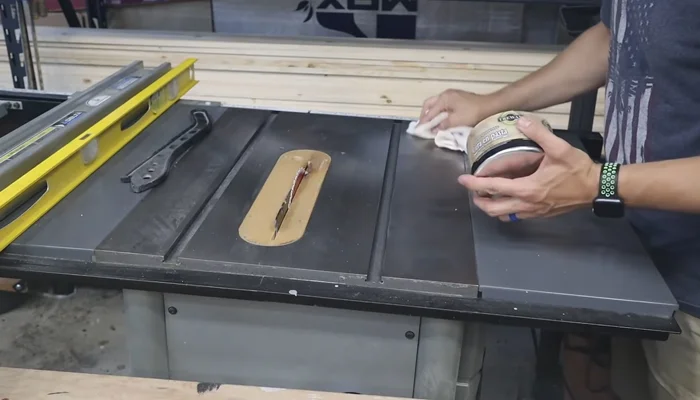
Next, take a good look at your blade. Is it clean and in good condition? A dirty blade can affect the quality of your cuts and even pose a safety hazard. Clean your blade with a soft cloth and a mild cleaner, removing debris or build-up.
Step 4: Mark the Cut Length on the PVC
Time to make your mark. Grab your measuring tape and carefully measure and mark the length you want to cut on that trusty PVC. Accurate markings mean precise cuts, so take your time and get it right.
Ensure that your measurements are precise so that your final product fits perfectly. Use a measuring tape or ruler to ensure your marks are straight and even. You can also use a pencil or marker to make the marks more visible.
You’re one step closer to completing your project once you’ve marked the desired cut length on the PVC pipe. Take a moment to double-check your measurement before moving on to the next step.
Step 5: Position the Jig and PVC for Cutting
To position the jig and secure the PVC pipe for cutting, ensure it’s stable and aligned with the blade and fence. Use a measuring tool if necessary. This step is crucial to ensure accurate and clean cuts on the PVC pipe.
If the jig isn’t stable or the PVC pipe isn’t aligned properly, the blade may not cut through the pipe smoothly, resulting in uneven or jagged edges. When positioning the jig, ensure it’s at the desired distance from the blade to achieve the desired width for your project.
If you’re making a chicken feeder, you can eyeball the distance, but if you’re making something else that requires more precision, you’ll need a measuring tool.
Step 6: Cut the PVC
Now it’s time to let the blade do its work and slice through the PVC pipe. With the PVC pipe positioned properly on the saw, turn on the machine and slowly push the pipe through the blade. Make sure to keep your hands and fingers clear of the blade and use the push stick provided to guide the pipe through the cut.
As you cut through the PVC pipe, you’ll notice how easily the blade slices through the material, leaving behind a smooth and even cut. Keep pushing the pipe through the blade until you reach the cut line’s end, maintaining a steady pace and even pressure.
Step 7: Sand the Cut Edge of the PVC
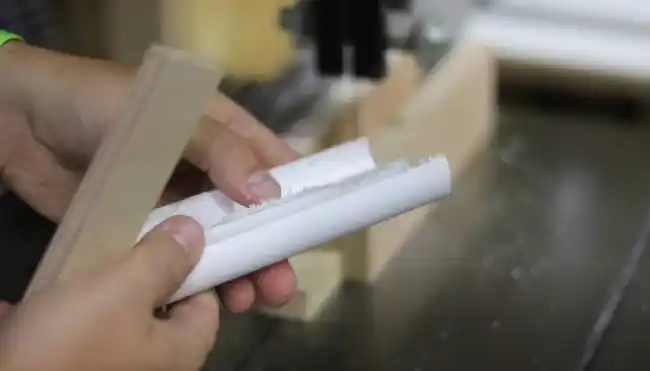
Smooth any rough edges on the PVC pipe by sanding it with sandpaper, ensuring the material is safe for your intended use. Removing any sharpness from the cut edge after cutting the PVC pipe from the jig is important.
Use sandpaper to gently sand the edge, working in a back-and-forth motion until the edge is smooth and free of roughness. You should do this, especially if you’re using PVC pipe for a chicken feeder or anything else where safety is important.
When sanding the PVC pipe, use fine-grit sandpaper to avoid scratching or damaging the surface. Hold the sandpaper at a slight angle to the pipe and gradually work your way around the edge.
Be sure to sand both the inside and outside edges of the cut, as well as any burrs or rough spots that may be present. Once you’ve sanded the edge to your satisfaction, wipe the PVC pipe clean with a damp cloth to remove any dust or debris. Your PVC pipe is now ready for use.
Do I need a special table saw blade to cut PVC?
A general-purpose blade on your table saw will work fine for slicing through PVC, so there’s no need to stress about finding a specialized one. A combination wood/metal blade with a 10/14 TPI configuration perfectly cuts PVC pipe.
Note that there is no specialty PVC blade, nor is one necessary. When cutting PVC with a table saw, taking proper precautions is important to ensure your safety.
Always wear protective gear except for gloves, and keep the blade guard in place. Also, make sure to keep the PVC stable and secure while cutting to avoid any accidents.
What kind of saw will cut PVC instead of a Table Saw?
For a cleaner and more versatile option, a hacksaw is the go-to tool for cutting through PVC. Unlike a table saw, a hacksaw allows for more control and precision, especially when cutting smaller pieces of PVC.
With a hacksaw, you can easily make angled cuts and adjust the depth of the cut to fit your specific needs. Plus, hacksaws are relatively inexpensive and easy to find at most hardware stores.
What is the cheapest way to cut PVC pipe?
If you don’t have access to a table saw, a small PVC cutter is the cheapest and easiest way to slice through PVC pipe. These cutters require minimal force and leave no sharp edges to worry about.
You can get a basic PVC cutter for as little as $9. Using a PVC cutter is a simple process. Line up the blade with the desired cutting point and open and close the tool until you complete the cut.
This method is not only inexpensive but also very safe and efficient. Also, with a PVC cutter, you can easily make precise cuts at any angle without worrying about damaging the pipe or hurting yourself.
Use Table Saw for Cutting PVC for Clean and Precise Cuts
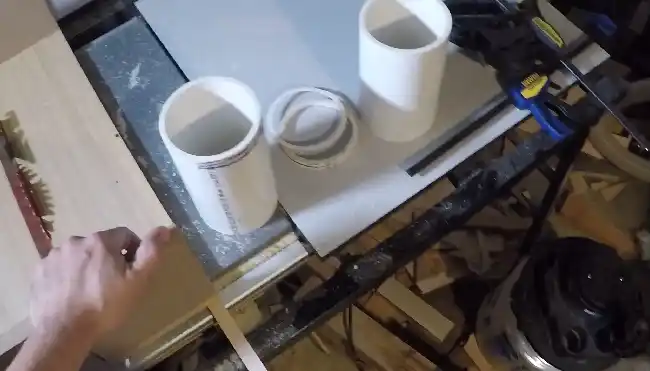
Cutting PVC with a table saw is possible. With the right tools, such as a stable jig, a clean and sharp blade, and proper safety gear, you can make precise and clean cuts on PVC.
While a table saw can be used to cut PVC, it can also cause the PVC to melt or warp if the blade gets too hot. Another option is a PVC pipe cutter, designed specifically for cutting PVC and provides a clean, precise cut every time.
To avoid overheating the blade and damaging the PVC, use a blade with a high tooth count and make slow, steady cuts on a table saw. Following the steps outlined, you can easily cut PVC pipes with a table saw for your next DIY project.

