Can You Cut Plastic With a Table Saw: 7 Steps to Follow
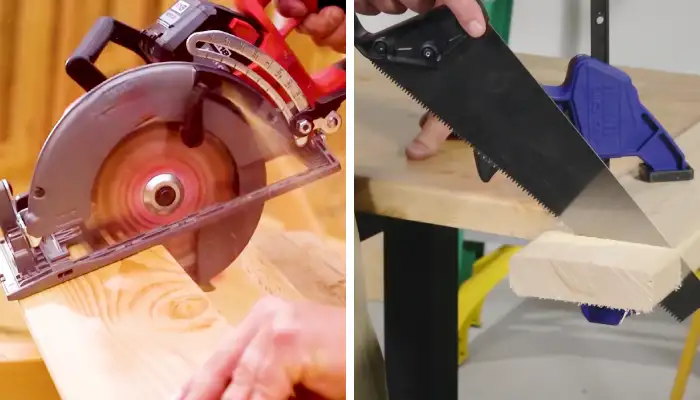
A table saw is a versatile and powerful tool that generally plays a critical role in the carpentry and woodworking industries. It allows you to make straight, accurate, and repeatable cuts effortlessly. However, many often wonder if cutting plastic with a table saw is possible.
I researched it and found that cutting plastic with a table saw is possible, but it needs some specific precautions and considerations. Based on my findings, you need to use a blade specifically designed for cutting plastics.
A no-melt carbide-tipped saw blade with triple-chip teeth and a negative rake angle is the best option for clean and efficient cuts. I will discuss in detail how to safely cut plastic with a table saw without melting it.
How Do You Cut Plastic With a Table Saw: Step-By-Step Guide
To cut plastic with a table saw, there are several important steps you need to follow, such as:
- Step 1: Gather the materials and prepare for safety
- Step 2: Adjust the blade height
- Step 3: Set optimal cutting speed
- Step 4: Measure and mark the plastic
- Step 5: Set the fence
- Step 6: Turn on the table saw and feed the material
- Step 7: Turn off the saw and inspect the cut
Step 1: Gather the Materials and Prepare for Safety
Before you initiate the plastic-cutting process with a table saw, gather all the necessary materials and prioritize safety precautions. Begin by assembling the required items, such as plastic sheets earmarked for cutting, a suitable table saw, and a blade specifically crafted for plastic cutting.
It is advisable to use a carbide-tipped blade recognized for its durability and sharpness. Carbide blades, particularly effective for plastic cutting, offer consistent performance over time and guarantee smooth cuts and an extended blade lifespan.
Apart from prioritizing the tools, it’s crucial to prioritize safety. Always wear protective gear, such as safety goggles and hearing protection.
To mitigate the risk of inhaling toxic fumes while working with plastics like PS and PVC, it’s advisable to use a gas mask with ABEK filters.
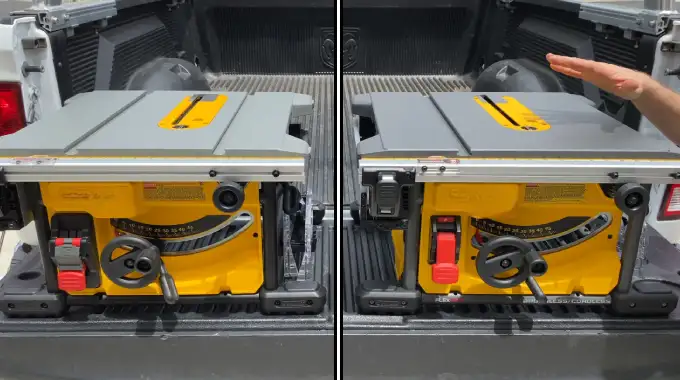
Step 2: Adjust the Blade Height
After gathering all the necessary materials, the next step is to adjust the height of the table saw blade. To begin, locate the height adjustment mechanism on your table saw, which is typically a handwheel or crank.
Start with the blade in its lowest position and gradually raise it until the teeth barely protrude above the surface of the plastic sheet. Take your time and make small adjustments, checking the blade height frequently to ensure it’s at the optimal position for cutting plastic.
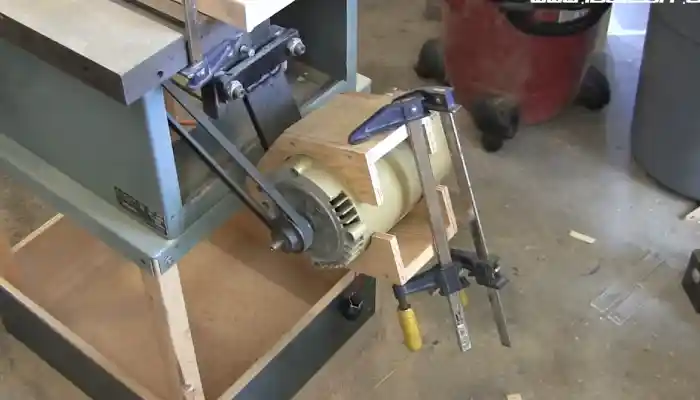
Step 3: Set Optimal Cutting Speed
After adjusting the blade height, you can now move on to setting the optimal cutting speed for plastic on a table saw.
Plastic requires a slower cutting speed than wood, so setting the table saw to around 3000 RPM is recommended. This slower speed helps to minimize heat buildup during the cutting process, reducing the risk of melting the plastic.
Step 4: Measure and Mark the Plastic
Now, use a ruler or straight edge to measure and mark the plastic sheet according to your desired dimensions to achieve accurate cuts. Begin by aligning the ruler or straight edge with the sheet’s edge, ensuring it’s secure and doesn’t move during the marking process.
Use a pencil or marker to mark the measurements directly on the plastic surface. Take your time with this step, as accuracy is essential for a clean and precise cut. Double-check your measurements before proceeding to the next step to ensure that you have marked the plastic correctly.
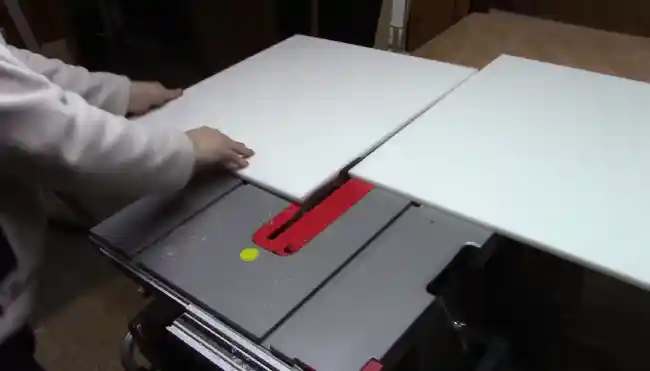
Step 5: Set the Fence
To achieve precision, position the table saw fence accurately to guide the plastic sheet during the cut and ensure the fence is securely locked and aligned with your cutting marks.
It is necessary to loosen the locking mechanism that secures the fence in place to set it up. This is usually a lever or knob located on the front or side of the table saw, depending on the model. Once the locking mechanism is loosened, position the fence to align the cutting marks made earlier with the fence.
The fence is meant to guide the material and ensure that it passes uniformly at the correct distance from the blade.
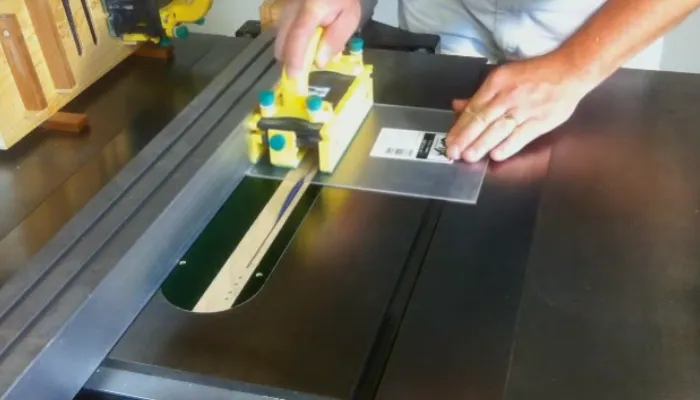
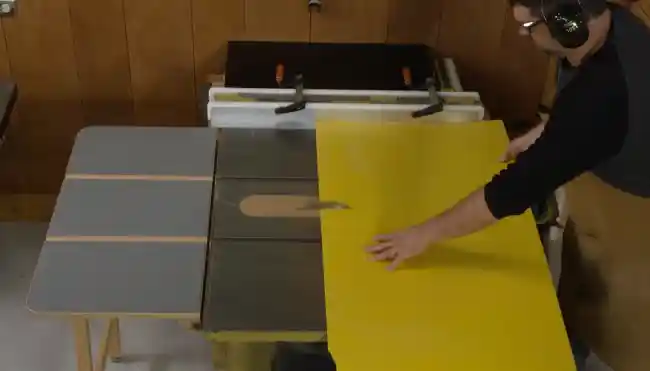
Step 6: Turn on the Table Saw and Feed the Material
Now that everything is set up correctly, it’s time to turn on the table saw. Ensure that the saw is running at the set speed before starting the cutting process.
Maintaining a slow and steady feeding motion is crucial to achieve a clean cut without any chipping. Avoid applying excessive force or rushing the process, as this may lead to poor results.
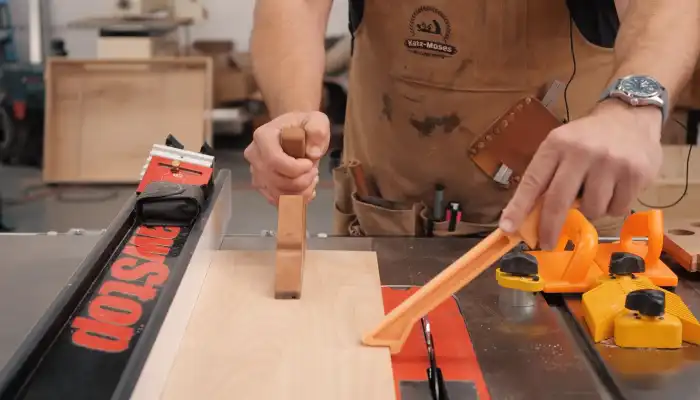
Keep your hands away from the blade at all times to prevent any accidents or injuries. To feed the material, it’s recommended to use a push stick or other appropriate tools to maintain a safe distance from the blade.
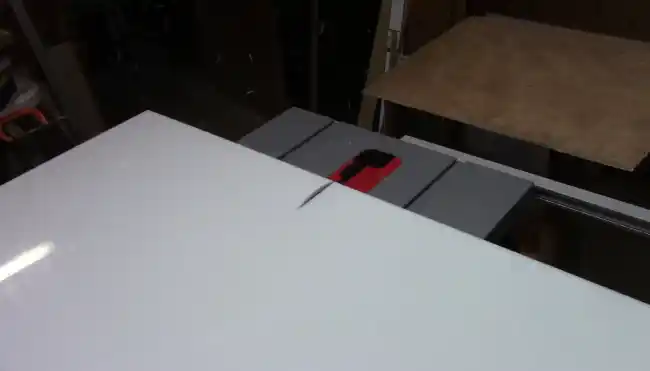
Step 7: Turn off the Saw and Inspect the Cut
After completing the cut, turn off the table saw and take a moment to inspect the cut for accuracy and quality. Look for any signs of rough edges, jagged cuts, or uneven lines. Run your fingers along the cut to feel for any imperfections or inconsistencies.
Check for any melting or warping of the plastic, as this could indicate that the blade was too hot or the cutting speed was too fast. If you notice any issues, note them and consider adjusting your technique or blade height for future cuts.
It’s important to ensure that the cut is clean and precise, as this will affect the overall quality of your project. Taking the time to inspect the cut now will save you from potential problems.
Can you cut curved shapes in plastic using a table saw?
Cutting curved shapes in plastic using a table saw can be challenging due to the tool’s primary design for straight cuts. Attempting to cut curves by carefully guiding the material through the blade is not the most recommended method, as it can compromise the quality of the cut.
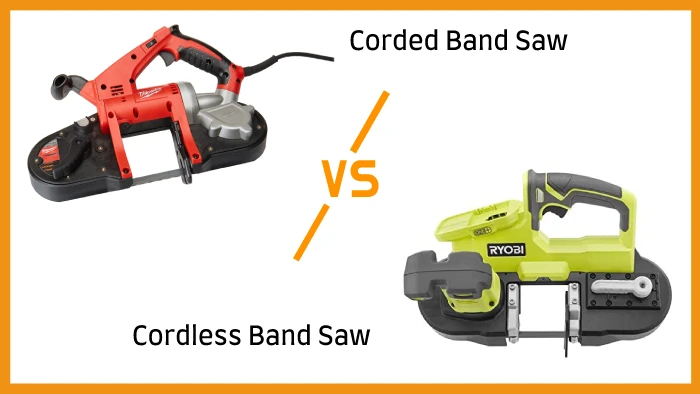
For curved cuts in plastic, using tools like a bandsaw with a suitable blade or a jigsaw is often more suitable and provides greater control and precision for intricate shapes.
These tools allow for smooth navigation of curves without compromising the quality of the cut, making them the ideal choice for precise curved cuts in plastic.
Should you wear gloves when cutting plastic with a table saw?
It is not recommended to wear gloves when cutting plastic or PVC with a table saw. Gloves can pose a serious safety risk by getting caught in the rotating blade, potentially causing severe injuries.
Additionally, gloves can reduce your ability to handle the material accurately, which is essential when operating a table saw. Instead, wear protective gear like goggles and earplugs and follow power tool safety guidelines. Always remember to prioritize safety over convenience when working with power tools.
Carefully Cut the Plastic with the Right Blade and Techniques
I hope that cutting plastic with a table saw is now easier for you, armed with the insights from this step-by-step guide. Prioritize safety with the right protective gear when working with power saw tools.
Choosing the correct blade, adjusting the blade height, and diligently following each step help achieve clean and efficient cuts in plastic. Always adhere to recommended practices and enjoy the satisfaction of creating precise cuts in plastic for your woodworking or crafting projects.