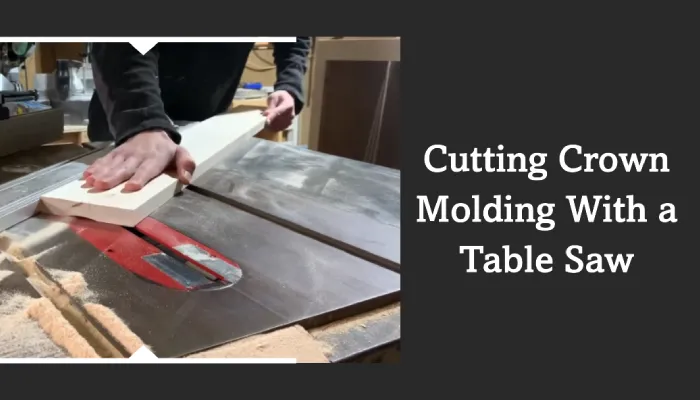
Can You Cut Crown Molding With a Table Saw: Steps to Success [DIY]
Crown molding is a popular way to add elegance and value to your home. But when considering adding crown molding to your home you may be unsure how to cut it. Well, let me tell you that you can cut crown molding with a table saw without access to specialized tools or want to save money.
To cut crown molding with a table saw, gather your necessary tools. Now, set up your table saw according to the manufacturer’s instructions, ensuring it’s stable and secure. Then, measure the crown molding, check your measurements’ accuracy, and make the final cut.
Today, I’ll guide you through the step-by-step process of using a table saw to cut crown molding precisely. By the end of this post, you will have the knowledge and confidence to tackle this DIY task independently.
Six Steps to Cut Crown Molding With a Table Saw
Embarking on a crown molding project with a table saw can be a rewarding DIY endeavor but comes with challenges. To ensure a seamless and successful cutting process, observe these steps:
- Gather your tools
- Set up your table saw
- Measure the crown molding and test
- Test the angle
- Configure your table saw
- Make the final cut
Step 1: Gather Your Tools
To begin cutting crown molding with a table saw, I suggest you ensure that you have the necessary tools, such as:
- Table saw
- Hand saw for small projects
- Zero-clearance throat plate
- Crosscut sled or miter gauge
- Safety gear (safety glasses and a face mask)
Having these tools ready before cutting will ensure a smooth and safe experience when working with crown molding and the table saw.
Step 2: Set Up Your Table Saw
Setting up your table saw for removing crown molding involves several steps:
- Ensure the table saw is in good working condition and the blade is sharp and securely fastened.
- Check that the saw’s fence is square to the table and aligned parallel to the blade.
- Adjust the blade height to half the thickness of the crown molding.
- Install a zero-clearance throat plate to prevent small offcuts from getting trapped.
- Consider using a crosscut sled or miter gauge for added stability when cutting the molding.
- Ensure the saw has a fine-toothed blade suitable for cutting hardwood.
- Lastly, ensure the saw has a riving knife or splitter to prevent kickback.
Always wear appropriate safety gear and follow the manufacturer’s guidelines for your table saw.
Step 3: Measure the Crown Molding and Test
Measuring the crown molding accurately and conducting a test fit is essential for ensuring a proper and seamless installation. Begin by measuring the area where the crown molding will be installed, marking it carefully with a pencil. Then, measure the crown molding itself, ensuring precise dimensions.
Once measured, place the molding in the planned configuration to test the fit. This step is essential as it allows you to identify discrepancies and make necessary adjustments before cutting. Check for gaps or overlaps, and make sure the corners align correctly.
Step 4: Test the Angle
Consider using a scrap piece of molding to test the angle, allowing you to adjust and perfect the cut before making the final one. To do this, set your miter saw to the appropriate angle and make a test cut on the scrap piece.
Then, place the test cut pieces together to simulate a corner. Check for any gaps or misalignments. If the fit isn’t perfect, make small angle adjustments and try another test cut until you achieve a precise fit.
This is crucial in ensuring that your crown molding fits together when installed. Testing the angle beforehand can save you from errors and wasted materials when making the final cuts on your crown molding.
Step 5: Configure Your Table Saw
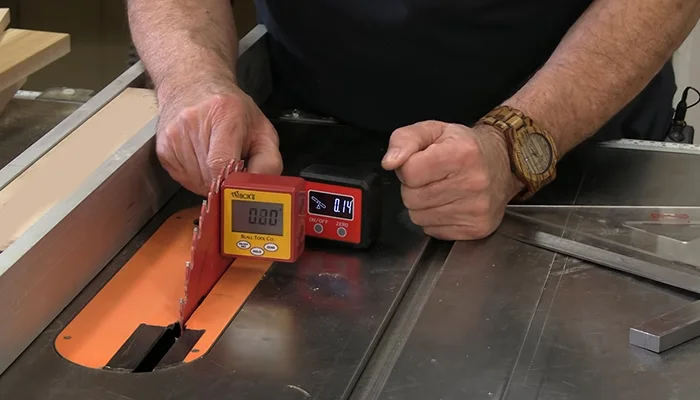
To configure your table saw for cutting crown molding, ensure the blade is set to the appropriate angle and aligned with the measurement. Use a bevel gauge to set the angle precisely.
Adjust the blade height to match the depth of the crown molding. Clearly understand your table saw’s features and how to make these adjustments safely. Double-check that the fence is positioned accurately to guide the molding through the cut.
I advise you to take the time to make sure all adjustments are secure and precise before making your cuts. Following these steps allows you to configure your table saw properly for cutting crown molding with accuracy and efficiency.
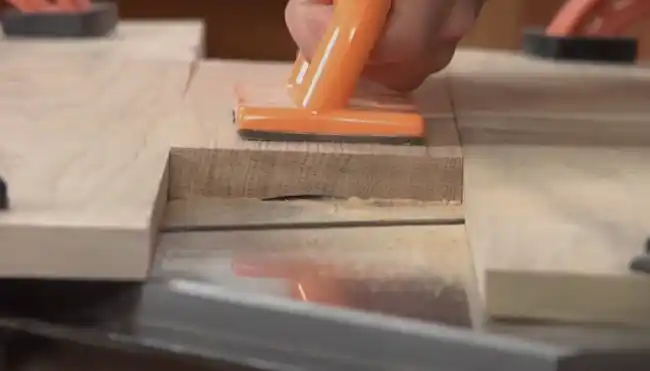
Step 6: Make the Final Cut
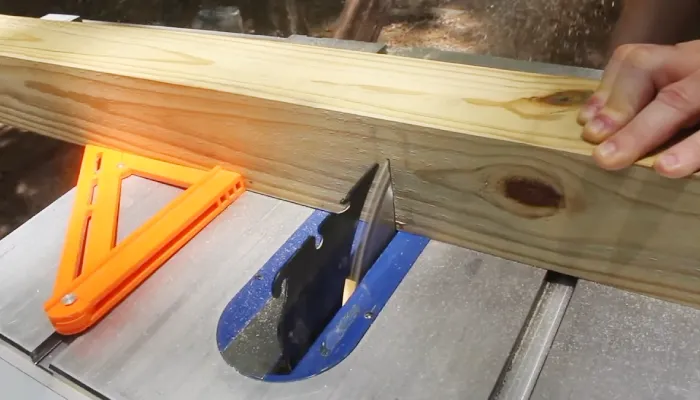
When making the final cut for crown molding with a table saw, ensure the wood is flush with both the blade and the pusher before cutting it. This process is crucial to achieving a clean and accurate cut.
Pay special attention to the flat part of the molding as it meets the table and the fence. If you encounter any challenges during the process, consider applying the firm pressure techniques. For instance, using a sled with vertical risers set at 45 degrees can help stabilize the molding and facilitate the cutting process.
What Not to Do When Cutting Crown Moulding on a Table Saw?
When cutting crown molding using a table saw, I’ve listed several things you must avoid for safety precautions, such as:
1. Neglecting Safety Measures
You should always prioritize safety when cutting crown molding with a table saw to prevent potential hazards such as flying debris and dust. Ignoring safety glasses and a face mask can put you at risk of injury from wood chips, splinters, and fine particles.
Failing to use a push stick or block when cutting small pieces can lead to hand injuries. Disregarding the appropriate blade guard and riving knife increases the chances of kickback, which can cause serious harm.
Also, neglecting to keep the work area clean and clear of obstacles poses tripping hazards. Always adhere to safety protocols by wearing the necessary protective gear, using the appropriate tools, and maintaining a tidy workspace.
2. Skipping Test Cuts and Measurements
Test cuts and measurements on a table saw ensure a smooth and secure crown molding cutting process. Neglecting these fundamental steps may lead to inaccuracies and ill-fitting molding.
Test cuts at 45-degree angles are vital as they allow you to fine-tune the angle settings on your table saw, ensuring a seamless fit during the final cut. Accurate measurements serve as the foundation for a successful project. Skipping these steps can result in frustration and wasted materials.
Take the time to carefully measure and make test cuts to guarantee the best outcome for your crown molding project. It’s a crucial part of the process that can’t be overlooked.
3. Overlooking Blade Configuration
Ensure your table saw blade is configured to guarantee precise cuts and minimize material wastage when cutting crown molding.
Overlooking the blade configuration can result in inaccurate angles and improper cuts. I recommend you set the saw blade at the correct angle to match the spring angle of the crown molding. Failing to do so can lead to ill-fitting joints and the need for additional adjustments.
4. Rushing Through the Final Cut
If you rush through the final cut when cutting crown molding with a table saw, you risk compromising the precision and quality of your work. The final cut is crucial; haste can lead to misalignments, jagged edges, and a poor finish.
Take the time to carefully align the wood flush with the saw blade and pusher. Ensure the wood is secure and your fingers are clear of the blade. It’s easy to overlook these critical safety and precision measures in your rush.
5. Ignoring Support and Control Issues
Neglecting proper support and control when cutting crown molding on a table saw can result in wobbly, uneven cuts and potential safety hazards. Ignoring the need for out-rigger support, clamping, and a sturdy sled can lead to disastrous outcomes.
Without adequate support, long pieces of crown molding can wobble and tilt as they pass the blade, resulting in jagged and imprecise cuts. Moreover, the lack of control can pose significant safety risks, as the material may kick back or become jammed in the blade, causing injury or damage to the equipment.
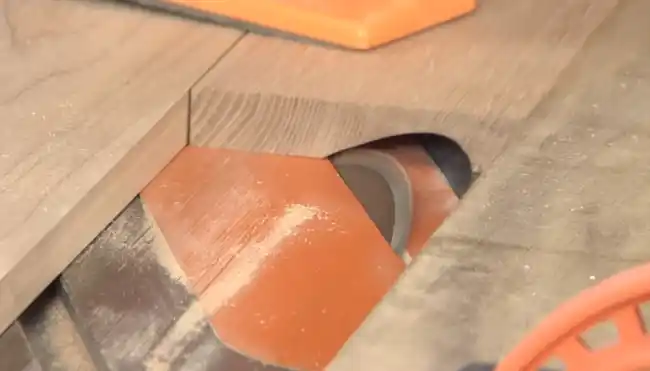
What is the most common angle for cutting crown molding?
Typically, the angle for table saw crown molding is 52 degrees on the angle and 38 degrees on the bevel. When cutting crown molding, correctly set the miter and bevel angles to achieve precise corner joints.
The 52-degree angle on the miter gauge represents the angle at which the molding should be placed against the table saw’s fence. As a result, the molding will fit seamlessly into the corners of your project. The 38-degree bevel angle ensures that the molding sits flush against the wall and ceiling, providing a polished look.
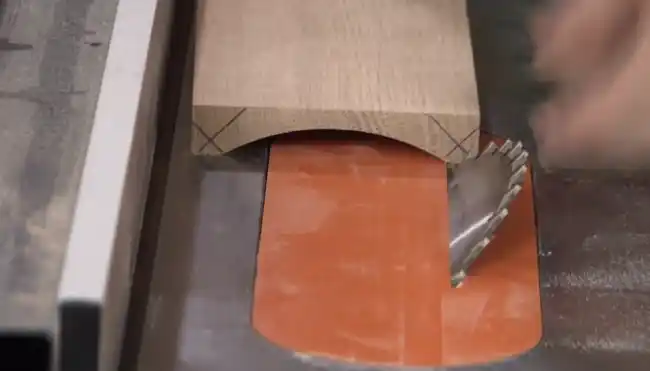
What kind of cut is used for crown molding on the table saw?
The recommended approach is to cut crown molding on a table saw, position it flat, and adjust the miter gauge and blade to the necessary angles for making miters.
When cutting crown molding on a table saw, cut it flat, with the top edge against the fence and the bottom edge against the table. This orientation ensures that the molding sits securely during the cut.
Adjust the miter gauge to the appropriate angle for the specific type of miter joint needed, such as a 45-degree angle for a standard corner joint. Set the table saw blade to the corresponding angle for a precise cut.
Enhance Your Home’s Look by Cutting Crown Molding With a Table Saw
Cutting crown molding with a table saw can save you money and provide satisfaction and accomplishment. With the right tools, setup, and technique, it is a feasible DIY project that enhances the overall look of your home.
Keep your fingers clear of the blade to prevent accidental injuries, and always use proper safety equipment. You can create clean, precise cuts for your crown molding projects with a steady hand and a sharp blade.
Throughout this guide, I have provided a step-by-step guide on cutting crown molding with a table saw. I hope this post has been informative and helpful to you. Now, go ahead and try it on your own, and let us know how it goes.