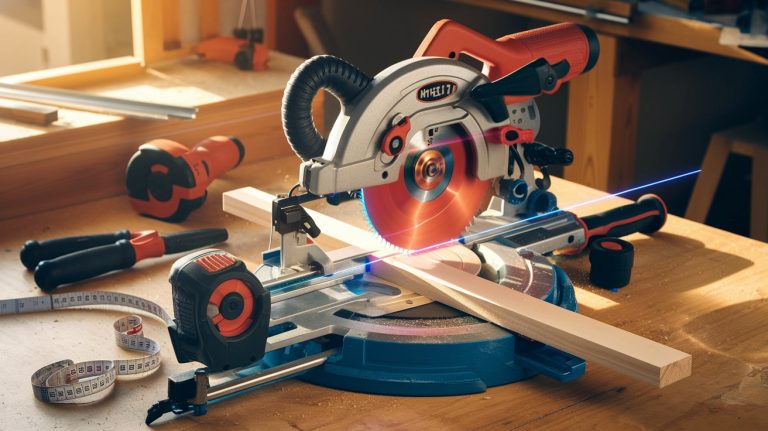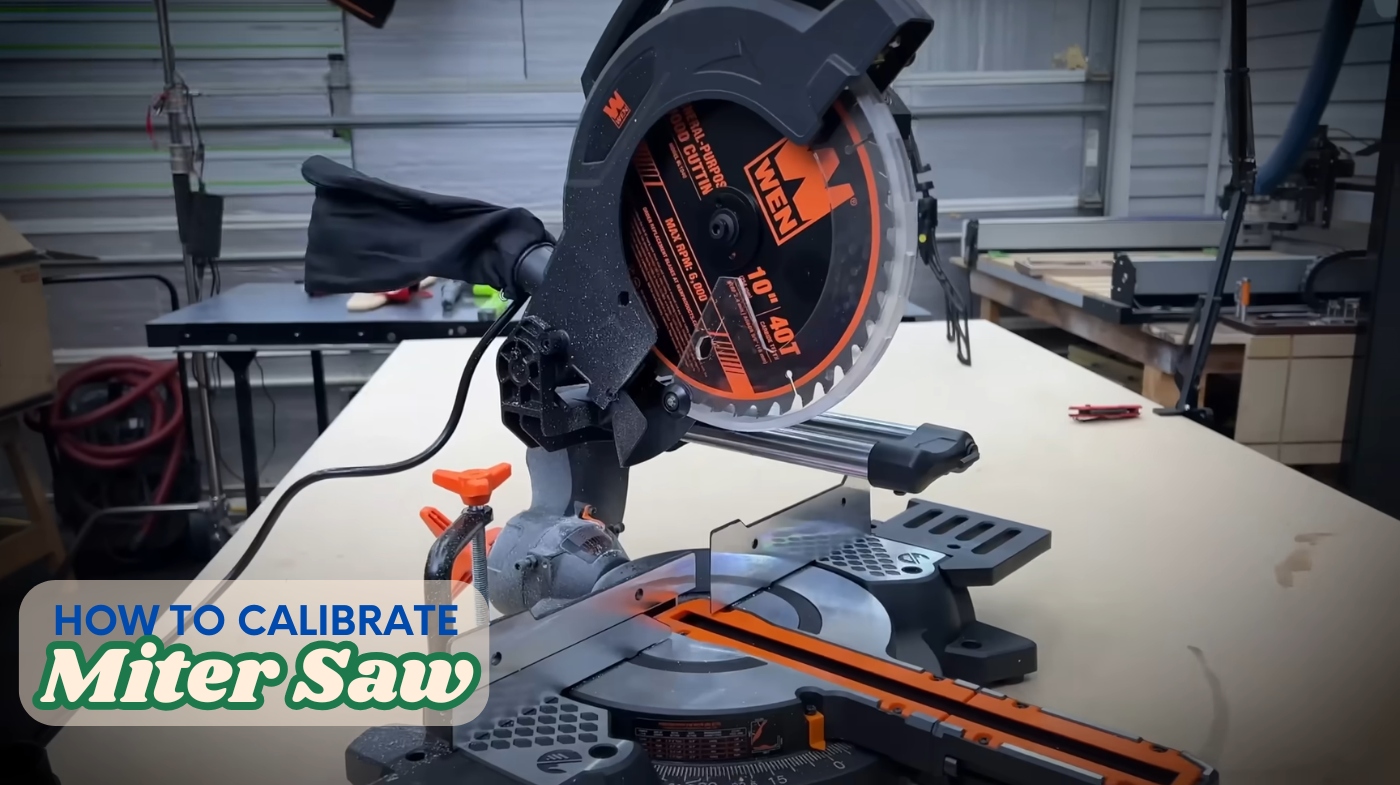
How to Calibrate Miter Saw? Easy Steps for Precision Work
To calibrate your miter saw, first gather tools like a digital angle finder and straightedge. Level the table using shims, ensuring a flat surface for accurate cuts.
Next, square the fence with a combination square; adjust and retighten it as needed. Finally, calibrate the miter angles by checking against 45° and 90° cuts, adjusting the gauge for any discrepancies.
Consistent maintenance is key for longevity and precision—keep going to discover further calibration tips.
Key Takeaways
- Ensure the miter saw is unplugged and the work area is clean before starting the calibration process.
- Level the table using a straightedge or bubble level to ensure accurate vertical cuts.
- Square the fence with a combination square, adjusting it to eliminate gaps behind the blade.
- Calibrate the miter angle by verifying cuts at 45° and 90°, adjusting the gauge as needed.
- Perform regular maintenance, including cleaning and lubricating the saw, to maintain calibration and performance.
Preparation for Calibration
Before you begin calibrating your miter saw, gather the necessary tools to guarantee an efficient and effective process. You’ll need a digital angle finder, a straightedge or bubble level, a combination square, feeler gauges, and a wrench set.
Calibration is necessary for compound miter saws, as they can lose bevel or miter angles due to wear and tear. Confirm your work area is clean and free of debris to minimize hazards.
Unplug the miter saw to prevent accidental activation, and wear safety glasses and a dust mask for protection. Tie back long hair and avoid loose clothing, keeping children away from the workspace.
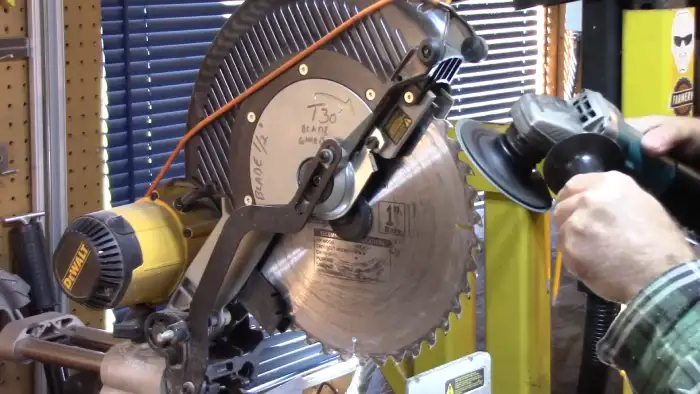
Inspect the blade for sharpness and damage, cleaning it of any debris. If the blade is dull, consider replacing it and verify that it’s installed correctly before proceeding with calibration.
Leveling the Table
Achieving a perfectly level table on your miter saw is vital for accurate cuts and overall performance. Begin by placing a straightedge or bubble level across the table. If you notice any tilt, use shims underneath to adjust for unevenness.
Always align the table in the 90-degree position for precise leveling. After placing shims, recheck with your straightedge and spirit level, making necessary adjustments until the table is perfectly level. Additionally, ensure that a flat table is crucial for accurate vertical cuts.
Align the table to 90 degrees for accurate leveling, then adjust with shims and recheck for precision.
Remember to level the support wings as well. If metal shims require modification, use a sanding tool or file.
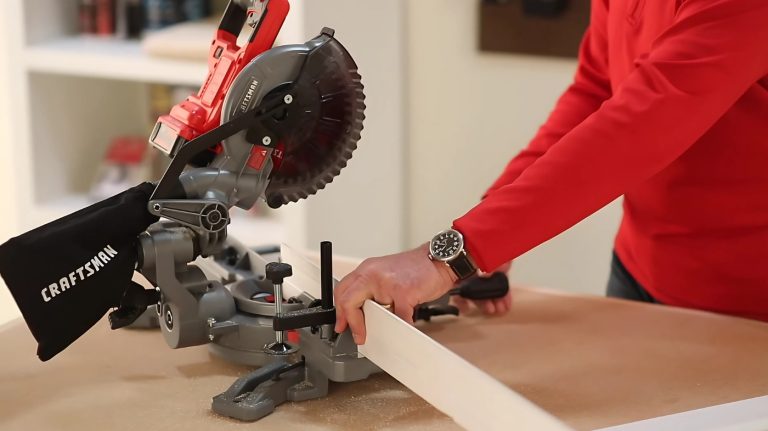
Squaring the Fence
Squaring the fence on your miter saw is essential for achieving precise cuts and maintaining accuracy.
To start, loosen the bolts holding the fence, ensuring they remain attached. Use a combination square to check the fence’s alignment with the blade at a 90-degree angle. Inspect for gaps behind the blade; if gaps are present, adjust the fence accordingly.
Move the fence back and forth until it aligns flawlessly with the square. Calibrating the saw ensures that cuts are square and true, which is crucial for maintaining accuracy in your woodworking projects.
Additionally, proper squaring helps to achieve flawless angles, which enhances the overall quality of your work.
Once aligned, retighten the bolts carefully, ensuring you don’t disturb the newly achieved alignment. Regularly check the fence, especially after transportation, to maintain precision and performance.
Calibrating Miter Angle
Once the fence is squared, the next step is to calibrate the miter angle for accurate cuts.
Start by inspecting the blade for defects or debris. Use a combination square or digital angle finder to verify angles with test cuts at 45° and 90°. If the cuts deviate, adjust the miter gauge in the opposite direction of the error.
Initial calibration is crucial before first use to ensure your miter saw operates effectively and ensures proper alignment of the blade with the fence.
Make small tweaks to achieve precision, then perform additional test cuts to confirm accuracy. Utilize digital gauges for precise measurements and document any adjustments for future reference.
Repeat this process until you achieve the desired accuracy, ensuring your setup remains stable and level throughout.
Ongoing Maintenance
To ensure your miter saw operates at peak performance, ongoing maintenance is essential.
Start by regularly cleaning the saw, using compressed air or a vacuum to remove dust from the body and hard-to-reach areas, like the blade guard. Wipe down all parts with a damp cloth to prevent blade contamination.
Regular cleaning prevents dust accumulation affecting performance. Additionally, consider using paste wax on the saw’s base to reduce friction and enhance movement.
Lubricate moving parts, such as rails and pivot points, with manufacturer-recommended lubricants to minimize friction and prevent wear. Inspect the blade for sharpness and damage; replace it as necessary.
Store your saw in a dry environment, away from sunlight, and use a protective cover to shield it from dust. Always wear appropriate PPE and inspect the power cord before use to ensure safety.
Frequently Asked Questions
How Often Should I Calibrate My Miter Saw?
You should calibrate your miter saw regularly to guarantee accurate cuts. Start with an initial calibration before first use. Depending on how often you use the saw, perform weekly checks or more frequently if you’re tackling heavy projects.
Always recalibrate after maintenance or if you notice inaccuracies in your cuts. Environmental factors can also affect alignment, so stay vigilant and check your tools periodically to maintain peak performance.
What Should I Do if the Saw Won’t Stay Level?
If your saw won’t stay level, it’s like trying to balance a house of cards in a windstorm. First, check for obstructions causing the tilt. Use a level to assess the table and adjust the feet if necessary.
Secure the table’s position to prevent future shifts. Tighten any loose bolts or screws, and regularly perform stability checks.
Can I Use My Miter Saw for Other Materials?
Yes, you can use your miter saw for various materials beyond wood. With the right blade, it can cut laminate, mild steel, non-ferrous metals, plastics, and composites. Make sure you select material-specific blades for sharp, clean cuts.
For instance, use carbide-tipped blades for metal and multi-material blades for versatility. Just remember to adjust your settings accordingly; different materials may require different cutting techniques to guarantee accuracy and prevent damage to the blade.
What Is the Best Type of Blade for Accuracy?
For accuracy, you’ll want to select a blade with tungsten carbide tips, as they provide durability and precision.
Opt for a higher tooth count, like the Freud D12100, which reduces tearout, ensuring clean cuts. Consider the blade diameter; larger blades allow for versatility but may require more power.
Additionally, brands like DeWalt and Bosch are known for their quality, enhancing your cutting accuracy across various materials.
How Can I Tell if My Saw Needs Replacement Parts?
Ever wonder why your saw’s performance seems off? If you notice increased vibration, inaccurate cuts, or strange noises, it’s likely time for some replacements.
Check for visible damage, worn belts, or faulty electrical components. If calibration doesn’t fix the issues, don’t hesitate to look for worn parts.
Calibrate Your Miter Saw for Flawless Cuts and Pro Results
By now, you’ve transformed your miter saw into a precision cutting machine that rivals NASA’s rocket technology. With the table leveled, the fence squared, and the miter angle calibrated to perfection, you’re ready to tackle any woodworking project like a pro.
Remember, regular maintenance is the secret sauce to keep your saw performing at its peak. So, roll up your sleeves, stay sharp, and prepare for cuts so flawless that even the wood will applaud your craftsmanship.