How to Paint Shoe Molding: Easy Tips for Perfect Results
To paint shoe molding, start by thoroughly cleaning and drying it to remove dust and grime. Fill any holes or dents with wood filler, then apply caulk to seal gaps.
Prime the molding with a compatible primer, sand lightly, and wipe away dust. Protect edges with painter’s tape to prevent paint bleed.
Use a high-quality angled brush to apply thin coats, letting each dry fully before adding another. Following these steps guarantees a smooth, durable finish. Keep going to master every detail.
Key Takeaways
- Clean and dry shoe molding thoroughly, removing dust, grime, and debris before starting to paint.
- Fill nail holes and gaps with wood filler and caulk, then smooth surfaces for an even finish.
- Apply a compatible primer evenly, let dry, and lightly sand for a smooth paint base.
- Protect edges with painter’s tape and shoe paper to prevent paint bleed onto floors and walls.
- Paint with thin, steady coats using an angled brush, allowing each coat to dry fully before touching up.
Prepare and Clean Shoe Molding for Painting
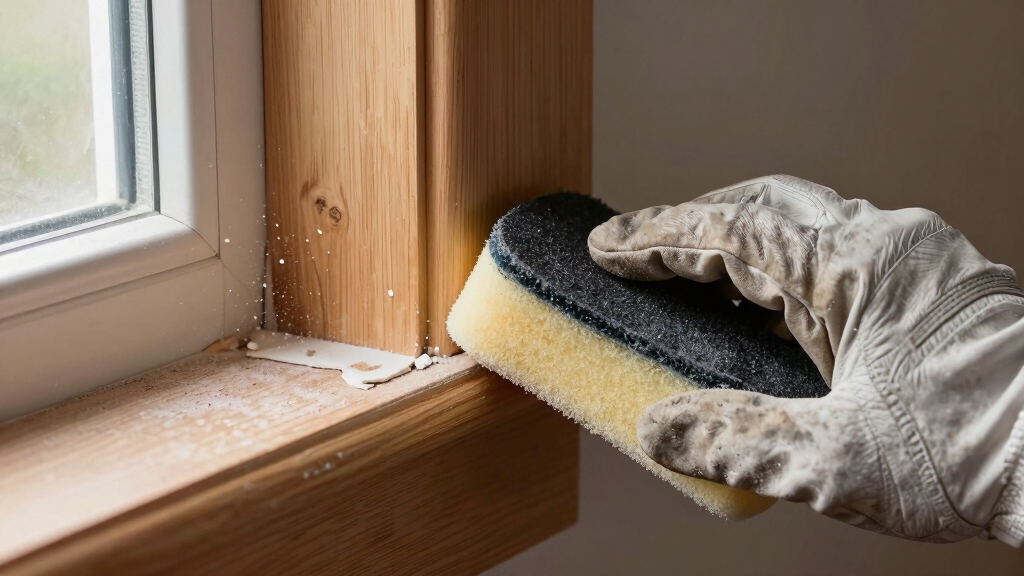
Start by thoroughly cleaning the shoe molding to ensure the paint adheres properly.
Begin with a thorough cleaning of the shoe molding to guarantee smooth and lasting paint adhesion.
Begin by vacuuming all corners and crevices to remove dust and debris.
Next, wipe down the baseboards and shoe molding with a damp paper towel for a clean surface.
Use a soapy solution on a damp cloth or sponge to gently remove grime and stains.
Avoid soaking the wood to prevent water damage or swelling.
After cleaning, allow the shoe molding to air dry completely before moving on.
Skipping this step can lead to poor paint adhesion and uneven finishes.
For optimal results, apply a high-quality primer after cleaning and drying to enhance paint adhesion and durability.
Repair Surface Imperfections and Apply Caulk
Once the shoe molding is completely dry and clean, you can address any surface imperfections before painting.
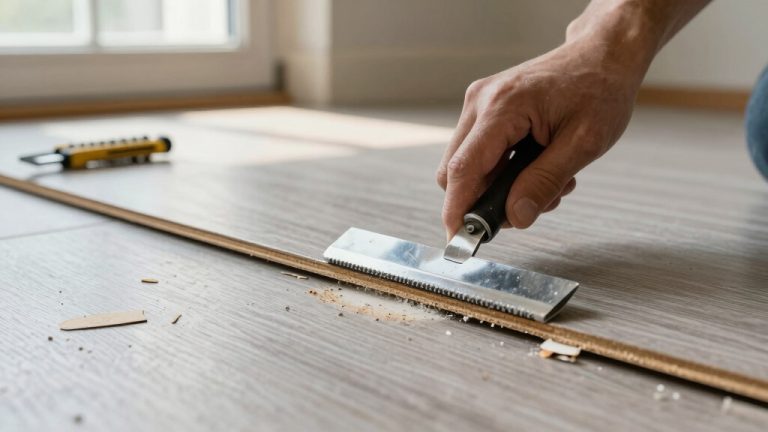
Start by filling nail holes or dents with wood filler that matches the molding’s color. Smooth the filler using a putty knife and allow it to dry fully.
Next, apply caulk to seal gaps between the baseboard and quarter round for a seamless finish. Focus on corners where two pieces meet to fill tight spaces.
- Fill imperfections with wood filler and let dry.
- Smooth dried filler with a putty knife.
- Apply a thin bead of caulk between baseboard and molding.
- Smooth caulk with a damp finger and wipe away excess.
To keep your remaining caulk fresh and ready for future use, consider sealing the tube with commercial caps or other airtight methods after application.
These steps guarantee a flawless surface ready for the next painting phase.
Prime and Sand Shoe Molding for a Smooth Base
Select a primer compatible with your shoe molding material and the paint you plan to use. Stir it thoroughly for an even consistency.
Apply a thin, even coat using a brush or roller, following the wood grain if applicable. Make sure to cover all surfaces, including corners and crevices, for uniform adhesion.
After the primer dries completely, lightly sand the surface with fine-grit sandpaper to smooth out any imperfections and create an ideal base for paint.
Wipe away sanding dust with a clean, dry cloth before moving forward. This preparation step is essential for a flawless finish, as it improves paint adhesion and durability while preventing uneven texture or peeling later on.
Take your time here to guarantee yourself success. Prioritize primers with strong stain-blocking ability to prevent tannin bleed and ensure long-lasting results on wood surfaces.
Protect Shoe Molding Edges Before Painting
To guarantee crisp, clean lines when painting shoe molding, you’ll want to carefully protect the edges where the molding meets the floor and wall. This prevents paint from bleeding onto adjacent surfaces and gives your work a professional finish.
Protect edges where molding meets floor and wall to ensure clean, professional paint lines without bleeding.
Here’s how to do it effectively:
- Apply painter’s tape along the floor and wall edges, pressing down firmly to seal the tape edge.
- Slide shoe paper or sheetrock tape under the molding with a putty knife to cover floor gaps.
- Seal the tape edge by painting over it with wall paint before applying the trim paint.
- Use a dry brush along the tape line to cut clean edges without painting the tape itself.
Taking these steps guarantees neat boundaries and a flawless shoe molding paint job.
Paint Shoe Molding and Finish With Drying and Touch-Ups
Applying paint to your shoe molding requires steady, even strokes to guarantee a smooth, professional finish.
Use a high-quality angled brush to apply thin coats, following the wood grain to avoid streaks.
Allow the first coat to dry completely, following the manufacturer’s recommended drying time before applying a second coat for full coverage.
Once the final coat is dry, inspect the molding carefully for any missed spots or imperfections.
Touch up these areas with a small brush, ensuring the paint blends seamlessly.
Let the paint cure fully before moving furniture or cleaning near the molding to prevent damage.
For added durability and protection, consider finishing with a clear coat that offers water-based protection to maintain the finish’s clarity and resist wear.
Frequently Asked Questions
Can I Paint Shoe Molding Without Removing It From the Wall?
Yes, you can paint shoe molding without removing it from the wall.
Just prep carefully by cleaning and filling any imperfections while it’s still installed.
Use painter’s tape to protect adjacent surfaces and apply paint with a high-quality angled brush for precision.
Work in thin, even coats, allowing each to dry fully.
This method saves time and keeps your molding intact, providing a clean, professional finish without the hassle of removal.
What Is the Best Temperature for Painting Shoe Molding?
You might think any temperature works for painting shoe molding, but the best range is between 50°F and 85°F.
Painting within this range guarantees proper drying and curing without causing issues like cracking or bubbling.
Avoid extreme cold, which slows drying, or excessive heat, which can cause paint to dry too quickly and peel.
Keep humidity low too, so your paint job stays smooth and durable for years.
How Long Does Paint on Shoe Molding Typically Last?
Paint on shoe molding typically lasts 5 to 10 years, depending on factors like paint quality, surface preparation, and wear.
If you properly clean, prime, and apply durable paint with a semi-gloss or satin finish, you’ll extend its lifespan.
High-traffic areas may require touch-ups sooner.
To keep the finish looking fresh, avoid harsh cleaning and promptly address any chips or peeling.
Regular maintenance helps your shoe molding stay attractive longer.
Can I Use Spray Paint on Shoe Molding Instead of a Brush?
You can use spray paint on shoe molding, but it’s a double-edged sword.
While spray paint offers quick, even coverage on intricate details, it risks overspray and messy edges without careful masking.
Unlike a brush, it’s harder to control precision, so you’ll need thorough preparation, taping floors and walls tightly.
If you want a flawless finish with less hassle, a high-quality angled brush is usually your safer bet.
How Do I Prevent Mold or Mildew on Painted Shoe Molding?
You prevent mold or mildew on painted shoe molding by ensuring the area is clean and dry before painting.
Use mold-resistant primer and paint formulated with mildew inhibitors.
Keep humidity low in the room with proper ventilation or a dehumidifier.
Fix any water leaks promptly and avoid excessive moisture buildup near the molding.
Regularly inspect and clean the molding with a mild detergent to discourage mold growth.
Transform Your Trim With the Right Painting Techniques
You’re probably surprised how much a little attention to shoe molding can transform your space. By prepping, repairing, priming, protecting, and painting carefully, you not only refresh your baseboards but also enhance your entire room’s look.
Coincidentally, the same steps you take here apply to many small home projects. Mastering this process saves you time and effort down the road.
Now, give your shoe molding the finish it deserves and enjoy the polished result!