How to Apply Edge Banding? Tools, Tips and Pro Techniques
To apply edge banding, first clean and prepare your panel surface by removing dust and old adhesive.
Measure and cut the banding strip slightly longer than the edge, then activate the adhesive using heat, either a hot iron or specialized machine. Press the banding firmly with clamps or rollers to guarantee a strong bond.
After cooling, trim any excess carefully and sand for a smooth finish. Follow these steps closely to achieve professional-looking results and master the finer details of the process.
Key Takeaways
- Clean and prepare the panel edge by removing dust, grease, and old adhesive for proper edge banding adhesion.
- Measure and cut the edge banding strip slightly longer than the panel edge to allow trimming after application.
- Apply adhesive or activate preglued banding evenly using heat, ensuring full glue activation without scorching.
- Press the banding firmly with consistent pressure immediately after heating, maintain pressure during curing to avoid gaps.
- Trim excess banding carefully after cooling, then sand and finish edges smoothly for a clean professional appearance.
Preparing the Surface for Edge Banding
Before applying edge banding, you need to prepare the surface carefully to guarantee a strong, lasting bond.
Start by removing dust and loose particles with a compressor blow-off or tack cloth to avoid adhesion failure.
Degrease edges using isopropyl alcohol or acetone if you see oils or fingerprints.
Scrape off any old glue or adhesive residues, and lightly sand rough areas to guarantee fresh contact.
Check the edge for squareness and flatness. Plane or sand uneven parts to prevent gaps. Using an adhesive with the right clamp time ensures the banding adheres firmly during curing.
Eliminate chipped or delaminated sections, filling or trimming to solid substrate.
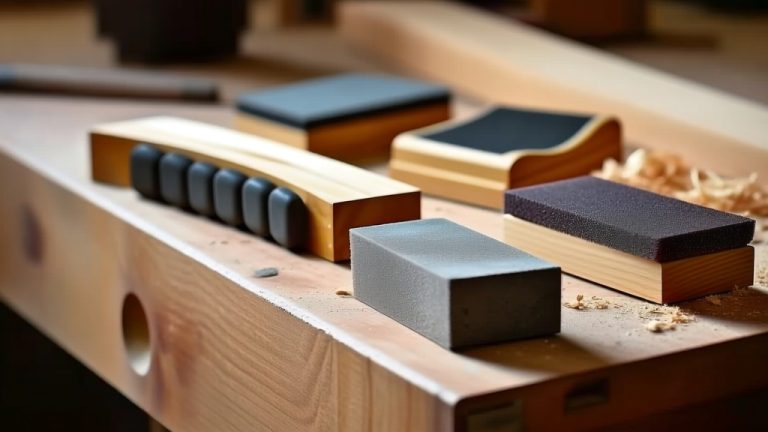
Sand edges with 120–180 grit for slight abrasion, but avoid over-sanding porous materials.
Finally, clean all sanding dust thoroughly and ensure panels are dry and conditioned to shop humidity before banding. This preparation is essential because edge banding enhances durability and longevity by protecting panel cores from moisture and damage.
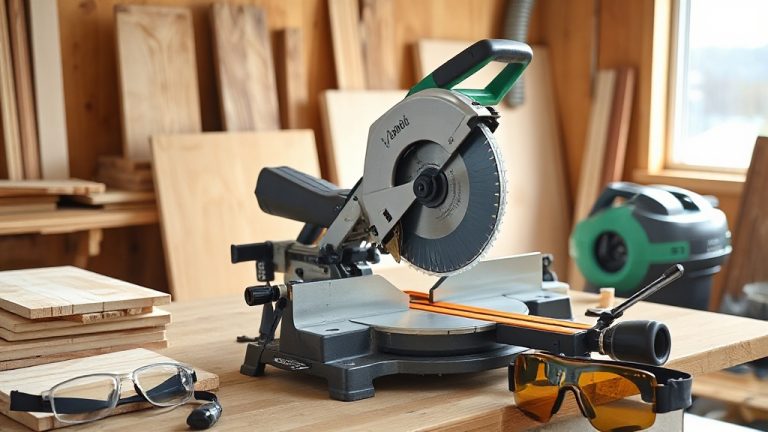
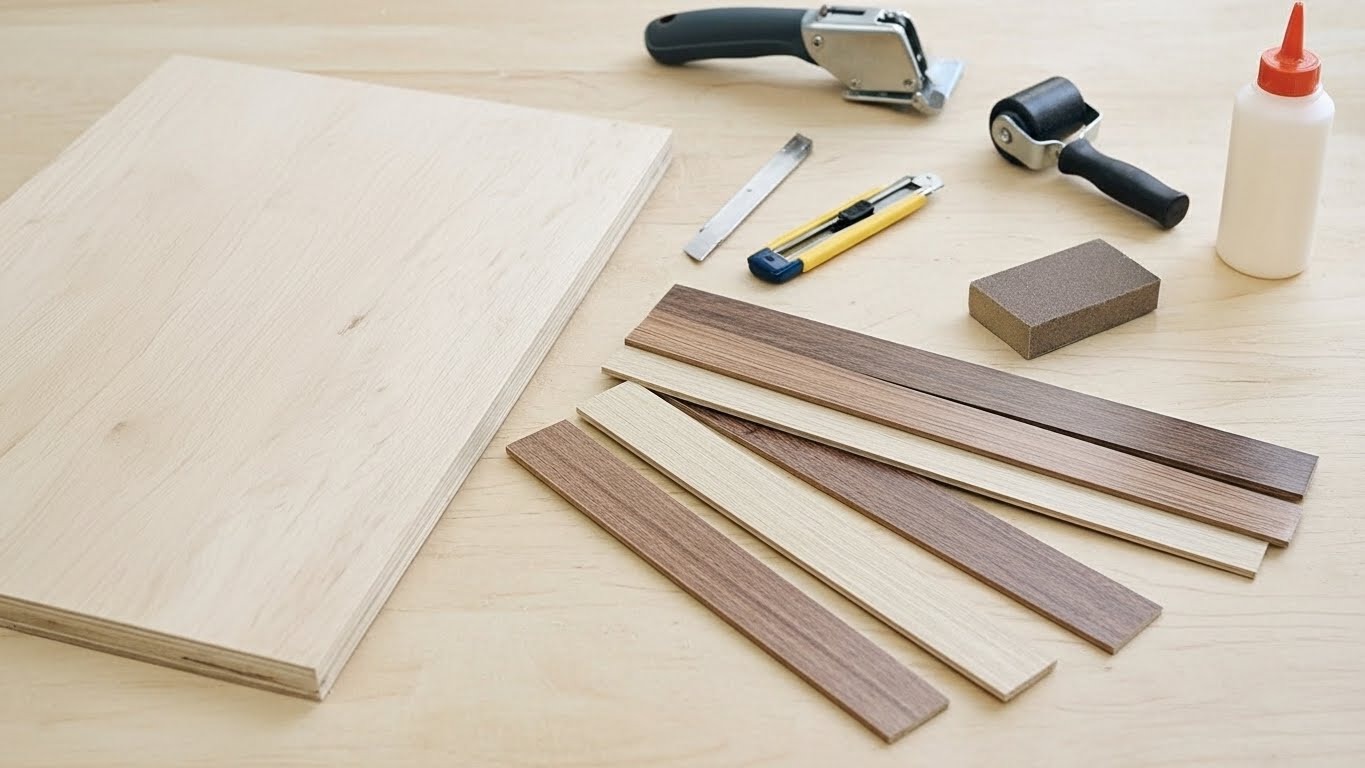
Cutting and Measuring Edge Banding Strips
Once your panel edges are prepped and clean, the next step is to accurately measure and cut your edge banding strips. Measure the panel edge with a rigid tape, adding 10–20 mm overhang for trimming. It is important to use strips extending ≥ 1/2 inch past each end to accommodate sliding during heating. Proper support and steady cutting speed help ensure chip-free edges when trimming the banding.
For curves, use a flexible tape or scribe the strip directly. Choose a banding width slightly larger than the thickest point to ensure full coverage. Use a sharp utility knife for PVC or a fine-tooth saw for wood.
Score and snap PVC, trim pre-glued melamine before heat activation, and cut solid wood oversize before trimming flush.
| Material Type | Recommended Cutting Tool |
|---|---|
| PVC/ABS | Utility knife, snap-off blade |
| Pre-glued Melamine | Sharp utility knife |
| Solid Wood | Fine-tooth saw, router |
| Veneer | Scalpel, veneer saw |
| Hardwood Lippings | Saw, block plane, router |
Applying Adhesive and Heat Activation
Although choosing the right adhesive depends on your edge banding type and production needs, hot melt glues like EVA and PUR dominate the process. Fill your glue compartment with machine-compatible pellets or cartridges, avoiding overfilling for small jobs. Position the edge banding into the feed track before starting.
Set temperature, pressure, and feed rate according to your machine’s instructions. For preglued edge banding, use a cotton setting on your iron and hold it about 20 seconds per spot. Apply heat evenly without scorching. Tilt the iron at 45 degrees to activate the glue line fully. Move the iron slowly with even pressure to soften the adhesive.
Edge banding is typically available in automatic, pre-glued, and PSA formats suited for various application methods. Ensure it spreads well for a tight bond. Proper heat activation readies the edge banding for pressing and securing. Maintaining a clean workspace with effective dust collection can improve the quality and safety of your edge banding process.
Pressing and Securing the Edge Banding
Apply consistent pressure immediately after activating the adhesive to secure the edge banding firmly in place. Use a hand roller or clamp system to apply uniform linear pressure along the entire edge, avoiding localized high-pressure points that can cause bulging. It is important to apply a judicious glue amount to prevent slipping of the edging during clamp-up and to ensure a strong bond. Ensuring a stable work surface during this process helps achieve precise adhesion without misalignment.
For longer edges, space clamps every 10–15 cm to maintain alignment and prevent gaps. Maintain pressure during the adhesive’s open and cure times, allowing cooling under pressure if using hot-melt adhesives to minimize springback. Use cauls or flat straightedges to keep the banding flush and prevent deformation.
| Pressure Type | Application Tip |
|---|---|
| Uniform linear | Use hand roller, 2–4 passes |
| Clamping straps | Space every 10–15 cm |
| Vacuum pressing | Target ~29 psi for even compression |
| Cauls | Slightly narrower than edging |
Trimming Excess and Finishing Touches
Before you start trimming, check the edge-banding seam and ends carefully for gaps, bubbles, or spots that didn’t bond properly, and mark them for re-adhesion.
Let the adhesive fully cool before trimming to avoid lifting. Choose your trimming method: use a sharp utility razor for small overhangs or an oscillating tool or router for larger or solid wood banding. The oscillating tool method provides a clean, chip-free trim that reduces common issues like gouging or tearing.
Protect adjacent surfaces with low-tack tape. Score a crease line, then trim excess with slow, controlled cuts, replacing blades often. For best results, sand edges progressively with fine grit to blend seamlessly and reduce splinters.
For heavy edges, knock down bulk with a file before routing. Finish by sanding with 120–150 grit to remove high spots and create a slight bevel or radius.
Then progress to 180–220 grit for smoothness. Clean dust thoroughly before final finishing for a seamless, professional edge.
Frequently Asked Questions
Can Edge Banding Be Applied to Curved or Irregular Surfaces?
Yes, you can apply edge banding to curved or irregular surfaces by using flexible materials like thermoformable PVC or thin veneer.
Heat the banding to soften it, then press it carefully in small sections, using rollers or blocks to avoid gaps. For tight curves, pre-heat or segment the banding to fit without stretching.
Trim and finish with heat-softening and fine tools to guarantee a smooth, clean edge without lifting or gaps.
What Types of Wood Finishes Are Compatible With Edge Banding?
You might think any finish works on edge banding, but that’s not true. Prefinished PUR-UV lacquer suits veneer edgebanding for a factory-perfect look.
You can apply stain plus clear sealer on raw wood veneer to match your panels. Paintable primers and paints fit both veneer and plastic edgebanding if you want solid colors.
Avoid finishing melamine or laminate-faced bands; replace them instead. Staying practical guarantees your edges look flawless and last longer.
How Long Does Edge Banding Adhesive Take to Fully Cure?
Edge banding adhesive cure time depends on the type you use.
EVA and polyolefin hot melts set almost immediately after cooling, letting you trim and handle right away.
PUR adhesives need about 24 hours for handling strength and up to 72 hours for a full cure.
Contact or cold glues vary widely, sometimes requiring hours or clamping.
Always follow the adhesive’s specs and consider temperature and humidity to guarantee proper curing before heavy use.
Are There Eco-Friendly or Low-Voc Edge Banding Adhesives Available?
Imagine working with adhesives that don’t cloud your workspace with harsh fumes.
Yes, eco-friendly edge banding adhesives exist! You can choose micro-emission PUR adhesives reducing isocyanate vapors by 90%, or solvent-free hot-melts like EVA, PO, and APAO that emit no solvents during curing.
These options lower VOCs and odors, helping you maintain a safer, greener workshop while ensuring solid, durable bonds. Just follow manufacturer guidelines for best results.
Can Edge Banding Be Removed and Reapplied if Mistakes Occur?
Yes, you can remove and reapply edge banding if mistakes happen.
Gently reheat the adhesive with an iron or heat gun to soften glue, then peel off slowly to avoid damage.
Clean off residue with a suitable solvent and sand the edge smooth.
Make certain the surface is dry and clean before reapplying new banding using proper heat and pressure.
Take your time trimming and finishing to guarantee a seamless look.
Perfect Your Technique and Improve Edge Banding Durability
Now that you’ve carefully prepared, measured, applied adhesive, pressed, and trimmed your edge banding, you might think you’re done.
But here’s the twist: taking a moment to inspect your work closely can reveal small imperfections you can fix before they become permanent.
Don’t rush this final step; a little extra attention now guarantees a clean, professional finish.
Ready to see your project truly come together? Give it that final, thorough check.