How to Dry Wood Fast? Proven Methods for Woodworkers
To dry wood fast, start by stacking it with proper spacing and using stickers for airflow. Seal end grains to prevent cracks.
Use a kiln or build a simple home kiln with fans and a dehumidifier to control temperature and humidity carefully. Regularly check moisture with a meter and adjust conditions to avoid warping.
Prepping wood by removing bark and selecting uniform sizes helps too. For faster, efficient drying methods and tips, explore how to optimize your process further.
Key Takeaways
- Use kiln drying with controlled temperature and humidity to reduce drying time from months to days without compromising wood quality.
- Stack wood with proper spacing and stickers, elevate stacks off the ground, and position perpendicular to prevailing winds for optimal airflow.
- Employ fans and heaters together to increase air circulation and temperature, accelerating moisture evaporation from the wood.
- Monitor moisture content regularly with calibrated meters to adjust drying conditions and prevent defects like cracking or warping.
- Prepare wood by removing bark, splitting large logs, and air drying roughly one year per inch thickness before faster kiln drying.
Kiln Drying Techniques for Rapid Moisture Removal
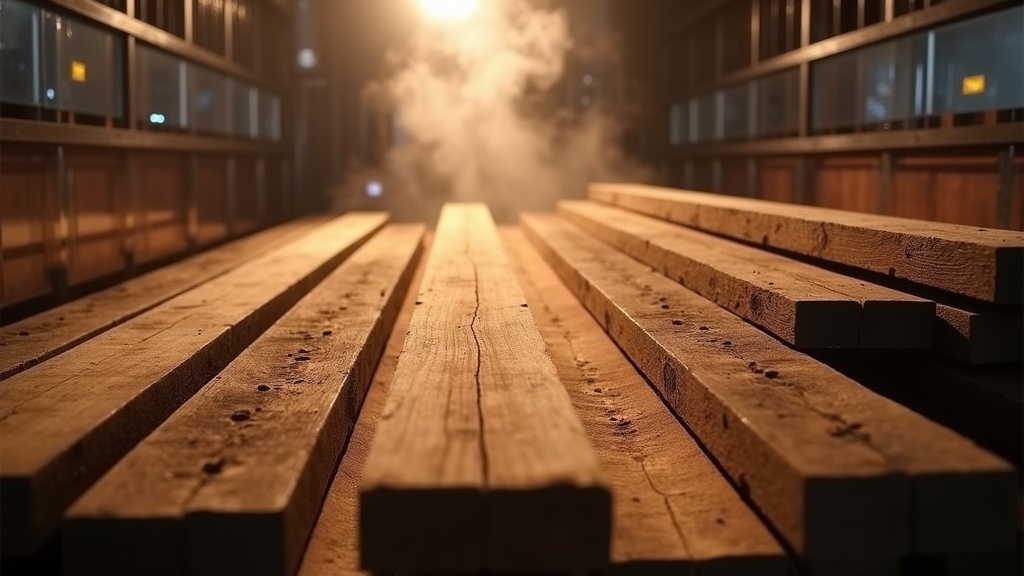
When you need to dry wood quickly without sacrificing quality, kiln drying offers a controlled and efficient solution. Start by sorting your lumber by species and thickness since different woods dry at different rates.
Use proper sticker placement between boards to maximize airflow and ensure uniform drying. Begin the process at lower temperatures during the pre-drying phase to avoid cracks and warping.
As drying progresses, gradually increase temperature while monitoring relative humidity—this balance prevents tensile stress and surface checking.
Utilize fans for even heated air circulation in conventional kilns or choose dehumidification kilns for precise moisture control.
Keep an eye on moisture content throughout, aiming for 6% to 8% depending on the wood’s final use. This method cuts drying time from months to weeks without compromising wood integrity.
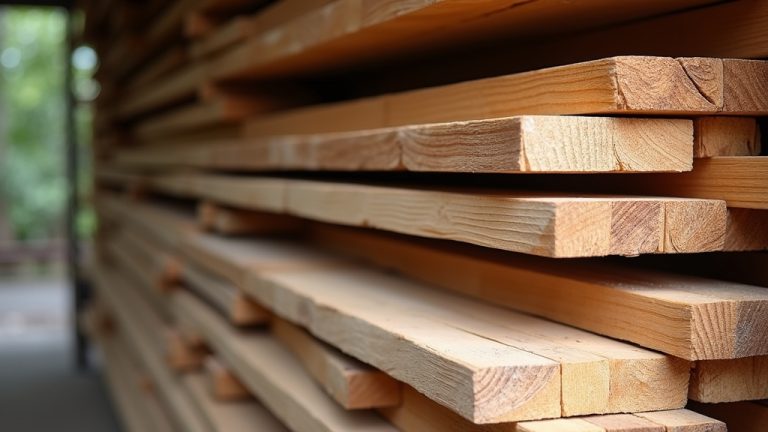
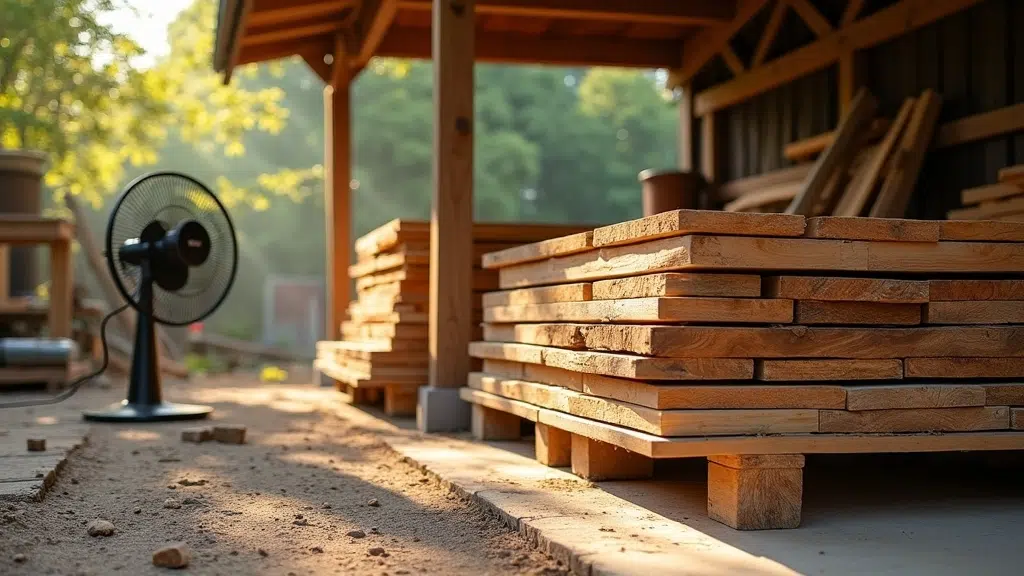
Enhancing Air Drying Speed With Simple Adjustments
You can speed up air drying by optimizing how you stack your wood with proper spacing to guarantee maximum airflow between boards. Using fans helps maintain consistent air movement, which accelerates moisture evaporation, especially in still or humid conditions.
Adding heaters in cooler environments can raise the temperature, further boosting drying rates without risking damage. Additionally, placing the lumber on spacers about 2-4 inches off the ground ensures better airflow and reduces warping risk. Choosing tools with portable design features can enhance your ability to manage and move drying setups efficiently.
Optimize Wood Stack Spacing
Because proper spacing between wood stacks directly impacts airflow, you can considerably speed up drying by maintaining at least 24 inches between piles. Wider gaps improve air circulation, reducing drying time and preventing humidity buildup that leads to mold and staining.
Visual inspection for staining and checking helps identify if drying is too slow or fast, allowing timely adjustments. It is important to measure moisture levels regularly to ensure optimal drying conditions.
Position your stacks perpendicular to prevailing winds to maximize ventilation through the spaces. Keep each stack 3 to 4 feet wide to balance stability and airflow.
Space boards within layers about one inch apart—too narrow slows drying, too wide risks warping. Use dry, uniform stickers about one inch thick, placed 18-24 inches apart to support boards evenly and maintain gaps for airflow.
Elevate stacks at least 12 inches off the ground on stable foundations to avoid moisture absorption and improve ventilation beneath the pile. Proper stacking on stable foundations helps prevent warping and decay by enhancing air circulation underneath.
Use Fans and Heaters
Although natural airflow aids wood drying, integrating fans and heaters considerably speeds up the process by controlling temperature and circulation more effectively.
Use adjustable-speed, corrosion-resistant fans to maintain steady airflow through your wood stacks, preventing moisture buildup and ensuring even drying. The use of hardening techniques in blade manufacturing ensures durability and efficiency even in high-humidity environments.
Position fans strategically with baffling to direct air uniformly, optimizing moisture removal. This helps create a consistent drying environment throughout the wood, reducing the risk of uneven moisture content.
Pair fans with heaters to raise air temperature, which accelerates moisture evaporation by increasing the vapor pressure gradient on wood surfaces. Implementing a heat exchangers system can recover energy from venting air streams, preheating incoming air and improving overall efficiency. Preheating incoming air using heat exchangers boosts energy efficiency and reduces drying time.
Home-Scale Kiln Drying Methods and Best Practices
Before you start kiln drying, make sure to prepare your wood by air drying it with proper stacking and sealing. This helps reduce moisture evenly throughout the wood. Seal the end grain with materials like wood glue, paint, or wax to prevent cracking during drying and retain internal moisture end grain sealing.
Build a simple home kiln using light framing, plastic sheeting, a fan, and a dehumidifier. These components help you control airflow and humidity effectively. Proper maintenance of your equipment is essential to avoid issues such as dust and debris accumulation that can affect performance.
Regularly check moisture levels inside the kiln. Monitoring allows you to adjust conditions as needed. Proper adjustments help prevent defects like cracking or warping in the wood.
Preparing Wood Properly
When preparing wood for kiln drying at home, sorting and stacking play an essential role in achieving even drying and minimizing defects. Start by grouping lumber by uniform thickness and length to ensure consistent drying.
Remove bark and debris to avoid moisture retention. Regular maintenance like cleaning band saw tires helps prevent residue that could affect lumber quality. Stack wood with stickers—thin strips placed every 24 inches—for airflow and support.
Align stickers vertically to prevent sagging. Keep stacks off the ground and spaced for proper ventilation. Controlling air circulation during stacking helps maintain uniform moisture removal throughout the drying process.
| Preparation Step | Purpose |
|---|---|
| Sort by thickness | Ensures uniform drying |
| Remove bark/debris | Prevents microbial growth |
| Use stickers in stacks | Promotes airflow and prevents warping |
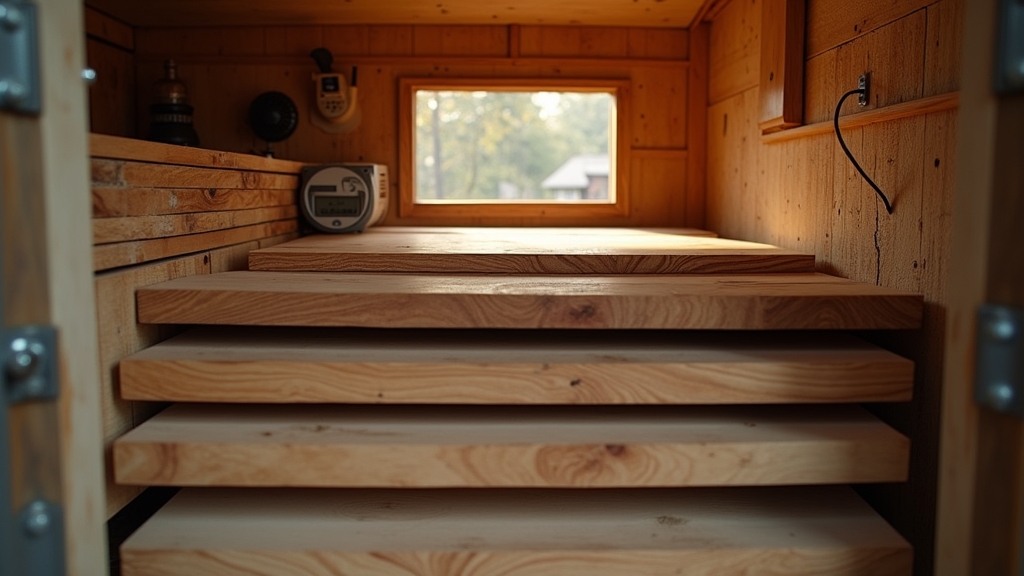
Building a Homemade Kiln
If you want to dry wood quickly and effectively at home, building a well-designed homemade kiln is essential. Start with a sturdy frame using 2x4s for walls and 2x6s for the floor, spaced 16 inches apart. Use preservative-treated lumber for the floor and cover it with exterior plywood.
Frame walls with angled studs for roof slope, then cover inside and out with sealed ½-inch plywood or T-111 siding to ensure airtightness. This airtight design helps enhance precision and control of the drying environment.
Insulate with paper-backed fiberglass, then add a plastic vapor barrier to control moisture. Paint interior surfaces with vapor barrier paint to absorb heat.
Install metal fans near the roof with a plywood baffle directing airflow through the wood stack. Proper airflow management prevents defects such as warping and checking during drying.
Monitoring Moisture Levels
Once your homemade kiln is up and running, keeping a close eye on moisture levels in the wood will make all the difference in how effectively it dries.
Use handheld moisture meters to check sample boards regularly, adjusting for wood species and temperature to get accurate readings. Proper calibration of moisture meters is essential to ensure accurate moisture readings.
Early drying is critical—monitor moisture carefully to avoid drying too fast and causing defects like checking or warping. If possible, install simple sensors to track moisture trends inside the kiln, helping you fine-tune temperature and humidity.
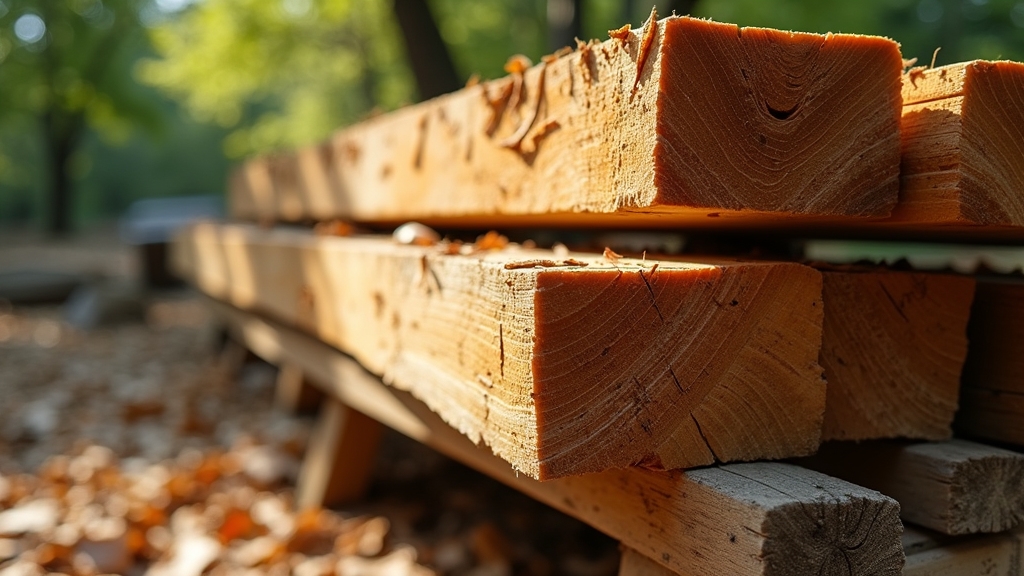
Wood Preparation Tips to Shorten Drying Time
Although drying wood quickly depends on several factors, proper preparation is key to speeding up the process without sacrificing quality.
Start by selecting softwood or lumber with uniform thickness to ensure even drying and minimize internal stresses. Split large logs into smaller pieces and remove bark promptly to reduce moisture retention. Air-drying lumber generally takes about one year per inch of thickness, so thinner pieces dry faster. Using tools with precision ground teeth can help achieve cleaner cuts and reduce damage to the wood fibers.
Sand surfaces along the grain and eliminate knots or sapwood, as these dry unevenly and can cause defects. Keep wood and any treatment chemicals at room temperature for consistent drying and finish adherence.
Stack lumber with stickers evenly spaced to promote airflow, and position stacks perpendicular to prevailing winds. Proper stacking with stickers spaced 12-24 inches apart helps prevent warping and promotes uniform drying. Store wood in stable conditions around 50% humidity to balance drying speed and prevent warping.
Advanced Technologies for Accelerated Wood Drying
When you need to speed up wood drying without compromising quality, advanced technologies offer effective solutions that traditional methods can’t match.
Vacuum kiln drying uses low-pressure environments to evaporate moisture quickly at lower temperatures, cutting drying time and energy use while ensuring uniform moisture control. This method is especially beneficial for high-value woods that require gentle handling to preserve their quality. The use of computer-controlled kilns with precise adjustments enhances the overall drying efficiency.
Computer-controlled kilns with real-time sensors adjust temperature and humidity dynamically, minimizing defects like warping. Thermal treatment modifies wood properties through precise high-temperature steam, improving durability and drying rates.
Energy-efficient systems recover heat from moisture removal or integrate renewables like solar and biomass, reducing operational costs. High-capacity modular and continuous kilns support heavy loads and multi-batch processing with consistent results.
Comparing Drying Methods: Efficiency and Wood Quality Impact
Advanced drying technologies offer impressive speed and control, but choosing the right method depends on balancing efficiency with the wood’s quality needs. You’ll find that different methods suit different goals and wood types. Consider these key points:
Kiln drying cuts drying time from months to days and ensures uniform moisture. However, it uses more energy, especially for dense hardwoods. Air drying is cheaper but slower and less consistent.
It also preserves the natural colour and character of the wood, which is often lost during kiln drying, making it a preferred choice for projects emphasizing natural characteristics. Proper drying also minimizes vibration and distortion, similar to how precision tools maintain wood integrity.
High-frequency and vacuum drying speed up the process dramatically. They also reduce defects and maintain quality, making them ideal for thick, dense woods needing precision. These methods align with precision cutting principles found in advanced woodworking equipment.
Dehumidification kilns conserve energy and protect wood integrity better than conventional kilns. On the other hand, conventional kilns offer faster throughput for large volumes.
Frequently Asked Questions
Can Dried Wood Be Rehydrated for Specific Projects?
Yes, you can rehydrate dried wood for specific projects, but you need to do it slowly to avoid cracking or warping. Submerge it in water for hours or wrap it in a damp cloth sealed in plastic overnight to soften fibers for carving or bending.
Keep moisture uniform and controlled; rapid rehydration risks damage. Remember, you won’t restore original green moisture fully, but you can improve workability safely with patience.
How Does Wood Species Affect Drying Time?
Sure, you can totally speed up drying oak overnight—just kidding!
Wood species seriously affect drying time because of their density and moisture retention. Softwoods like pine dry in 2-4 months, while dense hardwoods like oak might take 6 months to over a year.
The denser the wood, the slower the moisture leaves. So, pick your species wisely and be patient; rushing only risks warping or cracking your project.
What Safety Precautions Are Needed During Wood Drying?
You need to regularly inspect the kiln area for fire hazards and keep fire suppression tools nearby. Avoid overheating wood and use properly rated heat and electrical equipment.
Stack lumber with spacers for airflow and check wood for defects beforehand. Monitor temperature and humidity closely to prevent surface cracks.
Always wear PPE, ensure good ventilation, and train workers on safe handling and emergency procedures to minimize injury and fire risks.
Can Drying Wood Indoors Cause Mold or Odors?
Yes, drying wood indoors can cause mold or odors if you don’t control humidity and ventilation. Keep indoor humidity below 60%, ideally 30-50%, and guarantee good air circulation with fans or open windows.
Avoid placing wood against cold walls to prevent condensation. Check wood regularly for mold or musty smells, and clean surfaces after drying.
Proper drying practices help you avoid mold growth and unpleasant odors effectively.
How to Store Dried Wood to Maintain Low Moisture?
To keep your dried wood low in moisture, store it in a warm, enclosed space where temperature stays above outdoor levels to reduce humidity.
Elevate the lumber and use stickers for airflow, avoiding solid piles.
Cover stacks with breathable mesh and keep them away from direct sun, rain, and debris to prevent moisture gain and pests.
Regularly monitor moisture content and adjust storage conditions seasonally to maintain stability and prevent warping or decay.
Ready to Try These Wood-Drying Methods Yourself?
You can choose between traditional air drying and advanced kiln methods, but remember: speed often trades off with wood quality. While kiln drying rapidly removes moisture, simple air drying adjustments offer a gentler, cost-effective approach.
Preparing your wood properly shortens drying time no matter the method. By understanding these differences and applying the right techniques, you’ll dry wood fast without compromising its strength or appearance. It’s all about balancing efficiency with care.